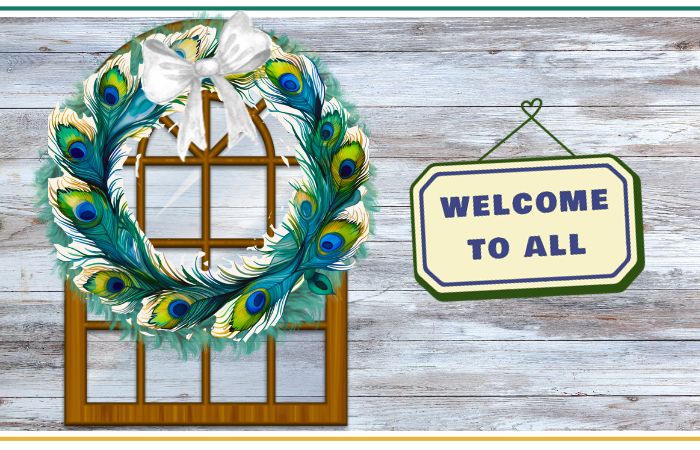
This beautiful wreath will add a burst of color and life to your home decor. Follow our step-by-step instructions and you’ll have a stunning peacock feather wreath in no time!
What You Will Need
- 12-16-inch wreath form
- Glue gun and glue sticks
- Fluffy blue boa (2 meters)
- 70-80 peacock feathers (depending on the size of your wreath form)
- A pair of cutting pliers
- A pair of scissors
- A ribbon or wire to hang your wreath (optional)
Step 1: Prepare Your Wreath Base
Start by selecting a wreath form that will be the base for your peacock feather wreath. Choose one that is between 12-16 inches in diameter, depending on the size of your feathers. You can find wreath forms at any craft store or online. Once you have your wreath form, set it aside for now.
Step 2: Start Adding the Fluffy Blue Boa
Take your fluffy blue boa and start wrapping it around the wreath form. Make sure you cover the entire wreath form with the boa. Use the glue gun to attach the ends of the boa to the wreath form and secure it in place. This will give your wreath a nice and fluffy base.
Step 3: Trim the Peacock Feathers
Take your peacock feathers and use the cutting pliers to trim the quills so they fit nicely on your wreath. Leave about an inch of the quill so you have enough to attach them to the wreath. You can trim the feathers to different lengths to add dimension to your wreath.
Step 4: Begin Gluing the Peacock Feathers
Take your first peacock feather and apply a generous amount of hot glue to the quill. Then, press the feather onto the wreath form, holding it in place for a few seconds until the glue sets. Position the feather so that the colorful tops are facing outward, and the quills are securely attached to the wreath. Repeat this step until the entire wreath is covered with peacock feathers.
Step 5: Create a Feather Cluster
Choose a few peacock feathers that are similar in size and color and stack them together. Apply some hot glue to the quills and press the stack of feathers onto the wreath form. This will create a fun and eye-catching feather cluster. Repeat this step until you have a few clusters of feathers scattered around your wreath.
Step 6: Add Ribbon or Wire for Hanging (Optional)
If you want to hang your wreath, now is the time to add a ribbon or wire to the back. Cut a piece of ribbon or wire and attach it to the back of the wreath using hot glue. Make sure it is secure and centered, so your wreath will hang nicely.
Step 7: Final Touches
Take a step back and admire your work! Once you’re happy with the placement of your feathers, you can add a few finishing touches. Use the scissors to trim any excess strands of the fluffy blue boa if needed. You can also adjust the position of the feathers or add more glue if any feathers feel loose.
Step 8: Find the Perfect Spot for Your Wreath
You’ve done it! Now, it’s time to find the perfect spot for your peacock feather wreath. Hang it on your front door to welcome guests, or display it inside your home on a wall or above a fireplace. Your wreath will surely be a conversation starter and bring a pop of color and life to any space.
In conclusion, making a peacock feather wreath is a fun and easy DIY project that will add a bold and unique touch to your home decor. With just a few materials and some creativity, you can create your very own stunning wreath. Follow our step-by-step instructions and let your inner artist shine!


