Are you ready to blast off into outer space with a fantastic paper astronaut? This exciting DIY project will let your imagination soar as you create your very own astronaut that’s perfect for imaginative play or room decoration.
Whether you dream of exploring distant planets or simply want to engage in some intergalactic fun, this paper astronaut is sure to make you feel like you’re floating among the stars. So, gather your supplies and get ready for an out-of-this-world adventure!
What You Will Need
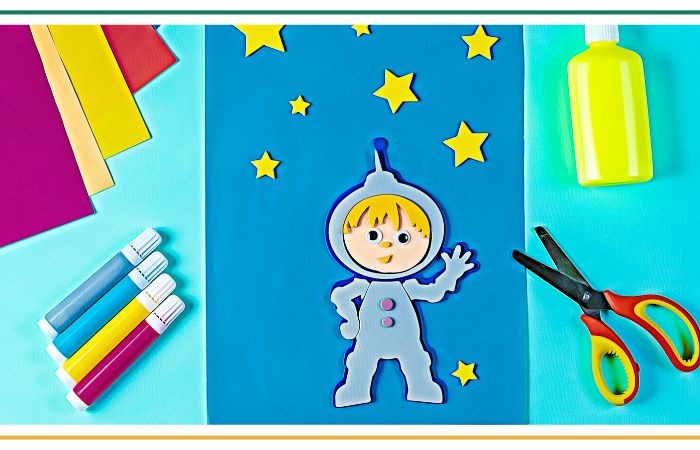
Before we embark on our mission to create a paper astronaut, let’s gather all the supplies we’ll need:
- Construction paper (white, silver, and colors of your choice)
- Scissors
- Glue stick
- Markers or colored pencils
- Pipe cleaners or chenille stems
- Googly eyes (optional)
- Craft stick or wooden skewer
- Tape
Step 1: Design the Astronaut
The first step in making a paper astronaut is to design your very own space explorer.
Decide on the colors and features you want your astronaut to have. Will it be a classic white spacesuit, or will you add your own unique touches with different colors?
Use your imagination and let your creativity guide you as you envision your paper astronaut.
Step 2: Cut Out the Astronaut Pieces
Once you have your astronaut design in mind, it’s time to start cutting out the pieces. Use the construction paper to cut out the different parts of the astronaut’s body. Cut a large oval shape for the astronaut’s head, a rectangular shape for the body, and small rectangular shapes for the arms and legs. Don’t forget to cut out a helmet for your astronaut’s head as well.
Step 3: Decorate the Astronaut
Now it’s time to add some personality to your paper astronaut. Use markers or colored pencils to draw a face on the astronaut’s head. You can give your astronaut a smile, cool shades, or even rosy cheeks. Get creative and make your astronaut come to life. If you have googly eyes, you can glue them onto the face for a fun touch.
Step 4: Assemble the Astronaut
Now that you have all the astronaut pieces ready, it’s time to assemble them. Take the rectangular body shape and fold it slightly at the bottom to create a stand. Glue the folded part onto a craft stick or wooden skewer to make it easier to hold and manipulate your paper astronaut.
Step 5: Add Arms and Legs
Glue the small rectangular shapes onto the sides of the body to create the astronaut’s arms. Make sure they are positioned symmetrically. You can bend pipe cleaners or chenille stems to make them look like hands, and glue them onto the ends of the arms for added detail. Attach the small rectangular shapes to the bottom of the body to create the astronaut’s legs.
Step 6: Put on the Helmet
Now it’s time to complete the astronaut’s look by attaching the helmet. Glue the large oval shape onto the top of the astronaut’s body to create the helmet. Make sure it covers the astronaut’s head completely. You can leave it plain white, or use colored construction paper to add details like a visor or light reflections.
Step 7: Display Your Paper Astronaut
Once your paper astronaut is fully assembled, it’s time to display your creation. You can use the craft stick or wooden skewer attached to the back to hold and move your astronaut around. Tape the other end of the stick onto a base or surface to make it stand upright. You can also hang your astronaut from a string or attach it to a mobile for a fun decorative touch.
Whether you send it on a mission to explore distant planets or simply enjoy imaginative play, your astronaut is sure to inspire endless fun. Take a moment to admire your creation and share it with your friends and family.


