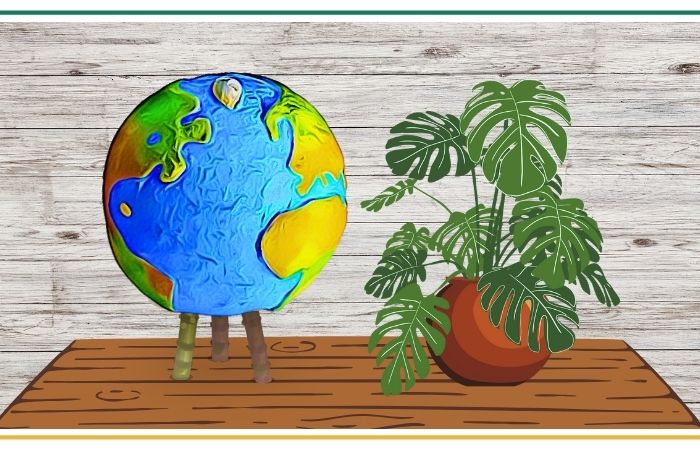
Today I’m going to teach you how to make your very own Paper Mache Globe. It’s a fun and educational craft project that will help you learn about the world while getting to be creative. Are you ready? Let’s dive in!
What You Will Need
- A large balloon
- Newspaper
- White glue or flour
- Water
- Mixing bowl
- Paintbrushes
- Acrylic or tempera paints
- Clear varnish (optional)
- Marker or black paint for labeling
Step 1: Prepare the Papier Mache Paste
To start making the paper mache paste, you have two options: using white glue or making a flour paste. Both work well, so it’s up to you which one you choose.
If you’re using white glue, mix equal parts of glue and water in a mixing bowl until it’s well combined. Stir it until it becomes a smooth, runny mixture.
If you’re making a flour paste, mix one part flour with two parts of water in a pot. Cook it over low heat, stirring constantly until it thickens. Let it cool before using.
Step 2: Start the Papier Mache Process
Now it’s time to start making the globe! Blow up the balloon to the size you want your globe to be. Secure it to a sturdy surface with tape or a bowl to keep it from rolling away.
Next, tear up strips of newspaper. They should be about one to two inches wide and six to eight inches long. You’ll need quite a few strips, so tear up a good amount!
Dip a strip of newspaper into the paper mache paste, making sure it’s fully coated. Gently remove any excess paste by running the strip between your fingers. Place the strip onto the balloon, smoothing it down with your fingers or a paintbrush.
Repeat this process, layering the strips in different directions until the entire balloon is covered, leaving a small opening at the top. Make sure to overlap the strips to create a strong and sturdy globe.
Step 3: Let It Dry
Once you’ve finished layering the strips, it’s time to let your globe dry. This can take a few days, so be patient! Place the balloon somewhere safe and allow it to dry completely. You can speed up the drying process by using a fan or a hairdryer on a low setting.
Step 4: Decorate Your Globe
Once your globe is dry, it’s time to let your creativity shine! Using acrylic or tempera paints, start painting your globe. You can choose to paint it like a realistic Earth or get creative and design your own imaginary world.
Remember to paint the continents, oceans, and any other details you want to include. Look at a map or a globe for reference if you need help. Let your imagination guide you and have fun!
Step 5: Label the Continents
After the paint has dried, it’s time to label the continents. You can use a marker or black paint to outline and label each continent. Look at a map or a globe to see where each continent is located and write their names accordingly.
If you’re not confident in your freehand skills, you can print out labels or use stickers to mark the continents. This will make it easier to read and neater.
Step 6: Finishing Touches
To protect your beautiful globe and give it a finished look, you can apply a coat of clear varnish or Mod Podge. This step is optional but can help seal the paint and make your globe shine.
Once your globe is completely dry, it’s ready to be displayed! You can place it on a stand, in a bookshelf, or use it for educational purposes.
Congratulations! You’ve made your very own Paper Mache Globe. Not only did you have fun being creative, but you also learned about geography and the world around you. Great job!
Remember, crafting is all about trying new things and letting your imagination run wild. Feel free to explore different painting techniques or experiment with different materials. The most important thing is to have fun and enjoy the process.
![]()


