Are you tired of generic toys that quickly lose their appeal? Say goodbye to the pile of discarded playthings and hello to the solution …. Paper Bag Bunny! This eco-friendly kid craft engages children’s imaginations and provides endless hours of fun.
One rainy day, my kids stumbled upon a pile of old paper bags while rummaging through our attic. Their eyes sparkled with excitement as they thought of transforming these simple bags into something new.
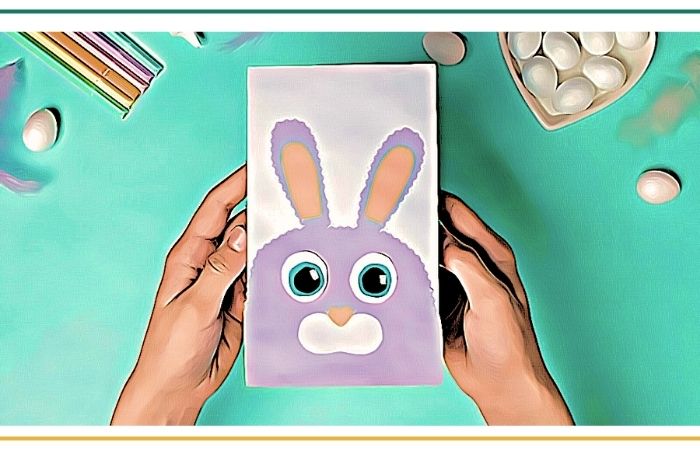
Directions For Paper Bag Bunny
In this blog post, I will guide you on how to create these utterly cute Paper Bag Bunnies with your little ones. It’s a simple craft that will make their imaginations soar!
Not only are these bunnies incredibly cute, but they can also be used as Easter decorations or as puppets for playtime! Plus, making them is an excellent way to spend quality time with your kids.
With just a few materials and simple steps, you can create an adorable bunny head that can be easily turned into a cute decoration or a fun toy for playtime.
What You Will Need
Before we start making our paper bag bunny head, let’s make sure we have all of the necessary materials:
- Brown paper lunch bag
- Construction paper in white, pink, and any other color you like
- Scissors
- Glue stick or craft glue
- White cotton balls
- Black marker
- Crayons or markers
Step 1: Prepare the Paper Bag
First, take your brown paper lunch bag and lay it flat on a smooth working surface. You’ll want to cut the bag at about two inches down from the opening to create the bunny’s head. Fold the remaining piece of the bag in half and set it aside for later.
Step 2: Create the Bunny Ears
To make the bunny’s ears, take the white construction paper and cut out two ear shapes to your desired size. Cut two smaller pieces of pink paper that will fit on the inside of the white ears, leaving a little bit of the white paper showing. Glue the pink paper onto the white ears and then glue the ears onto the top of the paper bag. Make sure the ears stick out from the top of the bunny head.
Step 3: Add the Bunny Nose and Eyes
Now, let’s give our bunny some personality by adding its nose and eyes. Cut out a small pink heart shape to create the bunny’s nose and glue it onto the center of the bunny head. Cut out two small white circles, or use googly eyes, to create the bunny’s eyes. Draw black dots in the center of the eyes to add detail.
Step 4: Add the Bunny Teeth
For our bunny’s teeth, take four small white cotton balls and cut them in half. Glue the eight pieces to the bottom of the bunny’s nose to create teeth. This will give the bunny a playful and whimsical look.
Step 5: Decorate the Bunny Head
Now it’s time to decorate the bunny’s head! Using crayons or markers, draw rosy cheeks on either side of the bunny’s nose. Draw black lines above the eyes, giving the bunny the appearance of eyelashes. You can color the ears a different color or add some patterns to the bunny’s head to make it unique and playful.
Step 6: Attach the Bunny Head to the Body
To attach the bunny head to the body, take the folded piece of the brown paper bag that you set aside earlier. Cut out paws from the folded paper, ensuring that the back of the paw is attached to the paper bag. Glue the paws to the bottom of the folded paper bag and let them dry completely.
Once the paws are dry, fold the paper bag in half again, this time attaching the bunny’s head to the top of the paper bag using glue or tape.
Step 7: Play and Enjoy
Now that your paper bag bunny head is complete, it’s time to have some fun! You can use it as a decoration for your room or bring it along to play. You can even pretend to have a tea party with your paper bag bunny and other stuffed animal friends.
Great job, crafty kids! You’ve successfully made a playful and cute paper bag bunny head. Remember to have fun, get creative, and bring your bunny head to life.
![]()


