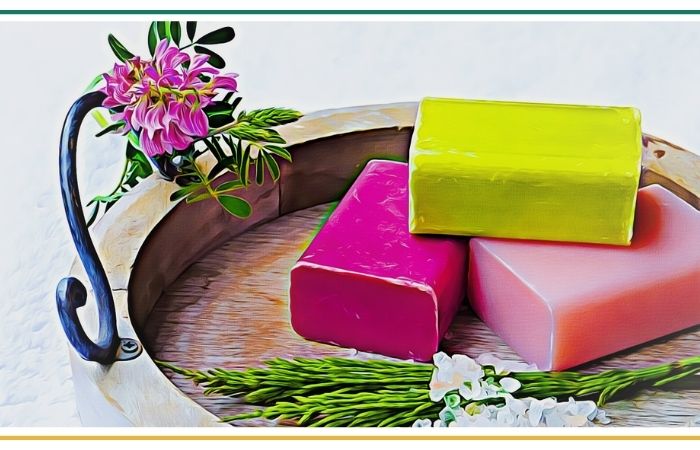
Today, we’re going to learn how to make soap from scratch, using simple ingredients and your imagination. This fun and easy project will not only fill your bathroom with delightful scents but also teach you about the science of soap-making. So, let’s gather our materials and dive into this exciting DIY adventure!
What You Will Need
- Glycerin soap base (available at craft stores or online)
- Fragrance oils or essential oils (choose scents you love, such as lavender, citrus, or vanilla)
- Soap molds (you can use silicone molds, or even recycle old containers like yogurt cups)
- Soap colorants (optional – you can use natural ingredients like turmeric or beetroot juice for color)
- Microwave-safe bowl or double boiler
- Spoon or spatula for stirring
- Rubbing alcohol (in a spray bottle)
- Optional: Dried flowers, herbs, or glitter for decoration
Step 1: Prepare Your Workspace
Find a clean and well-ventilated area to do your soap-making. Lay down some newspapers or an old tablecloth to protect your workspace from any spills or mess. It’s always good to be prepared and keep things tidy!
Step 2: Cut The Soap Base
Take your glycerin soap base and cut it into small chunks. This will make melting easier and more manageable. Remember, safety first! If you’re using a knife, ask a grown-up to help you with this step.
Step 3: Melt The Soap Base
Now, it’s time to melt the soap base. There are two methods you can use: microwave or double boiler. If using a microwave, place the soap chunks in a microwave-safe bowl and heat them in short intervals, stirring in between until fully melted. If using a double boiler, fill a pot with some water and place a heat-safe bowl on top of it. Put the soap chunks in the bowl and heat until melted, stirring occasionally.
Step 4: Add Fragrance And Color
Once the soap base is fully melted, it’s time to add the fun stuff! Add a few drops of your chosen fragrance or essential oil to the melted soap and stir well. Choose scents that make you feel happy and relaxed. If you want to add color to your soap, add a small amount of soap colorant or natural ingredients like turmeric or beetroot juice. Stir gently until the color is evenly distributed.
Step 5: Pour Into Molds
Now comes the exciting part! Take your soap molds and place them on a flat surface. Carefully pour the melted soap mixture into the molds, filling them up to the top. If you want to add some extra pizzazz to your soap, sprinkle in some dried flowers, herbs, or even a pinch of glitter. Be creative and make each soap unique!
Step 6: Remove Air Bubbles
To ensure smooth and beautiful soap, gently tap the molds on the table a few times to remove any air bubbles that may have formed. If you notice stubborn bubbles, you can spritz some rubbing alcohol over the surface of the soap. The alcohol helps the bubbles to pop and gives the soap a smoother finish.
Step 7: Let It Solidify
Now, set your soap molds aside and allow the soap to solidify completely. This may take a few hours or even overnight, depending on the size of your soap molds and the room temperature. Be patient, little soap makers!
Step 8: Unmold And Enjoy!
Once your homemade soap is fully set and firm, it’s time to unmold and enjoy the fruits of your labor. Gently push on the bottom of the molds or flex the sides to release the soap. If it doesn’t come out easily, you can place the molds in the refrigerator for a little while to help release the soap. Now, behold your beautiful, fragrant homemade soaps!
Step 9: Use And Share Your Creations
Your fragrant homemade soaps are now ready to be used and shared. Place them by your bathroom sink, give them as gifts to family and friends, or even set up your own mini soap shop! Remember, soap-making is a wonderful way to express your creativity and spread joy to others.
Tips For Making
Why stop at one shape or design? Soap-making is all about exploring your artistic side. Get creative with different molds, colors, and even layering different scents.
You can even create soap with hidden surprises inside, like small toys or dried flower petals. The possibilities are endless!
![]()


