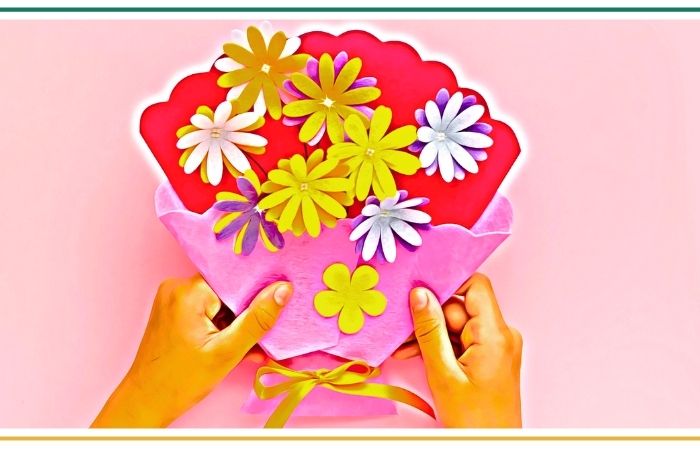
Today, we’ll learn how to make a delightful card that will make your mom’s heart bloom with joy. So, let’s gather our materials and get ready to craft a beautiful masterpiece!
What You Will Need
Before we dive into our craft project, let’s collect the materials required to make our yarn flower Mother’s Day card:
- Construction paper (choose colors for the card and vase)
- Yarn (choose colors for the flowers and stem)
- Scissors
- Craft glue
- Pencil
- Ruler
- Embellishments (such as stickers, sequins, or markers) for decoration
- Optional: Markers or crayons for additional details
Step 1: Making Pom Pom Flowers with Yarn
Let’s start by creating some lovely pom pom flowers using yarn. Wrap the yarn around your fingers approximately 25-30 times. After wrapping, carefully slide the yarn loops off your fingers without unraveling them. Cut a small piece of yarn, about 6 inches long, and tie it tightly around the center of the loops. This will secure the pom pom shape. Next, use scissors to cut through the loops on both sides. Fluff up the yarn to form a round, fluffy pom pom shape. Repeat this step to create as many pom pom flowers as you like, using different colors of yarn for a vibrant bouquet.
Step 2: Gluing Pom Pom Flowers to the Card
Now it’s time to attach our beautiful pom pom flowers to the card. Fold a piece of construction paper in half to create the card shape. Place the card flat on your work surface and arrange the pom pom flowers on the front of the card. Experiment with different layouts until you find a design that pleases you. Once you’re satisfied, use craft glue to attach the pom poms securely to the card. Be careful not to use too much glue to avoid it seeping through the yarn. Allow the pom poms to dry completely before moving on to the next step.
Step 3: Adding a Green Yarn Stem
Every flower needs a stem, and our yarn flowers are no exception! Cut a long piece of green yarn, about 10-12 inches in length, to serve as the stem. Apply a thin line of glue horizontally across the bottom of each pom pom flower.
Press one end of the green yarn onto the glue, ensuring it sticks firmly to the card. Extend the yarn downward from each flower, curving it slightly to resemble a natural stem. Glue the other end of the yarn onto the card, securing it at the bottom. Allow the glue to dry completely before proceeding.
Step 4: Add a Green Triangle Paper Vase
To give our flowers something to stand in, let’s create a vase from construction paper. Cut a rectangle shape from one piece of construction paper, approximately 4-5 inches wide and 8-10 inches tall, depending on your preference.
Fold the rectangle in half along the long side, and then cut diagonally from one corner to the opposite corner to create a triangular shape. Unfold the triangle to form a vase shape.
Decorate the vase with markers, crayons, or any other embellishments you like. Once you’re satisfied, glue the bottom edges of the vase to the card, below the flower stems, to give the illusion of a vase supporting the blooms. Allow the glue to dry completely.
Step 5: Decorating the Card with Embellishments
Now it’s time to let your creativity blossom! Use embellishments such as stickers, sequins, or markers to decorate your card further. You can add designs or patterns around the flowers, create leaves for the stems, or write a heartfelt message on the inside of the card.
Let your imagination guide you as you embellish your card to make it even more special for your mom. Take your time and enjoy the process!
You have successfully crafted a heartfelt yarn flower Mother’s Day card that will make your mom’s heart melt. Remember, the most important thing is the effort and thought you put into your creation. So gather your materials, , and enjoy making a unique and personalized card for your amazing mom.
![]()


