How To Make A Witch Purse
Why buy a wallet when you can create your own from recycled soda bottles? This DIY Witch Wallet craft is both fun and ecofriendly, letting you reuse materials while creating something totally unique. It's sturdy, stylish, and easy to customize with your favorite decorations. Follow the steps below to make a wallet that’s perfect for storing bills, coins, or even small magical trinkets.
Ready to dive in? Let’s get crafting!
Step 1
Gather the following material:
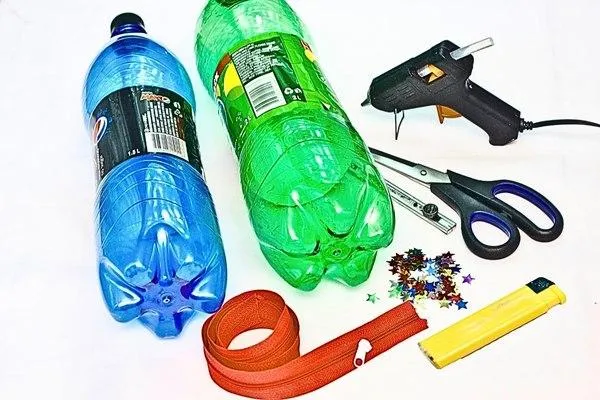
I have included a list of available craft supplies for your convenience.
Here's some stuff
If you click on any link, I will receive a small commission at no cost to you.
Step 2
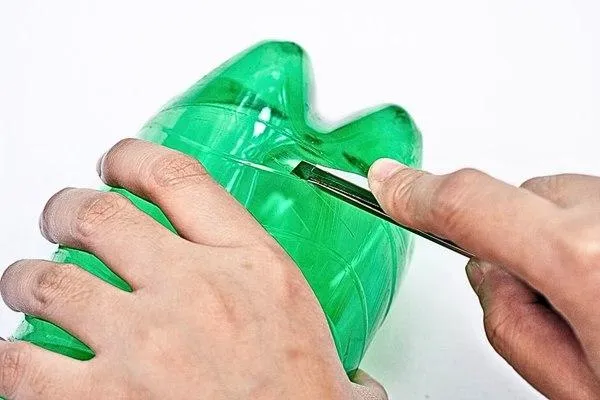
Take one of the soda bottles and use the cutter to carefully remove the bottom section. This will form one half of your wallet. Make sure to cut evenly so it keeps a nice shape. Precision matters here since this step sets the foundation for your wallet!
.
Step 3
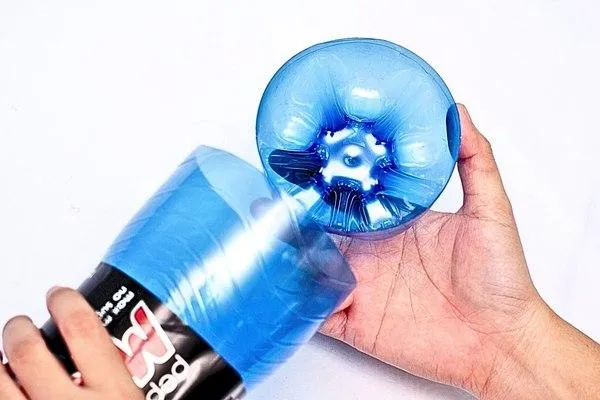
Repeat the same process with the second bottle. You’ll want to cut out a bottom section that matches the size of the first one. This ensures your wallet pieces fit together seamlessly. Check that both plastic bottoms align before moving on to the next step.
Step 4
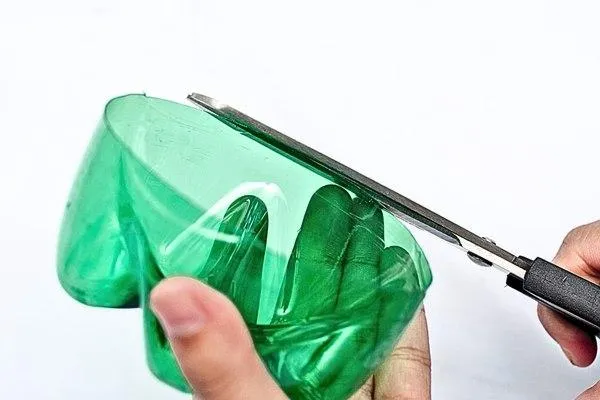
Use your scissors to smooth out the edges on both bottle bottoms. This is important for safety and appearance—rough edges not only look messy but can also scratch fingers or snag the zipper later. Take your time to clean them up completely for a polished finish.
Step 5
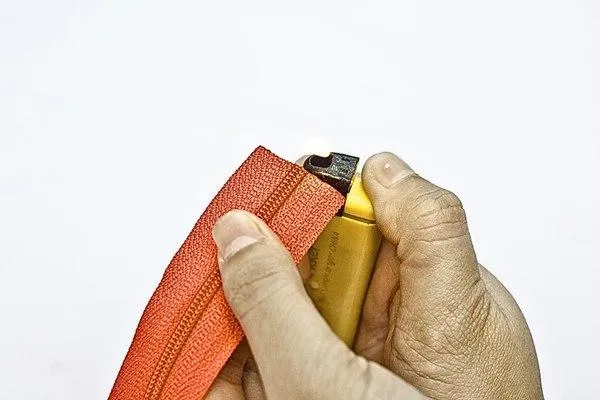
Take one end of the zipper and lightly seal it by gently heating it with a lighter. This prevents fraying and ensures the material stays intact when glued.
Don’t overheat it—just a quick touch will do! A sturdy zipper will keep your wallet functional for daily use.
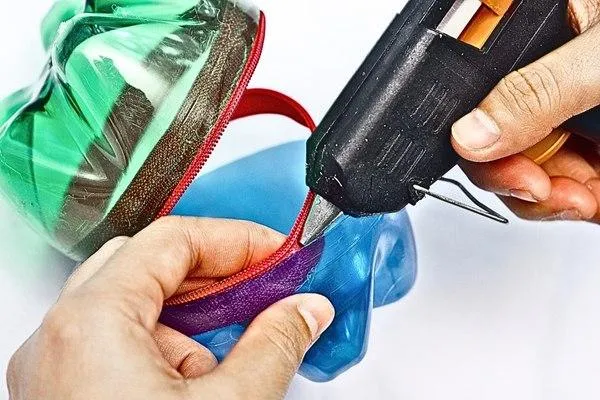
Step 6
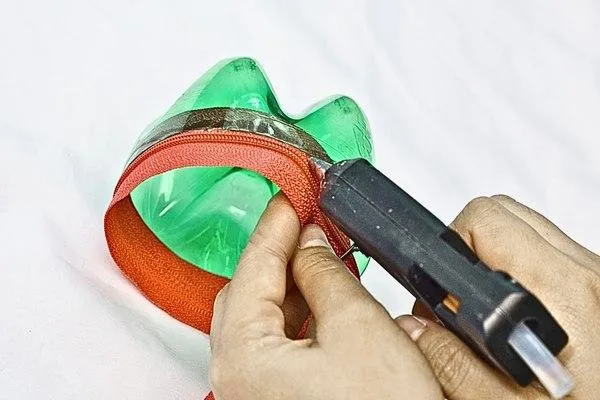
Hot glue one side of the zipper to one bottle bottom, working slowly around the entire edge to make sure it sticks evenly. Press gently as you go to ensure a secure bond. This step forms the base of your wallet opening, so take care to seal every inch..
Step 7
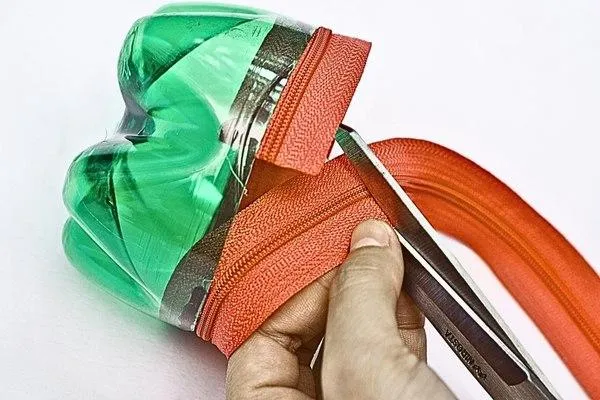
Once the first side of the zipper is attached, trim any excess length, leaving about 1 cm of overlap. This small allowance will make the next steps easier and prevent the zipper from pulling apart when closed. Neatness is key for a seamless design.
Step 8
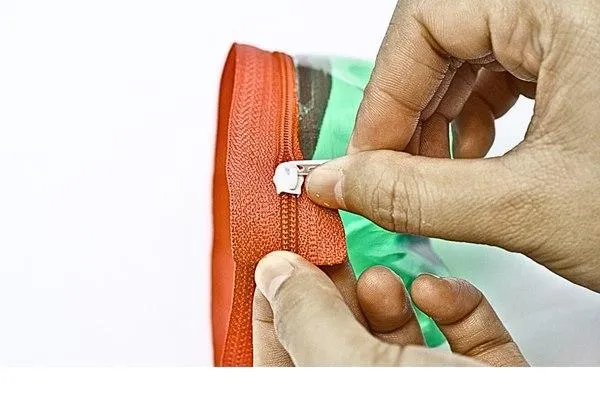
Carefully slide the zipper teeth into the zipper slider. This can be a bit tricky, so take your time to align the teeth properly. Once attached, check that the slider moves smoothly along the zipper. Getting this right ensures your wallet can be opened and closed effortlessly.
Step 9
Add a dab of hot glue to the ends of the zipper to reinforce its placement and keep it securely closed. This will ensure the zipper doesn’t slide off or lose its shape. Make sure the glue dries fully before testing the zipper to avoid smearing glue.
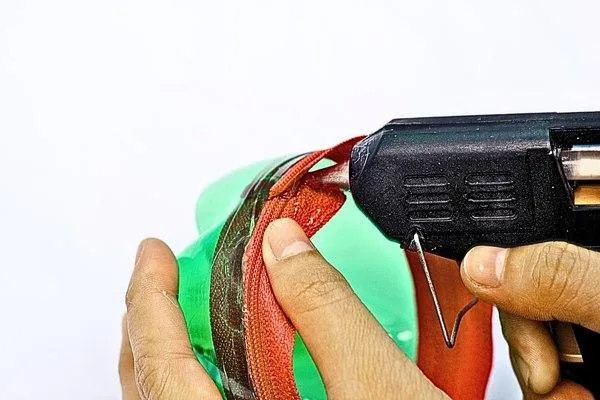
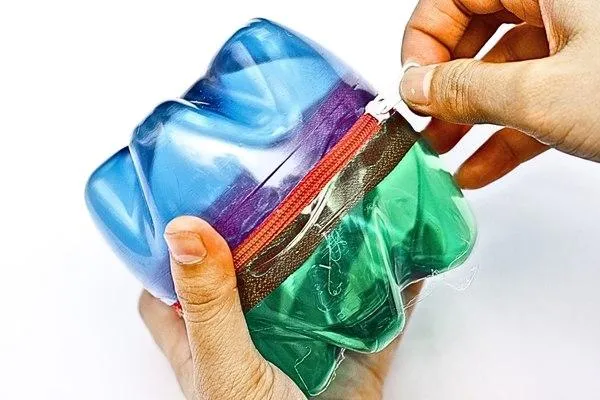
Step 10

Fasten the second side of the zipper to the other bottle bottom using hot glue. Run the zipper all the way around its edge and press down evenly. With both bottle bottoms attached, your wallet structure is complete. You’ll see your craft taking shape now!
Step 11
Zip the wallet open and close several times to ensure the zipper runs smoothly. If you notice glue blocking the teeth, gently remove it with your fingers or scissors. This step is crucial to making sure your wallet is functional and easy to use.
Step 12
Cut off any excess paper from the rolled candle to ensure the bottom edge is flat. This step makes it easier to attach the candle securely to the wreath later on.
Step 13
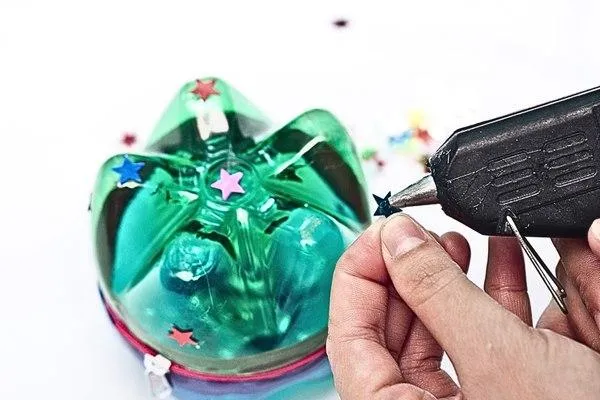
Now comes the fun part—decorating! Add your personal touch to the wallet using ribbons, stickers, or even paint. For a witchy theme, try spooky designs, glitter, stars, or even mini cauldrons. Let your imagination run wild and create something magical!
Step 14

Once your decoration is complete and the glue has fully dried, your wallet is ready to use! Place bills, coins, or small items inside, zipping up when done. The soda bottle design makes it surprisingly spacious, holding more than you might expect.
Step 15
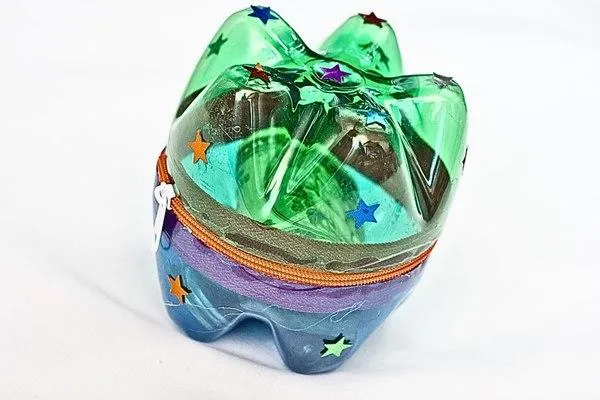
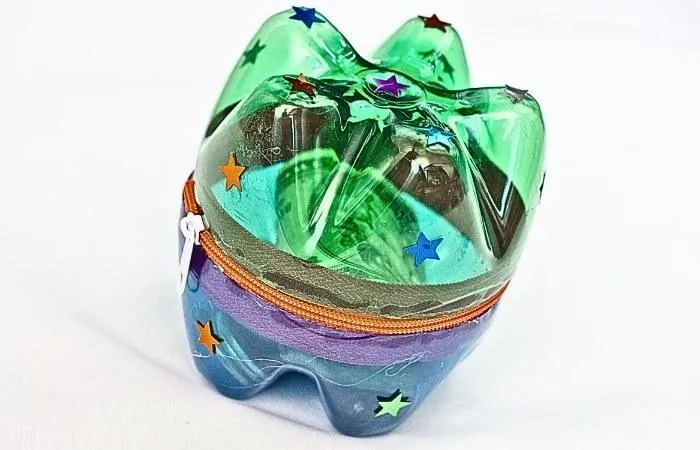
Your DIY witch wallet is complete! Show it off proudly to friends and family, or use it to carry your cash an coins. It’s sturdy, water-resistant, and beautifully designed by you. Plus, it’s an awesome example of upcycled creativity!
Why This Wallet Is Magical
This craft activity isn’t just fun—it teaches creativity, recycling, and problem-solving skills. Kids and adults alike will enjoy turning soda bottles into cute, functional wallets. Plus, knowing that you made it yourself adds a special touch. Try it out and enjoy your
!
More Craft Ideas
Kid Craft
How To Make A DVD Bracelet
Kid Crafts For Every Child
Toddler Crafts
Preschool Crafts
School Crafts

Teen Crafts
Kid Crafts For In and Outdoors

Indoor Crafts
Outdoor Crafts

Educational Crafts
Kid Crafts For Every Season
Spring Crafts

Summer Crafts

Fall Crafts
Winter Crafts
Kid Crafts For Every Holiday
Valentine's Day Crafts
St Patrick's Day Crafts

Easter Crafts
Mother's Day Crafts
Father's Day Crafts

Fourth Of July Crafts
Halloween Crafts
Thanksgiving Crafts