
How To Make A Glamorous Jewel Ring
Teen crafts are a fun and stylish way to express your creativity—and make accessories that totally match your vibe! A Wire Ring is the perfect DIY project for teens who love jewelry and want something custom and glam. They can create a one-of-a-kind ring that’s as unique as you are.
Whether you're designing something simple and chic or bold and statement-making, a handmade wire ring is the ultimate accessory for adding sparkle and personality to any outfit.
Step 1
Gather the following material:
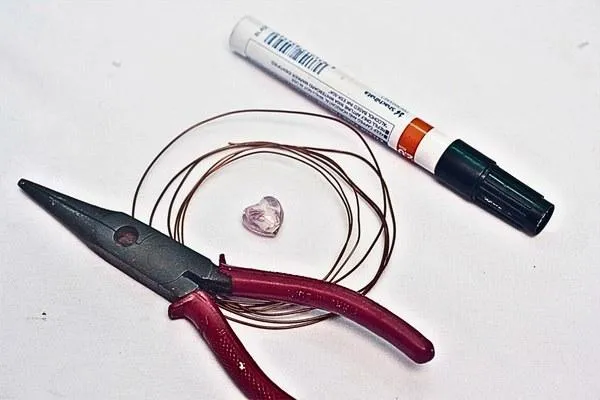
I have include a list of available products for your convenience:
A gemstone
Long nose pliers
Copper wire
Marker
Step 2
Before beginning, make sure all your materials are ready and within reach. Choose a gemstone that you love, whether it’s a natural stone or a more polished option. Ensure your copper wire is sturdy enough to secure the gemstone while remaining flexible for wrapping. The marker will act as a mold to shape your ring, so have one that’s similar to your finger size.
Step 3
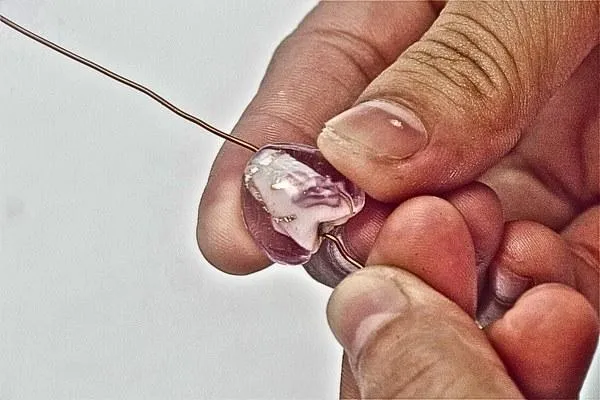
If your gemstone has a hole, slip one end of the copper wire through it. Center the gemstone on the wire, adjusting its position if necessary.
If your gemstone doesn’t have a hole, skip to the next step, where you’ll attach it in a different way.
Step 4
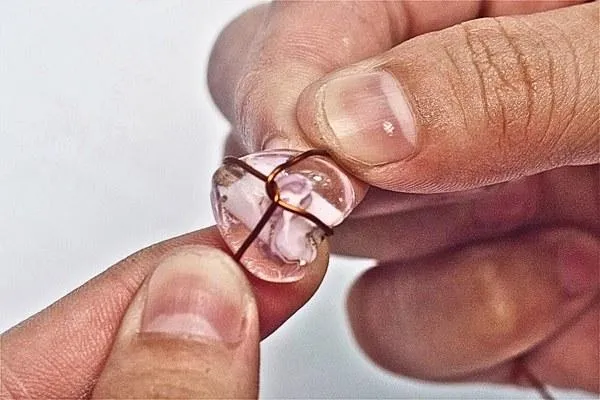
Cross the two ends of the wire tightly around the gemstone to firmly hold it in place. Wrap the wire snugly to prevent the gemstone from moving around. Tight-wrapping is key here, so ensure the wire doesn’t slide or loosen up over time.
Step 5
Once the gemstone is secured, wrap the wire (including the gemstone) around a marker. This step is crucial for shaping the ring, as the marker’s diameter will serve as the mold for your desired finger size. Choose a marker that’s similar to your finger size so the fit is comfortable.
Step 6
To make the ring’s band thicker and more durable, wrap the wire around the marker again. This creates a second layer around the band, making it more stable. Repeat this step up to four times, depending on how chunky you’d like the band to appear. Ensure the wraps are snug and even.
Step 7
Bring the wire ends toward the gemstone. Wrap them tightly around the gemstone itself to seal the shape and hold the ring’s diameter in place. This step ensures the ring will fit securely on your finger and stay intact during daily wear.
Step 8
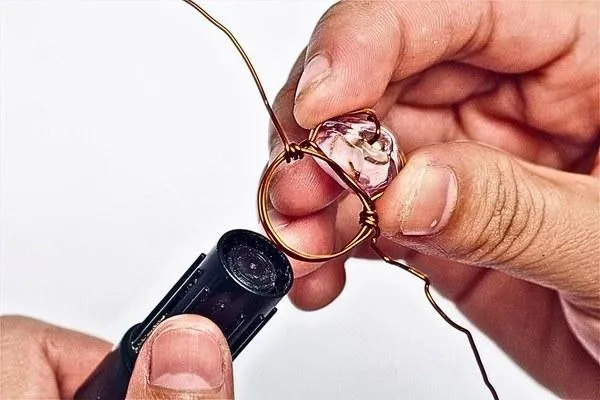
To further stabilize the gemstone, wrap each end of the copper wire around its sides. This not only adds to the design but also guarantees that the gemstone remains tightly in place. Repeat on both sides until the stone feels completely secure.
Step 9

Remove the ring from the marker and try it on your finger.
Check the fit and comfort while wearing it. If the ring feels too tight or loose, carefully adjust the wire by re-wrapping or reshaping it slightly. A good fit is both snug and easy to slide off.
Step 10

Once you’re satisfied with the ring’s size and fit, use your long nose pliers to trim off any excess wire.
Be precise when cutting to maintain the shape and structure of the ring. Avoid cutting too close to the gemstone to prevent loosening the design
Bend any sharp wire edges inward with your pliers to prevent injury or scratches while wearing the ring.
Double-check that the ends are smooth and don’t stick out. This step ensures your ring is both beautiful and safe to wear.
Step 11
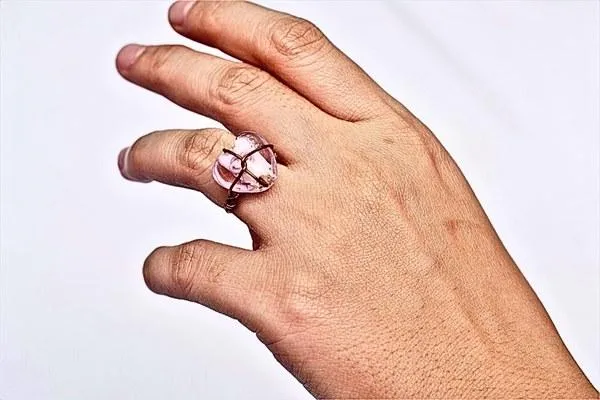
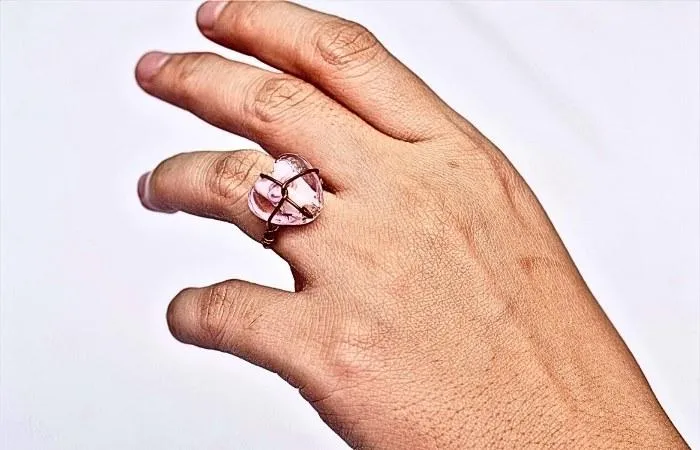
Congratulations! Your gemstone wire-wrapped ring is finished and ready to shine. Slip it onto your finger and show off your handmade jewelry piece. It’s a stylish and personal accessory that’s suitable for any occasion.
More Craft Ideas
Kid Craft
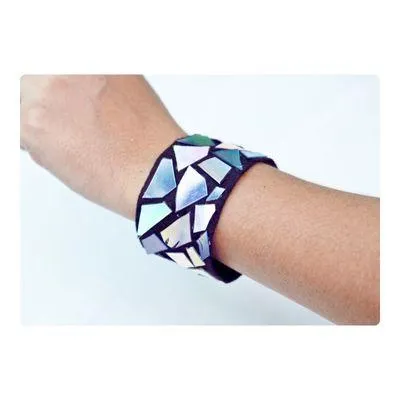
How To Make A DVD Bracelet
Kid Crafts For Every Child

Toddler Crafts

Preschool Crafts
School Crafts

Teen Crafts
Kid Crafts For In and Outdoors

Indoor Crafts
Outdoor Crafts

Educational Crafts
Kid Crafts For Every Season
Spring Crafts

Summer Crafts

Fall Crafts

Winter Crafts
Kid Crafts For Every Holiday
Valentine's Day Crafts

St Patrick's Day Crafts

Easter Crafts
Mother's Day Crafts

Father's Day Crafts

Fourth Of July Crafts

Halloween Crafts

Thanksgiving Crafts