How To Make A Playful Paper Snowman
Winter crafts have a magical way of bringing families together, and creating playful Snowman Décor is no exception! This delightful activity is perfect for kids looking to explore their crafty side during the colder months.
Imagine constructing a charming snowman from colorful construction paper —options that are both fun and easily customizable.
Do you want to make a cost-efficient snowman décor this coming holiday? This décor is easy to make and serves as a fun activity with family and friends. So spread some winter cheer by making adorable snowman decorations that everyone will adore!
Step 1
Gather the following material:
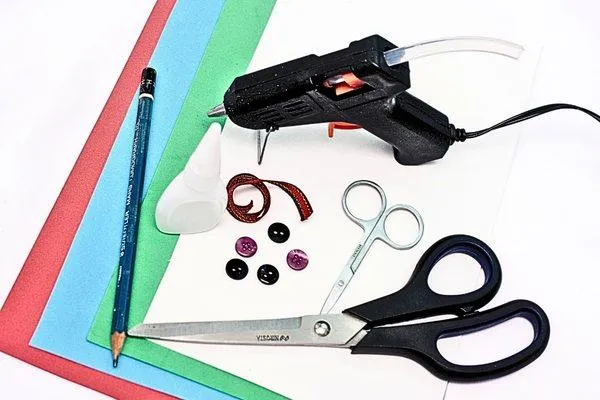
I have included a list of available craft supplies for your convenience.
Pencil Hot glue Concrete glue Scissors 2 medium buttons of the same color (any color will do) 3 pieces of black medium button Craft scissors A piece of ½ centimeter thick ribbon Red, blue, green and white sponge paper
If you click on any link, I will receive a small commission at no cost to you.
Step 2
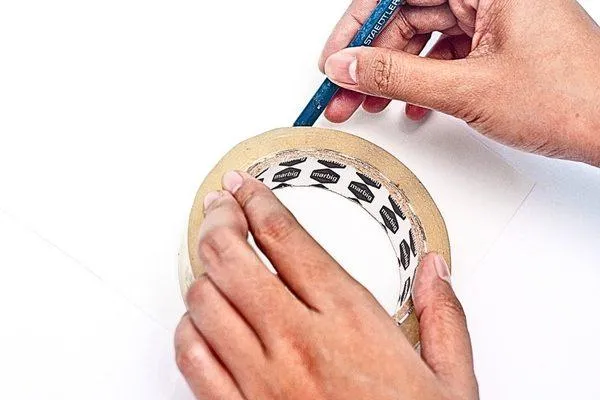
On the white sponge paper, use a pencil to trace two circles, one larger than the other. These will form the snowman's body
Step 3
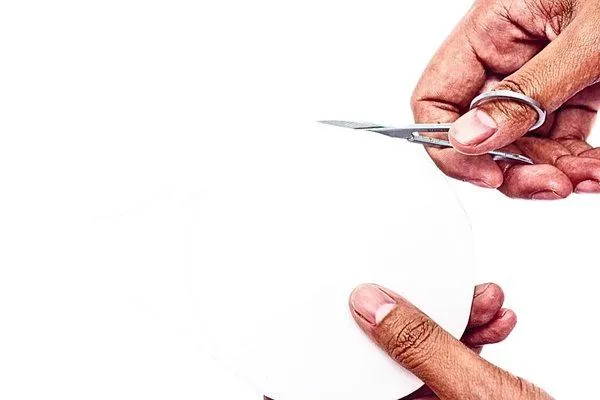
Using your craft scissors, carefully cut out the circles you just traced. These will be the main parts of your snowman..
Step 4
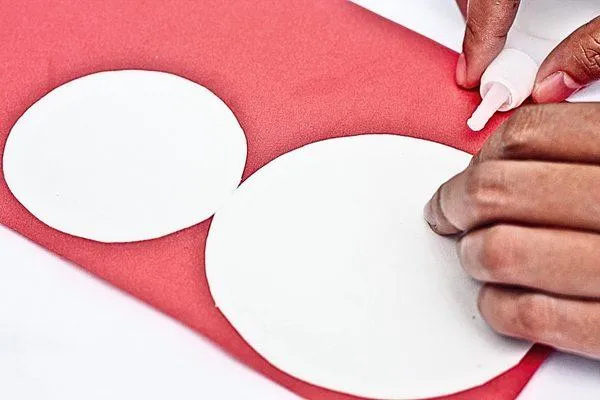
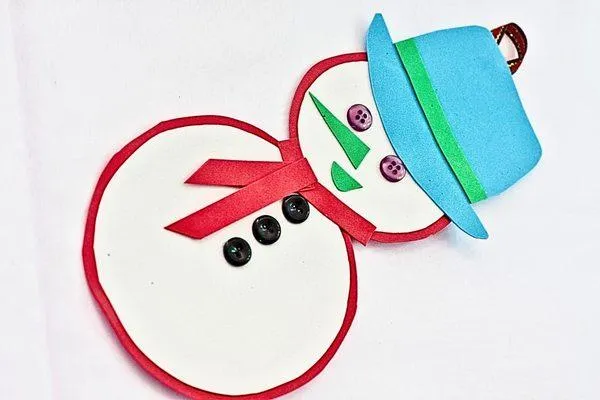
Take concrete glue and attach both white circles onto a piece of red sponge paper side-by-side, resembling the snowman’s body against a colorful background.
Step 5
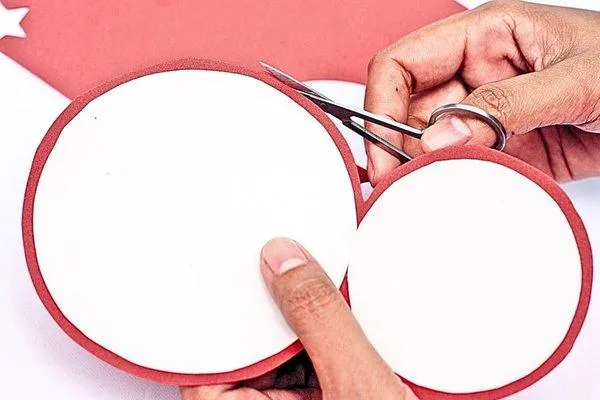
Cut around the white circles, leaving a small border of red sponge paper showing around the edges to highlight the snowman's shape.
Step 6
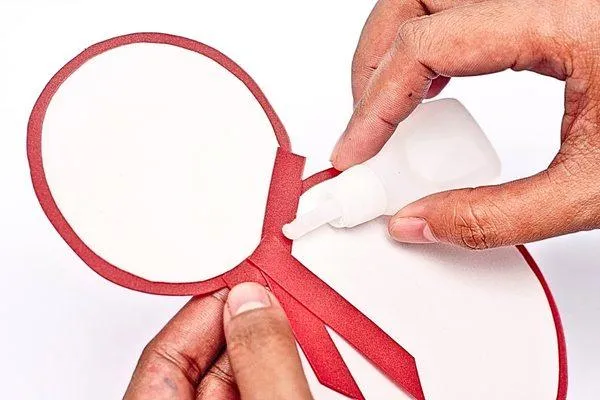
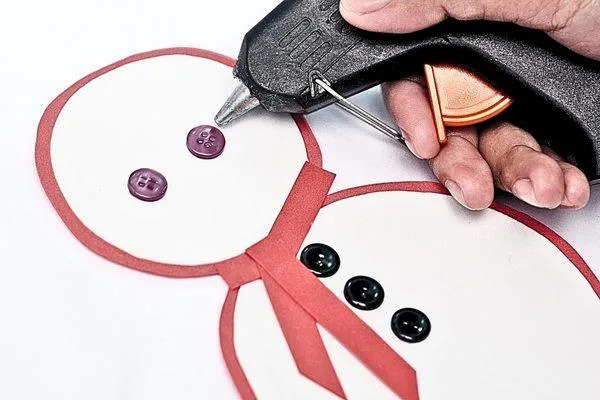
Cut a strip of red sponge paper and glue it on the neck of the snowman, creating a wrapped neck effect. This is his scarf..
Step 7

Glue three black buttons in a vertical line below the snowman’s scarf to mimic buttons on his front..
Step 8
Place the two medium buttons of the same color as eyes on the top, larger white circle of the sponge paper.
Step 9
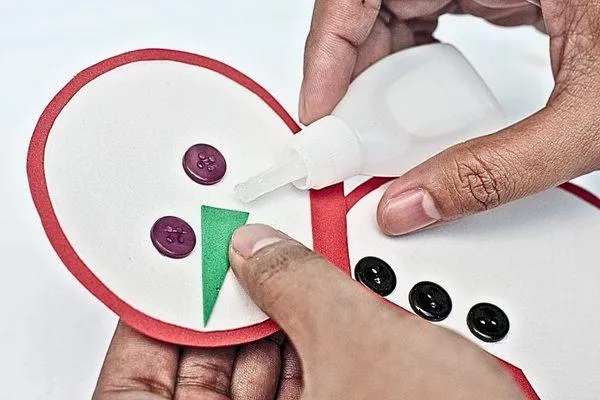
Cut a small triangle from green sponge paper and glue it below the eyes to serve as the nose.
Step 10
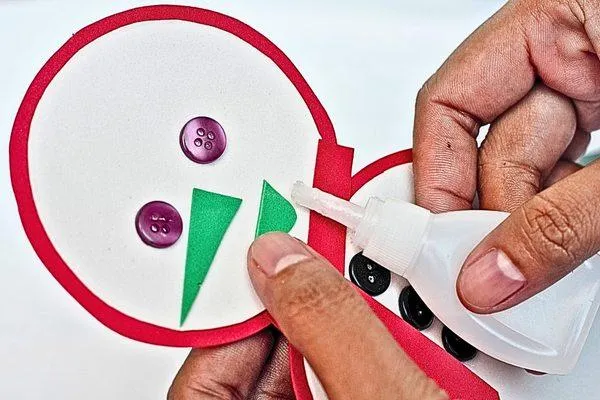
Using a scrap of green sponge paper, cut out a simple smile shape and glue it just below the nose.
Step 11
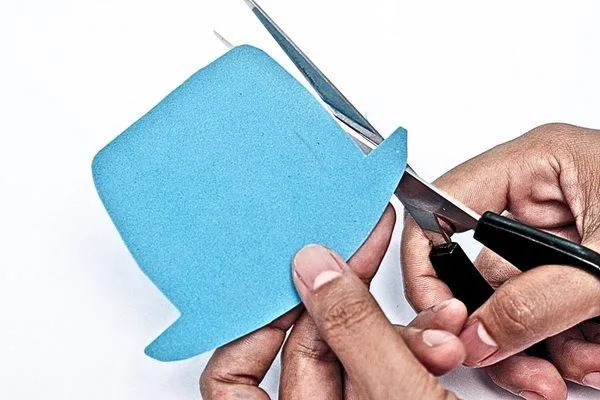
Cut another strip of newspaper and roll it tightly into a cylindrical shape to form the candle body. Adjust the roll until it Use light blue sponge paper to create a festive hat for your snowman.
Step 12
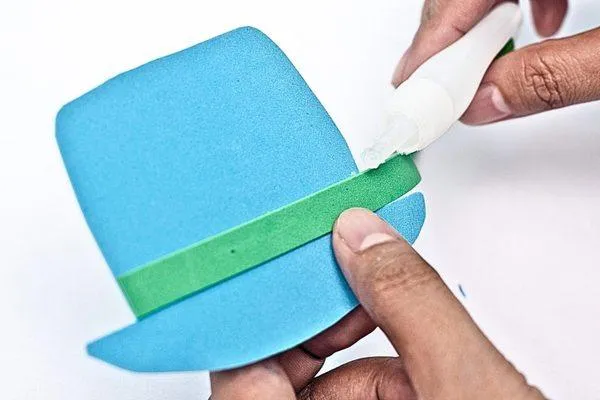
Cut a strip of green sponge paper and adhere it to the rim of the blue hat for an extra touch of color.
Step 13
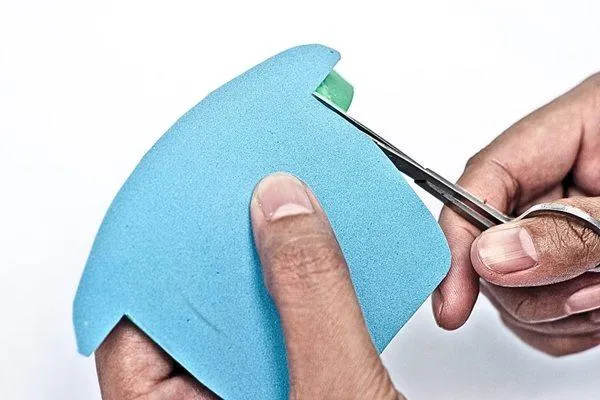
Once the green strip is glued, trim any excess material to keep your hat neat and tidy.
Step 14
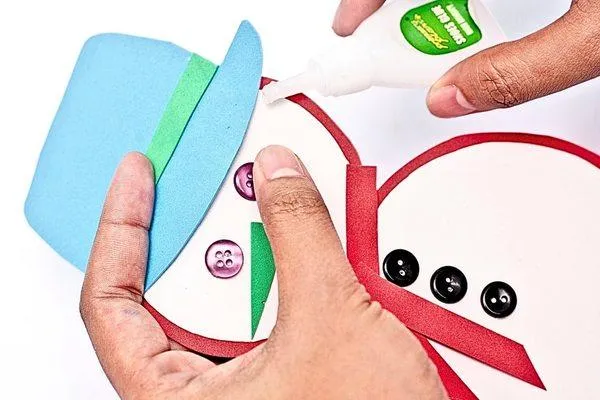
Glue the finished hat on top of the snowman’s head, completing his festive look.
Step 15
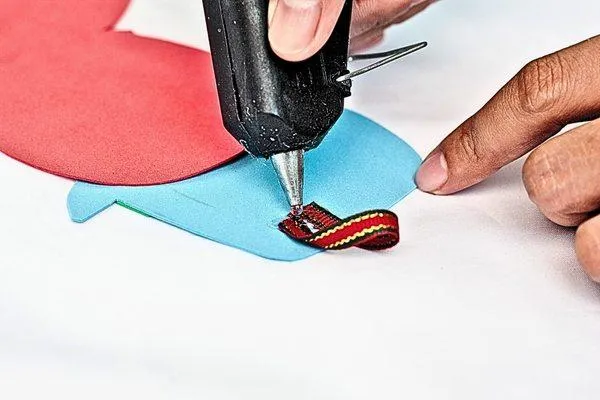
Cut a piece of ribbon and affix it at the top part of the hat using hot glue. Make sure it’s secure; this will be used for hanging the decor.
Step 16
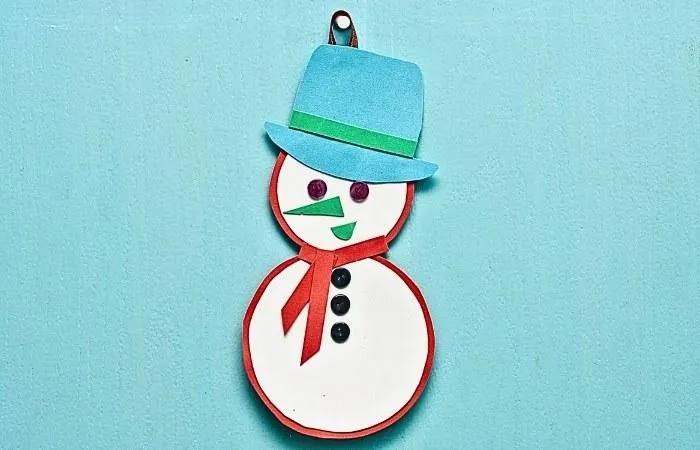
Your snowman wall decor is now complete! Take a moment to admire your craftmanship—it's the product of your creativity and effort.
Step 17
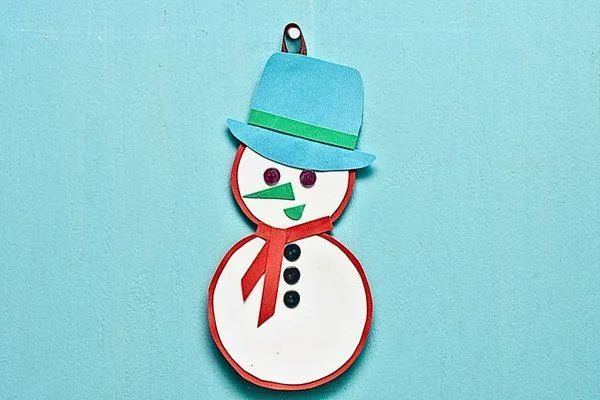
Now, find the perfect spot on your door and hang your newly crafted snowman decor. It's ready to greet family and guests alike with wintry cheer.
More Craft Ideas
Kid Craft
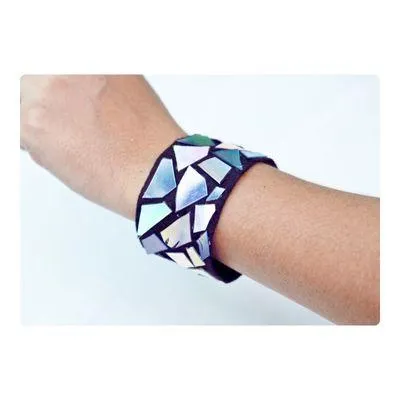
How To Make A DVD Bracelet
Kid Crafts For Every Child
Toddler Crafts
Preschool Crafts
School Crafts
Teen Crafts
Kid Crafts For In and Outdoors

Indoor Crafts
Outdoor Crafts

Educational Crafts
Kid Crafts For Every Season
Spring Crafts

Summer Crafts
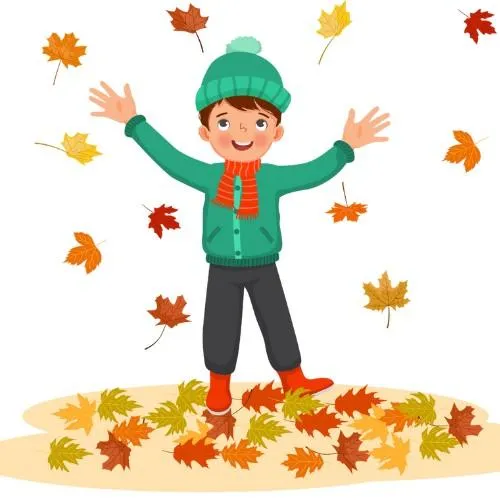
Fall Crafts
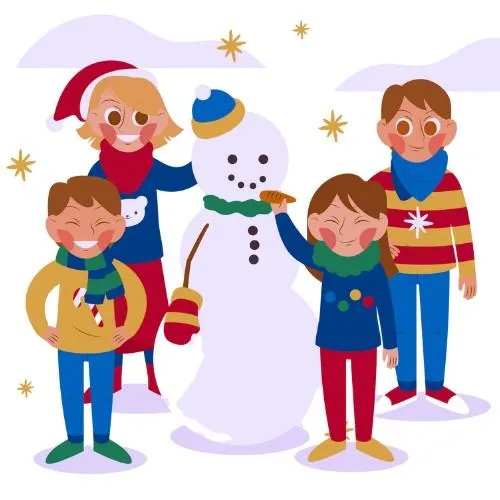
Winter Crafts
Kid Crafts For Every Holiday
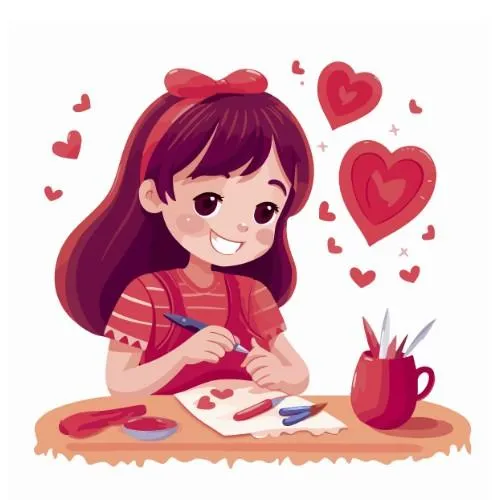
Valentine's Day Crafts
St Patrick's Day Crafts

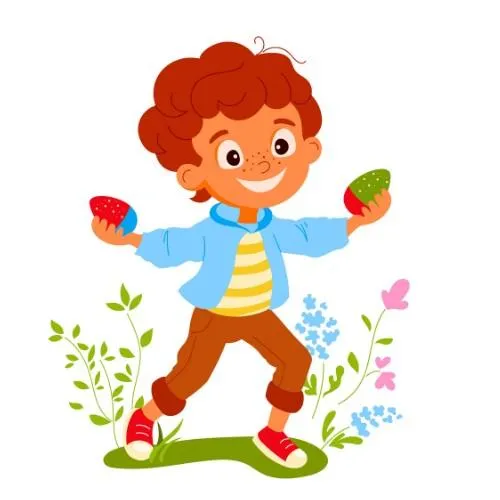
Easter Crafts
Mother's Day Crafts

Father's Day Crafts

Fourth Of July Crafts
Halloween Crafts

Thanksgiving Crafts