
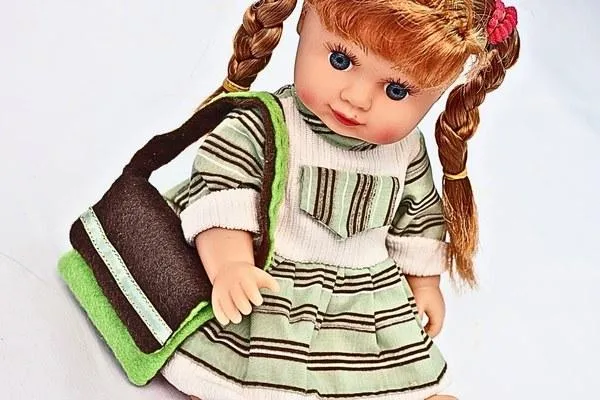
How To Make A Doll Shoulder Bag
Toddler crafts are the perfect way to spark creativity and keep little hands busy! A Doll Shoulder Bag is a fun and simple project that’s just right for tiny crafters. With a few basic materials and a bit of imagination, you and your toddler can create a sweet little bag that fits her favorite doll perfectly.
Whether you're crafting on a rainy afternoon or planning a playdate project, this DIY doll accessory is sure to bring big smiles.
Step 1
Gather the following material:
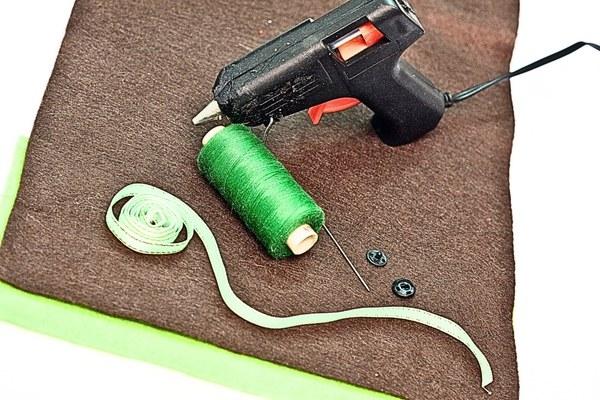
I have include a list of available craft products for your convenience:
2 pieces soft craft felt (brown and apple green)
½ centimeter apple green satin ribbon
a piece of black invisible button
green sewing thread
sewing needle
a pair of scissors
hot glue
Step 2
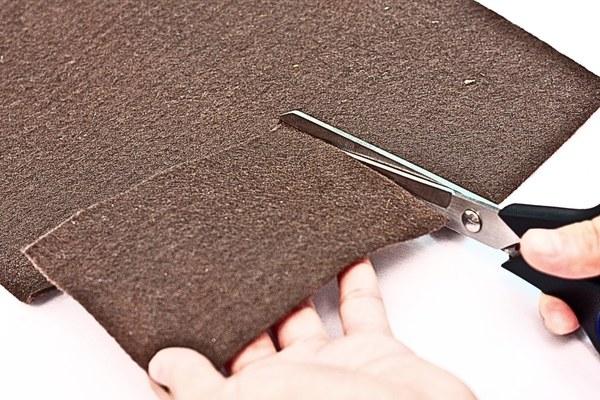
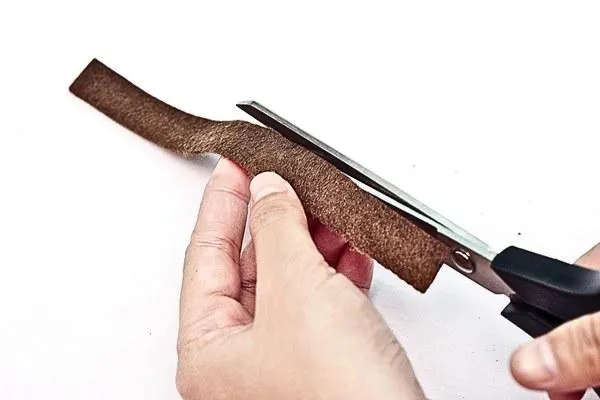
Take the brown craft felt and cut a rectangle measuring 12 centimeters by 8 centimeters. This will form the primary body of the doll’s bag.
Ensure that the rectangle has straight, even sides will make the next steps easier and the final product more professional looking.
Step 3
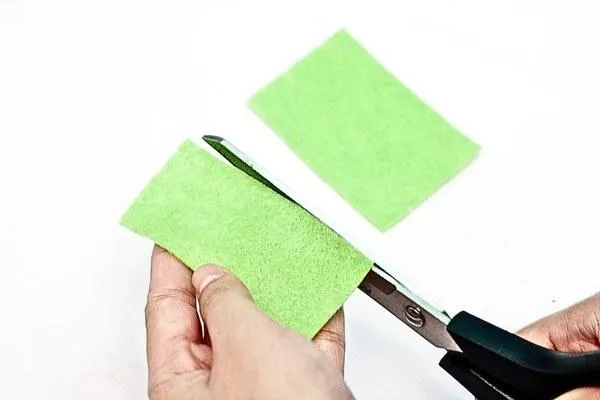
From the apple green craft felt, cut two rectangles – one about 8 cm by 4 cm and the other slightly smaller at 8 cm by 3 cm. These will be the bag's pockets.
Step 4
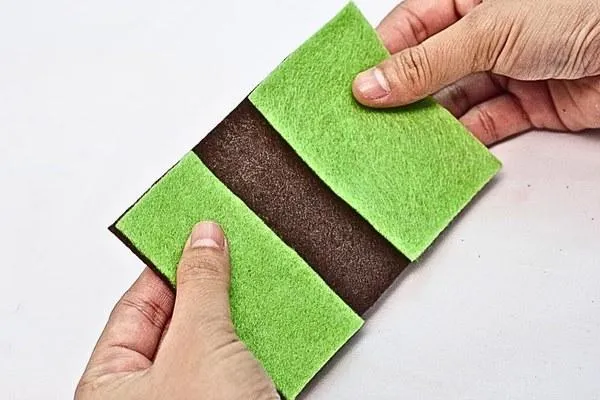
Align the green rectangles on either side of the brown one, setting them where you want the pockets to be.
This helps in sewing them correctly in the position that enhances the bag’s functionality.
Step 5
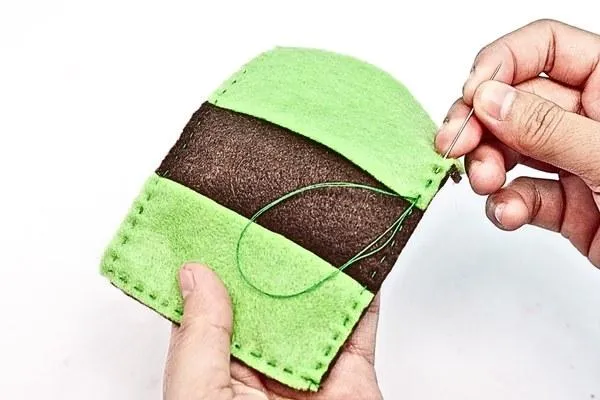
Using a needle and green thread, sew the green pockets onto the brown felt using a running stitch. This type of stitch is not only easy but also strong enough to hold the pockets firmly in place.
Step 6
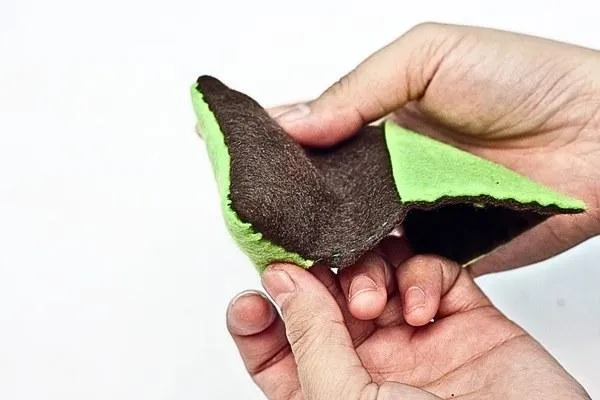
Turn the bag inside out so the seams are on the inside, then flatten out all sides. This step helps in giving the bag a neater, more defined shape, ensuring the main pouch and smaller pocket stand out properly.
Step 7
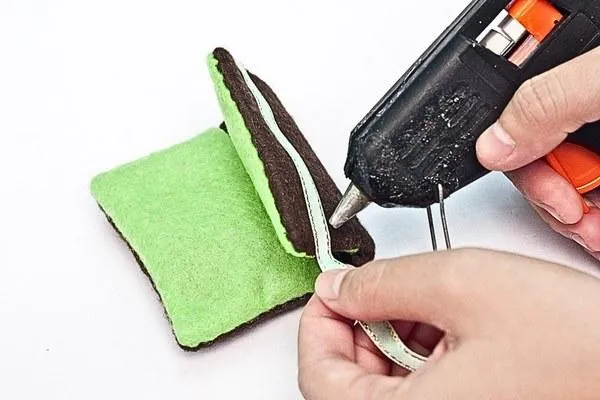
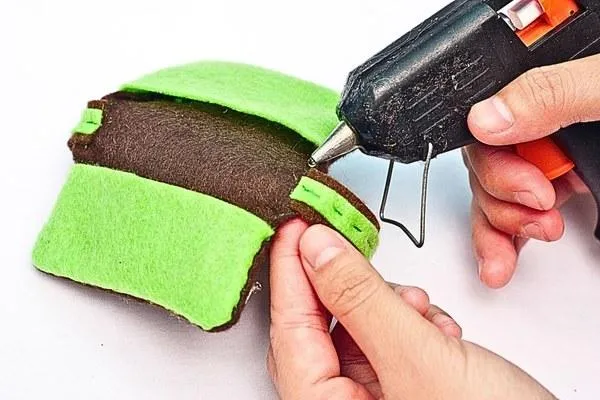
Apply hot glue to fix the green satin ribbon as a lining on the edge of the bag's smaller pocket. This not only decorates the bag but also helps in defining the areas more clearly.
Step 8
Cut one strip of brown felt approximately 1 cm wide and a thinner green strip of the same length.
Make sure the length is proportionate to the doll’s height to ensure a good fit.
Step 9
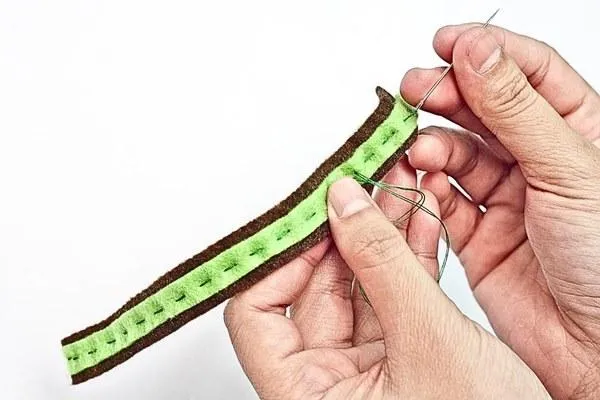
Center the green strip onto the brown strip and stitch them together along the length using a running stitch. This creates a strong and decorative strap for the bag.
Step 10
Fasten the finished strap to either side of the bag's top edge with hot glue, ensuring it's secure and evenly placed for balance.
Step 11
Review the overall look of the bag and adjust any alignments or finishes as needed for a clean appearance.
Step 12
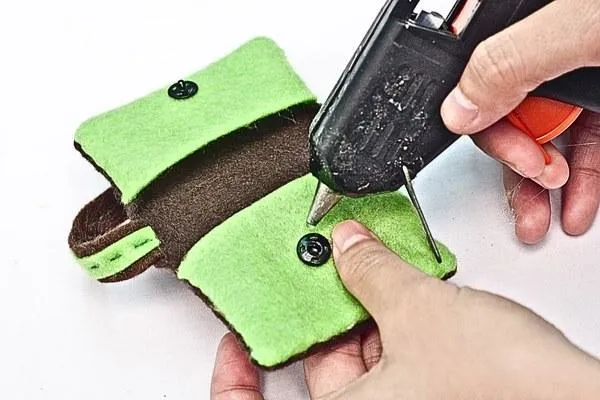
Glue the invisible button on the inside of the bag’s top center. This will serve as a closure mechanism to keep the bag shut.
Step 13
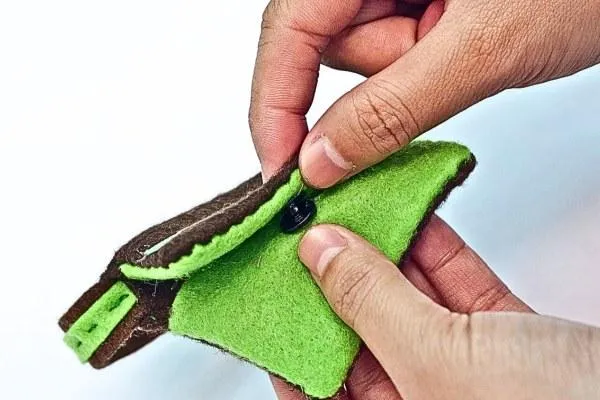
Check if the button aligns properly when the bag is closed. Make necessary adjustments to ensure it fits neatly and the bag closes correctly.
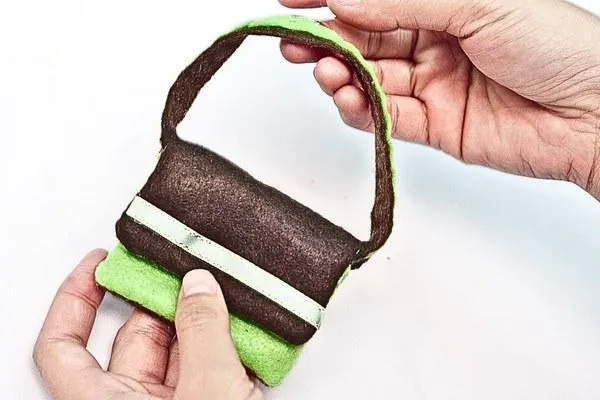
Step 14
Your doll's new bag is ready! It’s a stylish and functional accessory, perfect for any imaginative play setup.
Making a Doll Shoulder Bag is a creative toddler craft that blends fashion, fun, and imagination. Kids will enjoy designing an accessory that’s stylish and personal.
Keep the inspiration going by exploring more toddler crafts filled with trendy, hands-on DIY ideas!
More Craft Ideas
Kid Craft
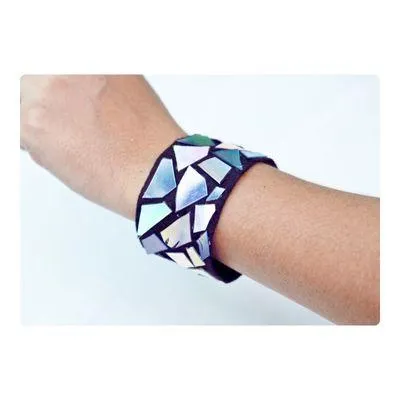
How To Make A DVD Bracelet
Kid Crafts For Every Child
Toddler Crafts
Preschool Crafts
School Crafts

Teen Crafts
Kid Crafts For In and Outdoors

Indoor Crafts
Outdoor Crafts

Educational Crafts
Kid Crafts For Every Season
Spring Crafts

Summer Crafts

Fall Crafts

Winter Crafts
Kid Crafts For Every Holiday
Valentine's Day Crafts
St Patrick's Day Crafts

Easter Crafts
Mother's Day Crafts
Father's Day Crafts

Fourth Of July Crafts
Halloween Crafts

Thanksgiving Crafts