How To Make A Shamrock Bracelet
Making a Leprechaun Magnet is a wonderful and creative activity for kids, especially around St. Patrick's Day. It combines art, a bit of Irish lore, and the practicality of creating something that can hold forks and spoons.
This craft allows children to work with their hands, learn about following instructions, and use their imagination to bring a fun little character to life. This not only makes for an enjoyable afternoon but also results in a useful and festive decoration.
Step 1
Gather the following material:
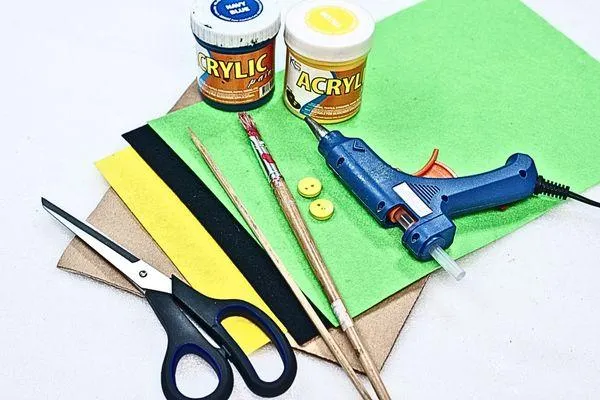
I have included a list of available craft supplies for your convenience.
green, yellow and black crafting felt
2 pcs. medium-sized wooden button
a piece of brown multilayered board
blue and yellow or green acrylic paint
a piece of wooden skewer
a hot glue
a pair of scissors
If you click on any link, I will receive a small commission at no cost to you.
Step 2
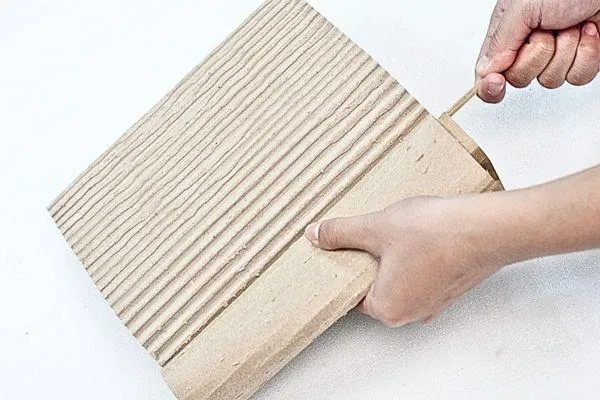
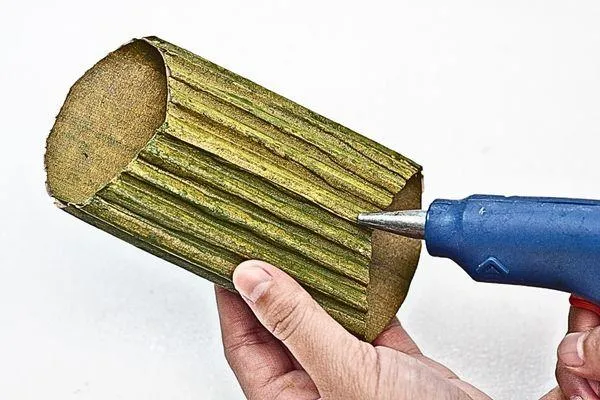
Corrugate the brown, multilayered board using a wooden skewer. Insert the wooden skewer on the side openings of the multilayered board and carefully lift the skewer upwards to remove the upper layer of the board. Insert the wooden skewer in an alternating manner to proper remove the right layer. .
Step 3
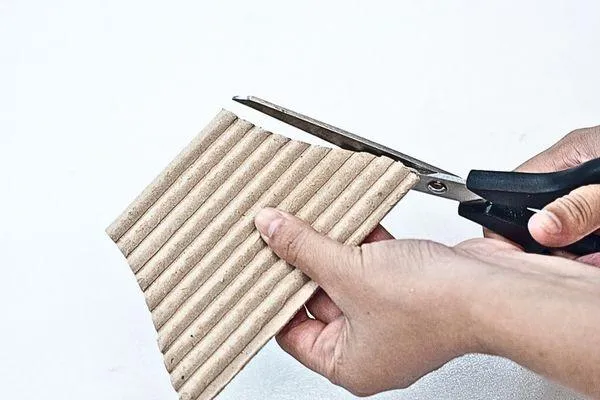
Fold the corrugated board into a half. Make sure that you have the proper measurements for your utensils before proceeding to the next process. This assures proper fitting of the utensils to the utensil holder’s body. Cut a curve on the sides of the folded corrugated board. Refer to the image to achieve the appropriate cut for this step.
Step 4
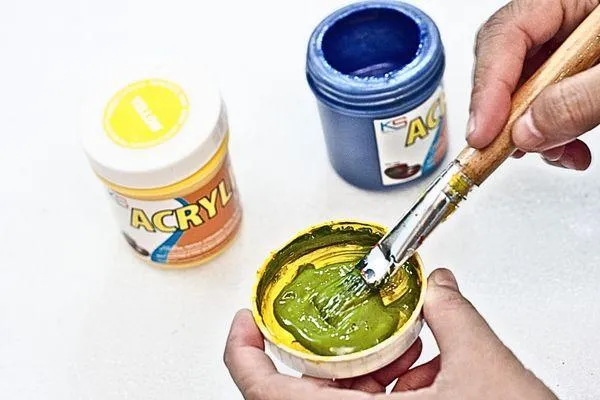
Mix a little bit of blue to the yellow acrylic paint to create a green color. Skip this part if you already have your own pre-mixed green acrylic paint.
Step 5
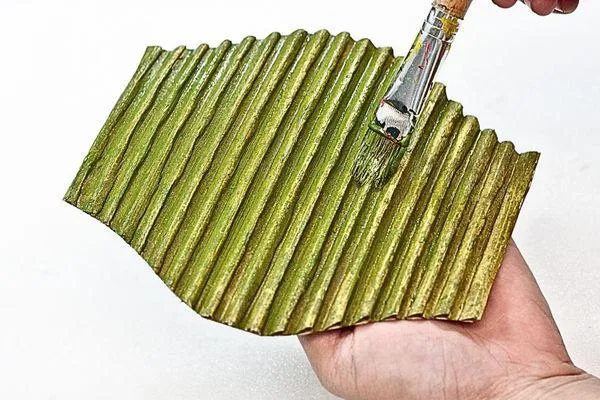
Unfold the corrugated body and paint it with green acrylic paint. Let it dry for an hour before proceeding to the next process of this tutorial. This green corrugated body will serve as the body of the leprechaun..
Step 6
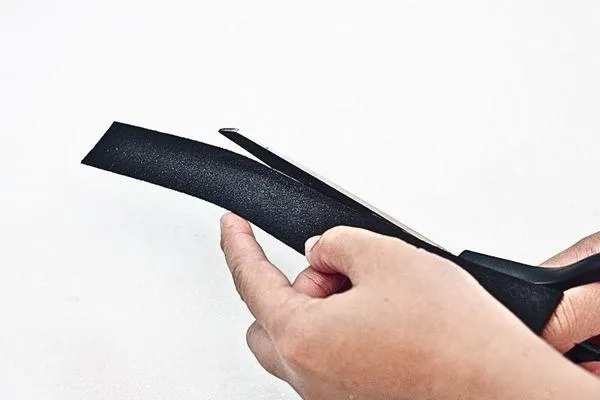
Cut a strip of black crafting felt that is at least 2 centimeters in width. This will serve as the belt of the leprechaun..
Step 7
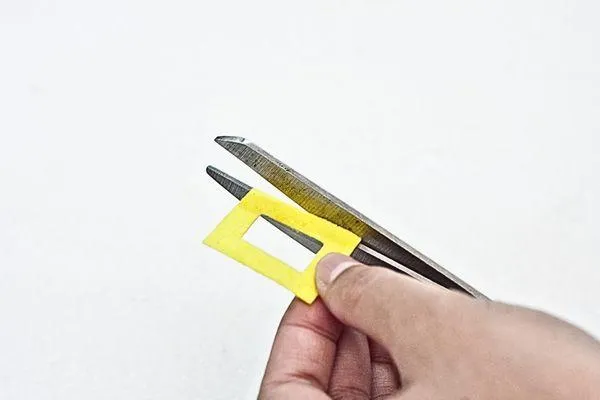
Cut a rectangle from the yellow crafting felt. Make sure that the width of this is almost the same as the black belt. This will serve as the buckle of the belt. Create a hole in the middle of the rectangle that is synonymous with the outer shape of the buckle. .
Step 8
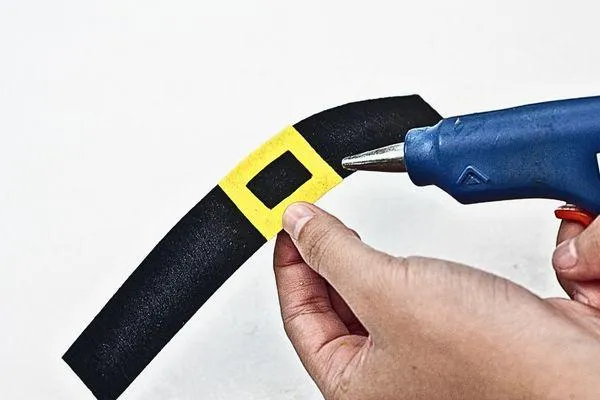
Hot glue the yellow buckle in the middle of the black belt..
Step 9
Meet the ends of the utensil holder’s body and generously glue it..
Step 10
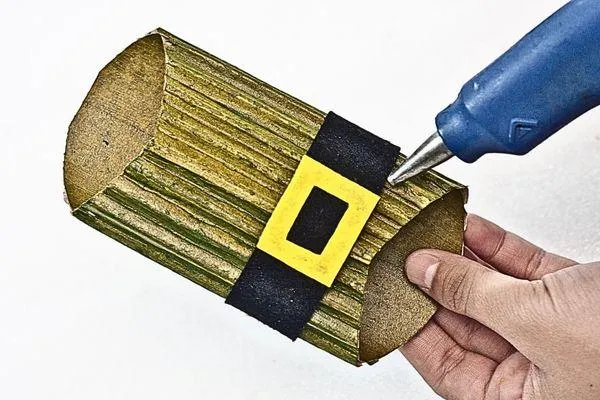
Wrap the belt around the corrugated body of the utensil holder. Take note that the position of the belt should be at least placed on the lower two-thirds of the overall body of this..
Step 11
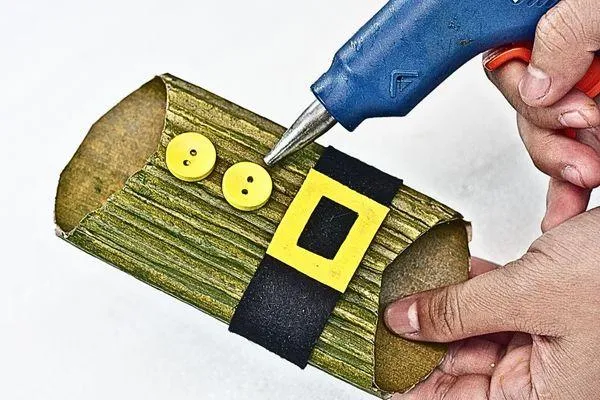
Place and glue the two yellow wooden buttons vertically, just above the buckle..
Step 12
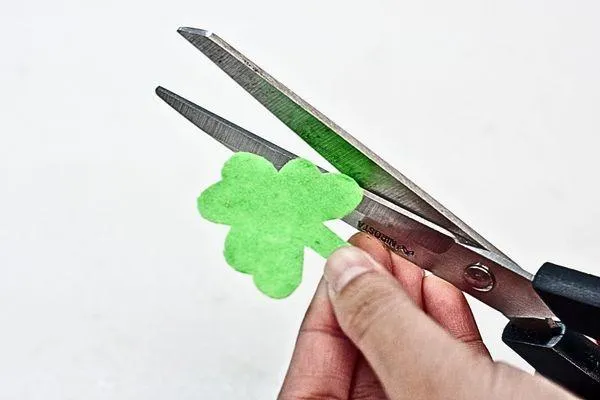
Cut a small three-leaf shamrock from the green crafting felt..
Step 13
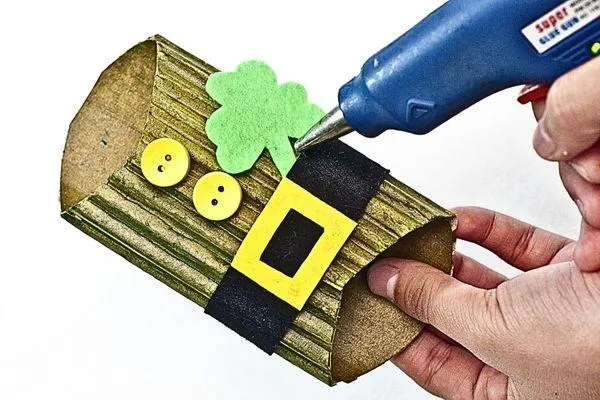
) Insert the small felt shamrock on the right (facing the object) part of the belt. Secure the stability of the shamrock by applying generous amounts of glue on the black of it..
Step 14
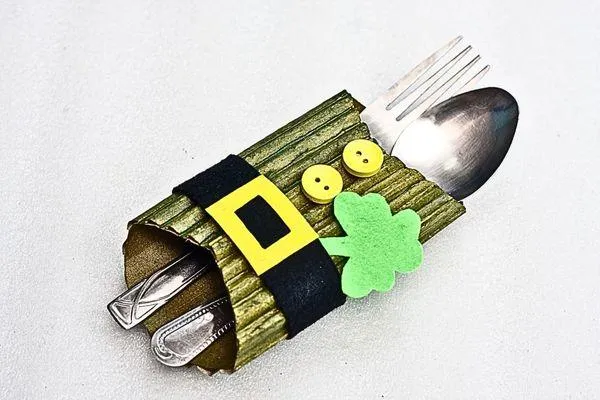
Finally done and ready for use! You can now impress your guest with your new festive St. Patrick utensil holder during your special dinner.
Final Thoughts
The St. Patrick utensil holder is great for special dinner with the family during the St. Patrick’s Day holiday. This can hold a fork, spoon, and a knife also. The general size of the utensil holder can be altered according to your needs. You can also personalize this base on your own preference. You can never go wrong with this utensil holder. And they would definitely appreciate not only your cooking but also your creativity on this one. Hope it helps you in preparing for the St. Patrick’s celebration!
Check out our related articles for more exciting St. Patrick’s Day crafts to enjoy with your little ones!
More Craft Ideas
Kid Craft
How To Make A DVD Bracelet
Kid Crafts For Every Child
Toddler Crafts
Preschool Crafts
School Crafts

Teen Crafts
Kid Crafts For In and Outdoors

Indoor Crafts
Outdoor Crafts

Educational Crafts
Kid Crafts For Every Season
Spring Crafts

Summer Crafts

Fall Crafts

Winter Crafts
Kid Crafts For Every Holiday
Valentine's Day Crafts

St Patrick's Day Crafts

Easter Crafts
Mother's Day Crafts

Father's Day Crafts

Fourth Of July Crafts

Halloween Crafts
Thanksgiving Crafts