How To Make A Crafty Scissor Case
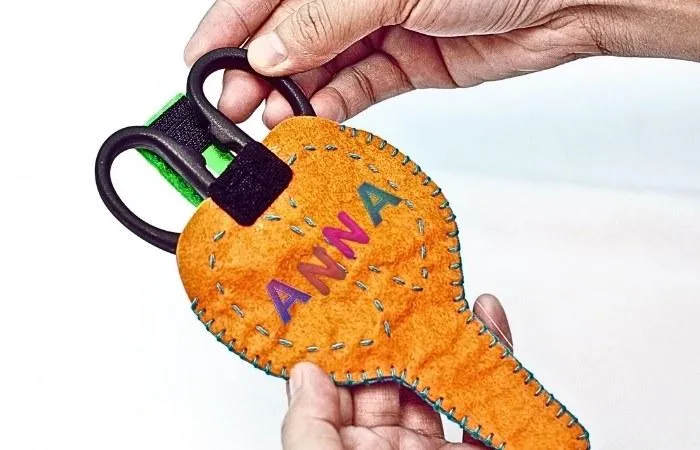
Making a scissor case can be a really cool craft for kids. It's unique because not only is it practical, helping to keep scissors safe and sound, but it's also a chance to be creative!
Kids can choose their favorite colors and make a design that's all their own. Plus, it's a fun project that involves cutting, sewing, and gluing—all skills that are great for growing minds and busy hands.
With a bit of imagination, children can design their very own scissor holder to keep their tools safe and easy to find. It adds a splash of color to any craft corner
Step 1
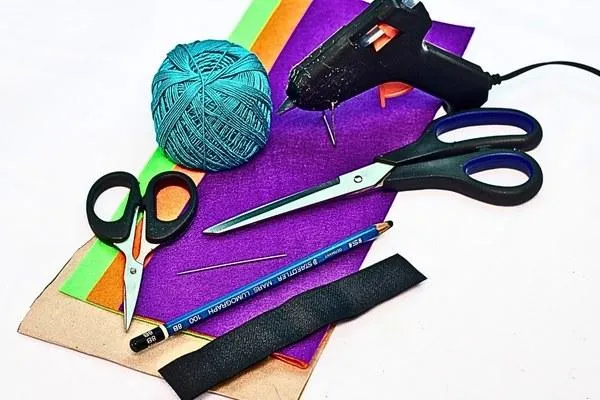
Gather the following material:
I have include a list of available products for your convenience:
3 pieces craft felt (neon green, orange and purple)
pattern paper
pencil
big sewing needle
black velcro
scissors
hot glue
crochet thread
model scissors (for measurement purposes)
Step 2
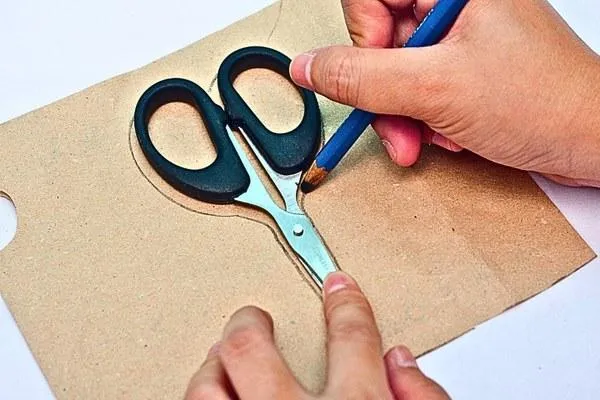
To start, get your model scissors and put them on a piece of pattern paper. Draw around them to make a shape just like the scissors – think of it like drawing a shadow. This is going to be your guide for the whole project, so try to keep the lines smooth!
Step 3
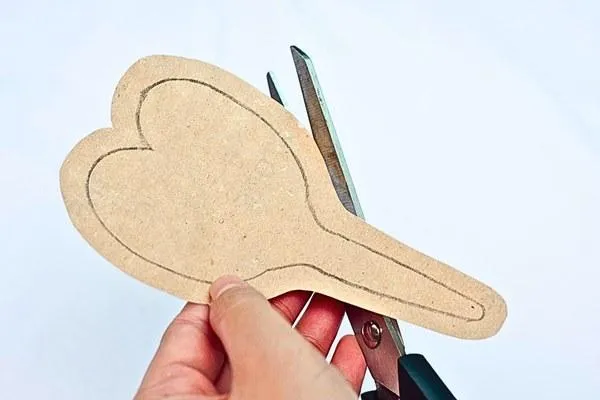
Now, use your paper scissors to cut out that scissor shape you just drew. But don't cut right on the line! Leave a little bit of space – a small border – all around it. That extra space is important for later when we sew everything together.
Step 4
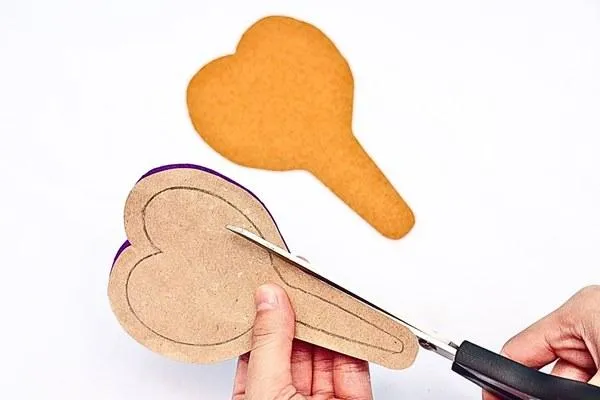
Take the pattern you cut out and lay it on your orange and purple craft felt. These are going to be the front and back of your scissor case. Get your fabric scissors and follow the pattern to cut out two scissor shapes from the felt—one orange, one purple.
Step 5

Now, on the orange felt scissor shape, use yarn or embroidery thread to trace around the handle part with what's called a running stitch. It's like drawing with thread! Just make little stitches one after the other all along the handle outline.
Step 6
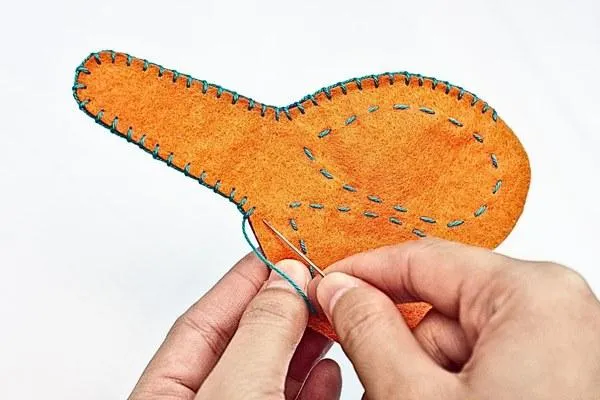
Put the orange felt on top of the purple felt so their edges match up. Now, it's time to sew the edges together, but leave the top part (the widest part) open—that's where you'll put the scissors in. Use a blanket stitch, which is a fancy way of looping the thread over the edge for a nice look.
Step 7
Cut out a small rectangle from one of the felt pieces. This will be the flap that keeps the scissors from falling out of the case. Sew around the edges of this flap with a running stitch, just like you did before on the handle.
Step 8
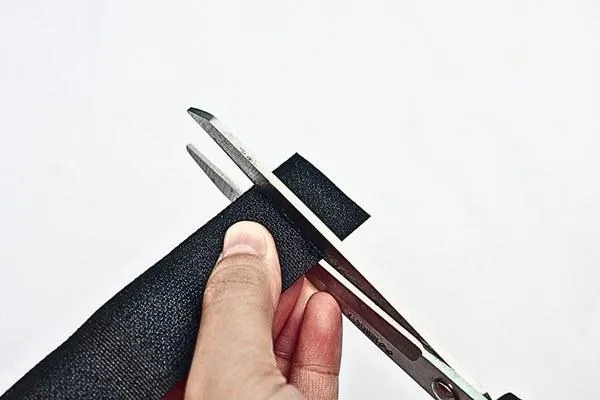
Next, cut two small pieces of Velcro. These will help your case stay closed when the scissors are inside.
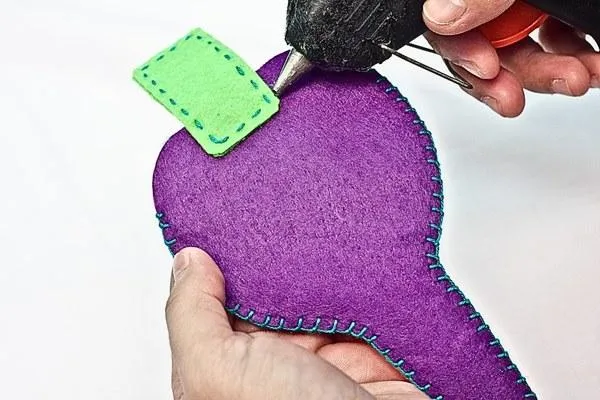
Step 9
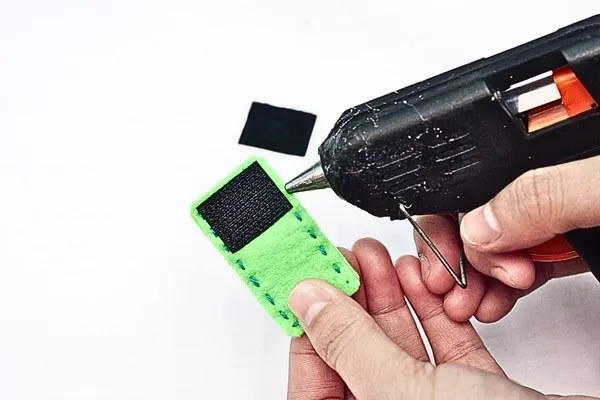
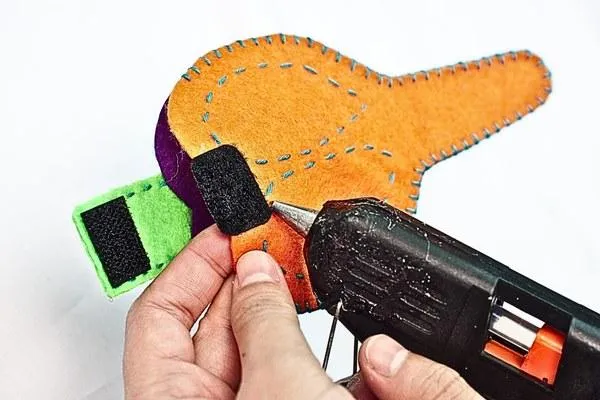
With a grown-up's help, se hot glue to stick one piece of Velcro on the flap you just made. Then glue the flap to the top middle part of the orange side of your case.
Step 10
Then glue the flap to the top middle part of the orange side of your case.
Step 11
Now glue the other piece of Velcro onto the purple side of your case, where the flap will come down and close. Make sure it's in the right spot so the flap can reach it and stick!
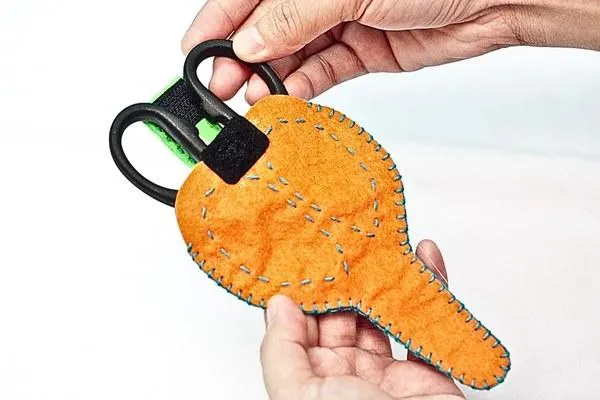
Step 12
Open and close your new case a few times to make sure it works. Put your scissors in and see if they fit nicely. If anything's a little off, you can make small changes now.
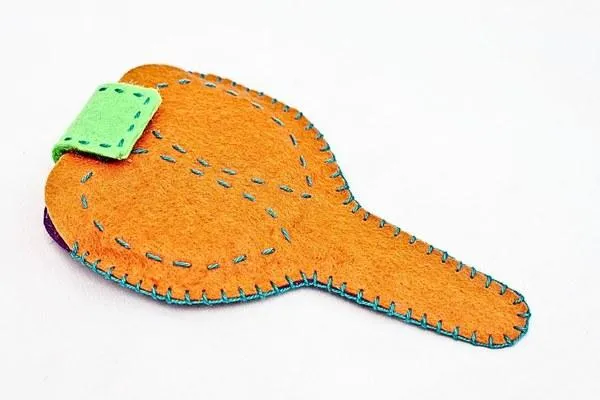
Step 13
If there are any little bits of felt or thread sticking out, use your scissors to carefully trim them away. This will make your case look super neat and tidy.
More Craft Ideas
Kid Craft
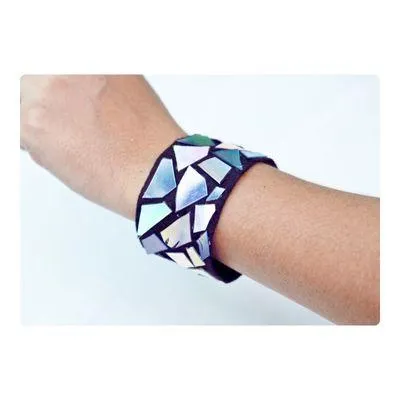
How To Make A DVD Bracelet
Kid Crafts For Every Child
Toddler Crafts

Preschool Crafts
School Crafts

Teen Crafts
Kid Crafts For In and Outdoors

Indoor Crafts
Outdoor Crafts

Educational Crafts
Kid Crafts For Every Season
Spring Crafts

Summer Crafts

Fall Crafts

Winter Crafts
Kid Crafts For Every Holiday
Valentine's Day Crafts

St Patrick's Day Crafts

Easter Crafts
Mother's Day Crafts

Father's Day Crafts

Fourth Of July Crafts

Halloween Crafts

Thanksgiving Crafts