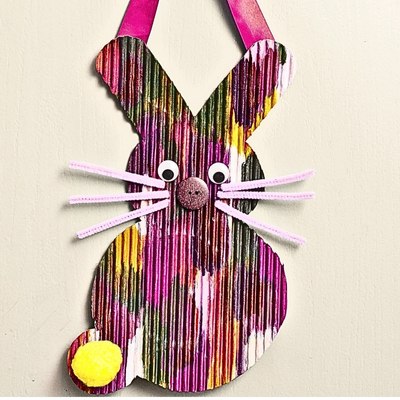
How To Make A Rainbow Bunny Decor
Crafting is not just a fun activity; it's a great way to make something unique and personal. A Photo Bug Photo Display is a fun indoor project that combines art with function.
It is a cheerful way to show off their favorite pictures. With simple supplies, this activity keeps little hands engaged and adds a personal touch to any room.
Today, I'm going to guide you through making a charming Love Bug photo holder using simple materials like a yogurt cup and some colorful paper. This craft is perfect for displaying your favorite photos in a fun and adorable way. Let's jump right in and start making these cute little bugs!
Step 1

Gather the following material:
I have include a list of available products for your convenience:
Here's some stuff
Step 2
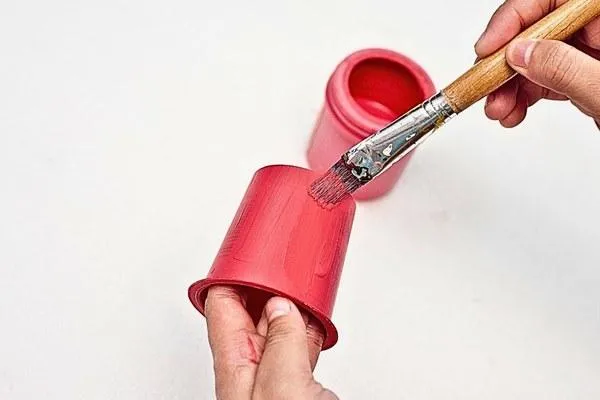
Begin by painting the outside of the yogurt cup with red acrylic paint. Use a paintbrush for an even coat. Let it dry for about an hour. If the color isn't vivid enough after the first coat dries, feel free to add another layer to make it pop.
Step 3
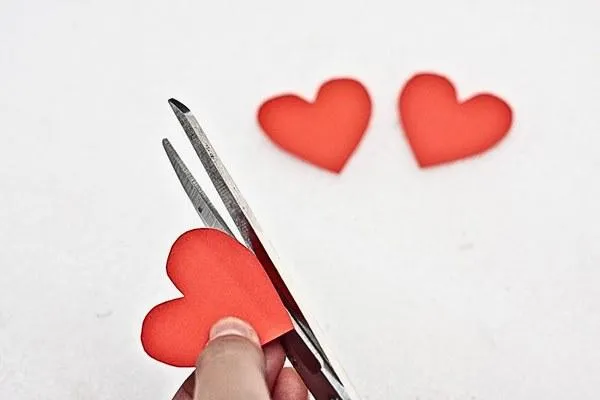
Use the red construction paper to cut out three medium-sized heart shapes. These will serve as the wings of your Love Bugs.
Step 4
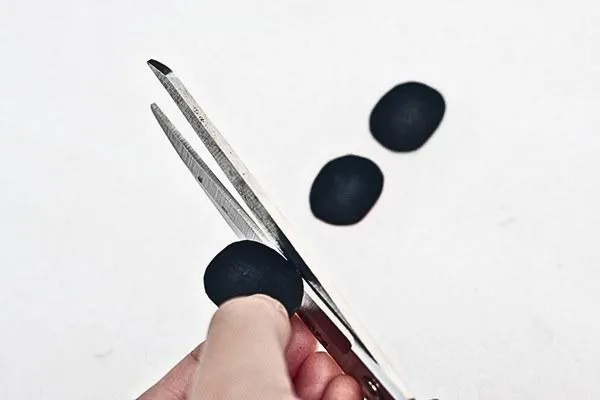
Next, cut three medium-sized oblong shapes from the black construction paper. These should be proportionate to the hearts as they will represent the bug's heads.
Step 5
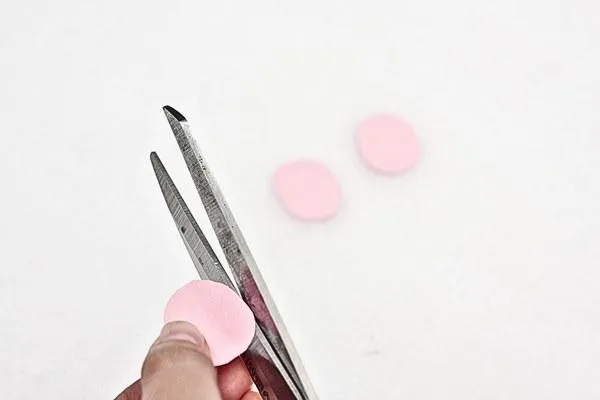
Cut three medium-sized pink circles from the pink construction paper. These circles will be the abdomen of each bug.
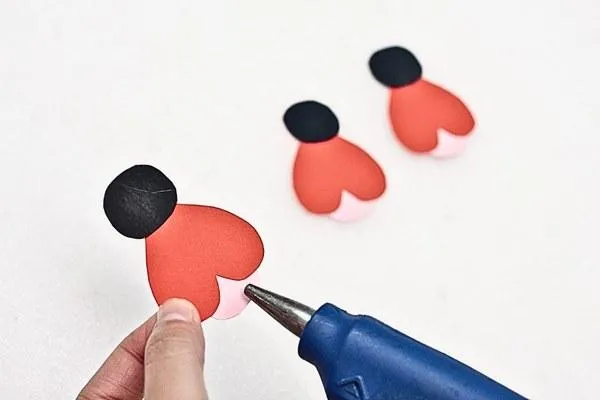
Step 6
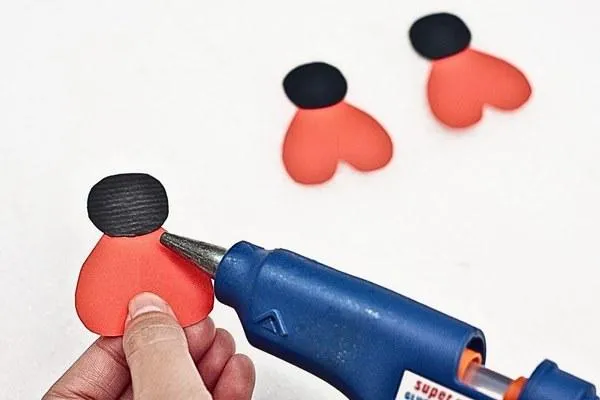
Glue the black head to the pointed tip of each heart-shaped wing. Repeat this process for each of the three bugs you're making.
Step 7
Next, glue each pink circle to the rear end of the heart wings, opposite from where you attached the head.
Step 8

Now it's time to give your Love Bugs some personality! Use pink paper cut-outs for the eyes, lips, and dimples. Add other details to the wings using a black permanent marker to draw patterns or designs.
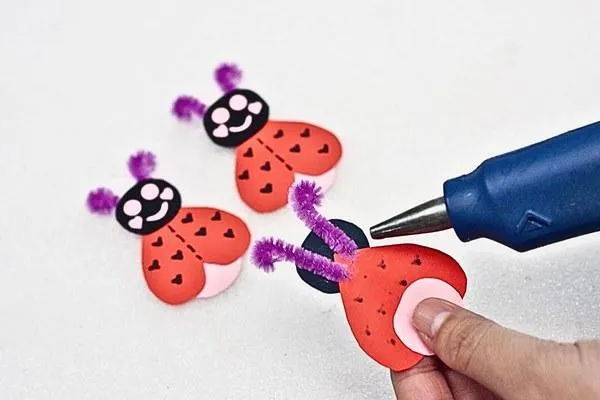
Step 9
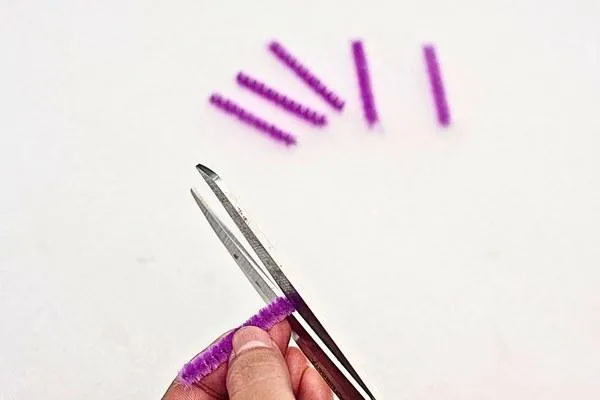
Cut six 3-centimeter pieces from one purple pipe cleaner. Curl one end of each piece to create a loop. Attach a pair of antennas to the back of each bug's head using hot glue.
Step 10
Position and glue a red paper clip between the antennae on the back of each bug. These clips will hold the photos.
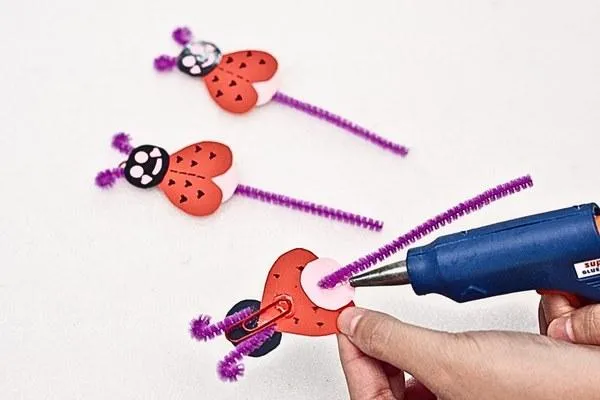
Step 11

Cut remaining purple pipe cleaners into lengths of 5 cm, 7 cm, and 9 cm. Glue each piece vertically on the back of the Love Bugs to create a stem for inserting into the base.
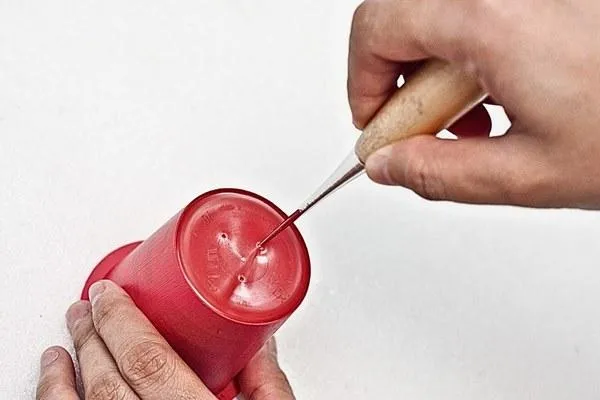
Step 12
LUse the awl hole crafting tool to make three holes at the bottom of the painted yogurt cup. These holes should be spaced well enough to fit each Love Bug.
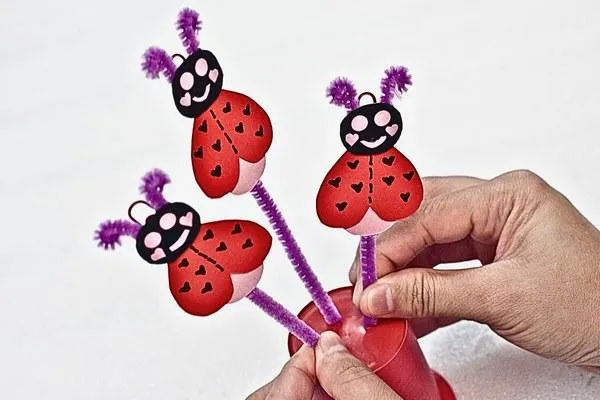
Step 13
Insert the stems of the Love Bugs into the holes you made in the yogurt cup.
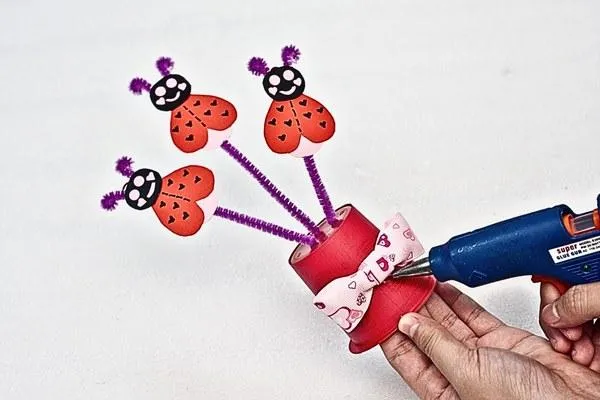
Step 14
Create a bow from the pink grosgrain ribbon and glue it to the front of the yogurt cup for a decorative touch.
Step 15
Clip your favorite photos into the red paper clips on each Love Bug.
Step 16
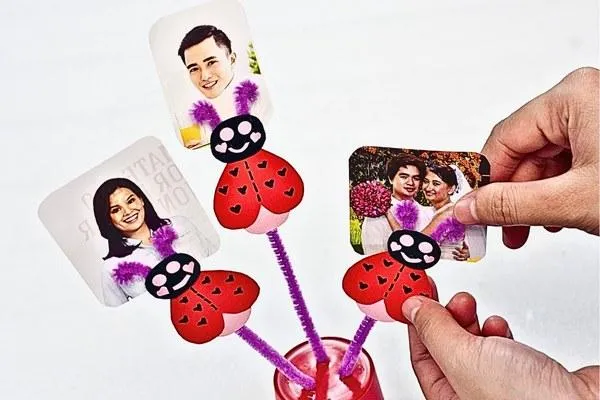
All done! Now, place your new Love Bug photo holder on your desk, shelf, or wherever you'd like. It's ready to show off your memorable moments in a cute and creative way!
Enjoy this craft project by personalizing it with different colors or additional decorations like glitter or beads. This Love Bug photo holder makes a lovely homemade gift or a fun decoration for your own space. Happy crafting!
Don’t stop here—explore more creative craft articles for even more inspiring projects!
More Craft Ideas
Kid Craft
How To Make A DVD Bracelet
Kid Crafts For Every Child
Toddler Crafts
Preschool Crafts
School Crafts
Teen Crafts
Kid Crafts For In and Outdoors

Indoor Crafts
Outdoor Crafts

Educational Crafts
Kid Crafts For Every Season
Spring Crafts

Summer Crafts

Fall Crafts
Winter Crafts
Kid Crafts For Every Holiday
Valentine's Day Crafts
St Patrick's Day Crafts

Easter Crafts
Mother's Day Crafts
Father's Day Crafts

Fourth Of July Crafts
Halloween Crafts
Thanksgiving Crafts