
How To Make A Pretty Angel Ornament
Celebrate the holidays with a handmade angel ornament that’s perfect for decorating your Christmas tree! Using colorful sponge paper and a few simple craft supplies, this project is fun, easy, and allows you to showcase your creativity.
Designed for crafters of all ages, these adorable angels can be made in different colors and styles, adding a personal touch to your holiday décor. Gather your materials, follow the steps below, and bring these lovely angels to life!
Step 1
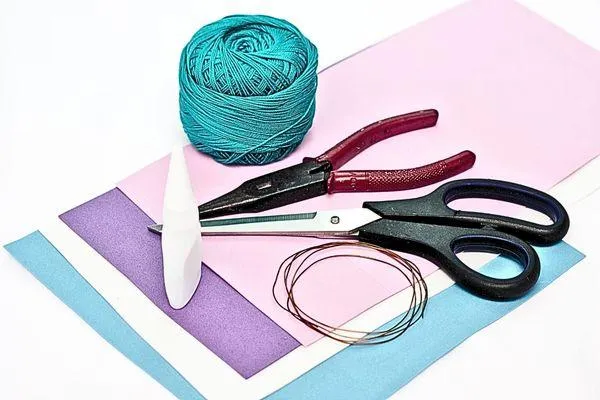
Gather the following material:
I have included a list of available craft supplies for your convenience.
Here's some stuff
If you click on any link, I will receive a small commission at no cost to you.
Step 2
Start by gathering all your materials in one spot. Having everything ready will save you time and keep your crafting organized. Pick sponge paper colors that complement each other, such as pastel shades. Make sure your tools, like scissors and long nose pliers, are close by for convenience.
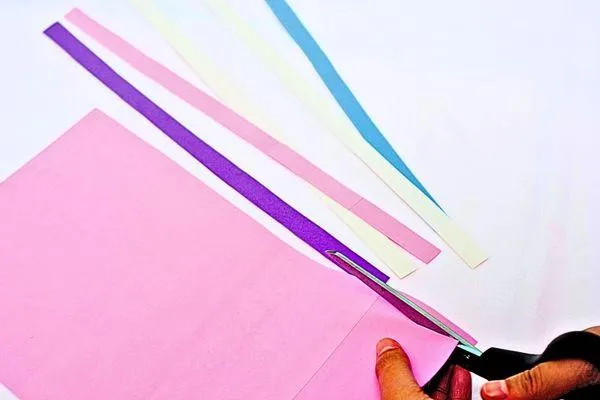
Step 3

Cut several strips of light blue, white, purple, and pink sponge paper. You can choose the thickness of the strips depending on the final design you want for your angel. Thicker strips will create a bold look, while thinner ones give a more delicate appearance.
Step 4
Take one of the white sponge paper strips and roll it tightly into a small cylinder. This rolled strip will serve as the angel's body. Make sure it’s even and compact to create a strong and durable base for your ornament..
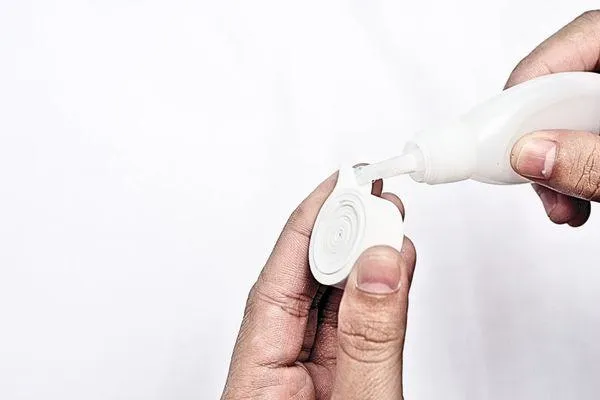
Step 5
Using concrete glue, seal the end of the white roll to prevent it from unraveling. Apply a generous amount of glue and let it dry completely before moving on to the next step. A strong seal ensures your body shape will hold up well.
Step 6
Push the middle of the white rolled strip gently to form a cone shape. This will give the body a tapered design, allowing it to resemble an angel’s gown. Adjust until both sides are symmetrical, making the base sturdy.
Step 7
Next, grab a pink sponge paper strip and roll it tightly into a smaller cylinder. Once rolled, seal it at the end with concrete glue. This pink roll will serve as the angel’s head, so make sure its size is proportionate to the body.
Step 8
Cut several strips of purple sponge paper, each measuring around 2 to 3 centimeters long. These strips will become the angel’s hair. Focus on creating straight, even cuts to ensure the strips can be easily attached later.
Step 9
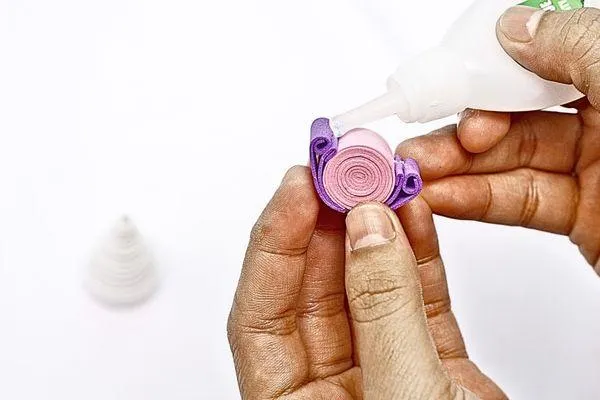
Take two purple strips, curl their ends slightly, and glue them to the front and back of the angel’s head. These first strips will act as the foundation for the hair. Let the glue dry before layering more strips.
Step 10

Glue the next pair of rolled purple strips on top of the first ones. Repeat the curling process and let them overlap slightly for a realistic look. Ensure all glued pieces are dry before continuing to the next step.
Step 11

Apply concrete glue to the pointed top of the cone-shaped body and stick the pink head onto it. Make sure the head is securely attached and centered to give your angel a neat and balanced appearance.
Step 12

Cut two strips of pink sponge paper, each about 5 centimeters long. Roll the ends of the strips to shape them, and glue them to the sides of the angel’s body. These arms can be positioned to look playful or elegant, based on your preference.
Step 13

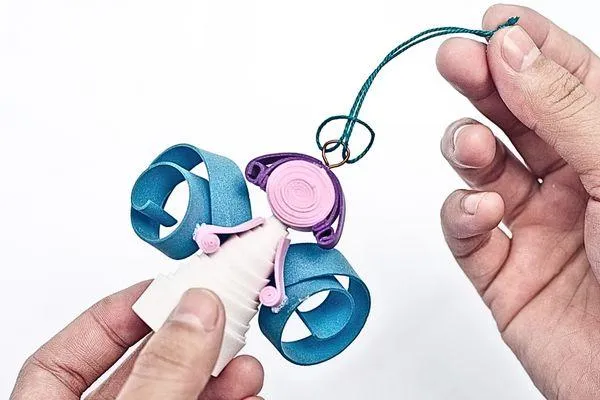
Take two strips of light blue sponge paper, each approximately 10 centimeters long. Curl one end of each strip loosely to form flowing wings. Glue the straight portion of the strip to the angel’s back, ensuring it’s aligned correctly.
Step 14

Add a little glue to the curled ends of the wings that touch the bottom sides of the body. This step ensures the wings remain stable and connected to the angel’s body without shifting out of place.
Step 15
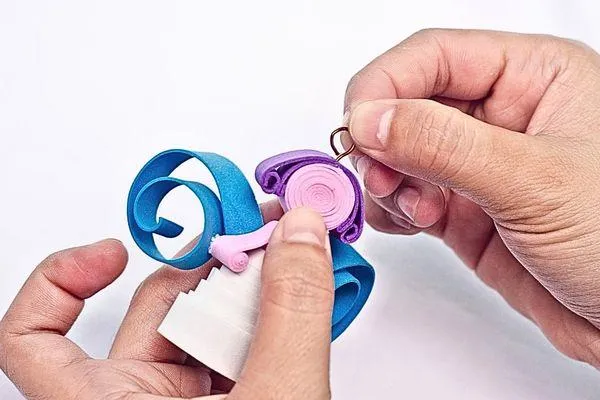
Using your long nose pliers, bend the copper wire into a small circular loop. Make sure the size of the halo complements the size of the angel.
Step 16
Glue the halo onto the top of the angel’s head using concrete glue. Position it slightly above the head to give the classic "floating halo" effect. Let the glue dry completely to keep the halo firmly in place.
Step 17
Cut a piece of crochet thread that’s long enough to hang your ornament. Tie the thread tightly to the copper wire loop, securing it with a knot. This thread will allow you to hang your angel on your Christmas tree..
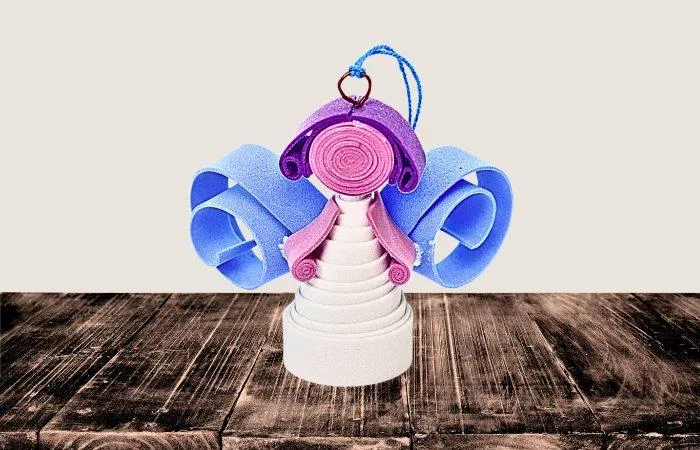
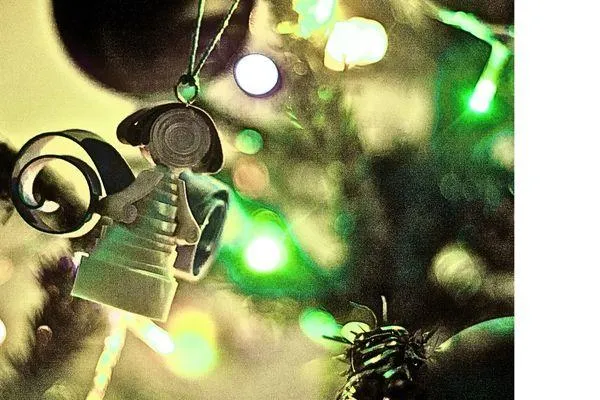
Step 18
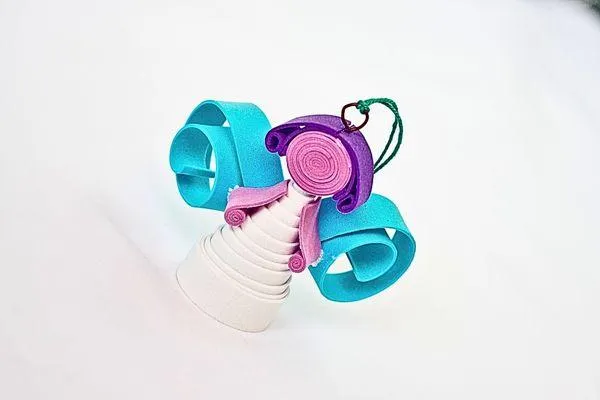
Your handmade angel ornament is ready! Hang it proudly on your Christmas tree to add a touch of charm and creativity to your holiday décor. Admire your work and enjoy the festive spirit.
Final Thoughts
Winter crafts are a wonderful way to bring cozy creativity into your home, and making a pretty Angel Ornament is the perfect project for kids!
This simple yet charming craft lets little hands create something magical for the holiday season. Picture using sponge paper, copper, and glue to design a graceful angel that can brighten your Christmas tree or gift as a handmade treasure.
For more whimsical winter crafts and ideas to brighten your home, delve into our related articles for crafting inspirations.
More Craft Ideas
Kid Craft

How To Make A DVD Bracelet
Kid Crafts For Every Child

Toddler Crafts

Preschool Crafts

School Crafts

Teen Crafts
Kid Crafts For In and Outdoors

Indoor Crafts

Outdoor Crafts

Educational Crafts
Kid Crafts For Every Season

Spring Crafts

Summer Crafts

Fall Crafts

Winter Crafts
Kid Crafts For Every Holiday

Valentine's Day Crafts

St Patrick's Day Crafts

Easter Crafts

Mother's Day Crafts

Father's Day Crafts

Fourth Of July Crafts

Halloween Crafts

Thanksgiving Crafts