How To Make Stunning Pebble Earrings
Natural Pebble Earrings are a simple yet beautiful outdoor craft your child will love making. This project turns ordinary stones into something special and wearable. Picture your child searching the yard or park for two smooth, tiny pebbles, rinsing them clean, and proudly turning them into earrings.
You’ll love how this activity encourages creativity, outdoor exploration, and resourcefulness. It’s budget-friendly, easy to set up, and creates a keepsake your child can gift or wear. Making jewelry from nature is not only fun but also a meaningful way to connect your child’s creativity with the world around them.
Step 1
Gather the following material:
This is a list of available products for your convencience:
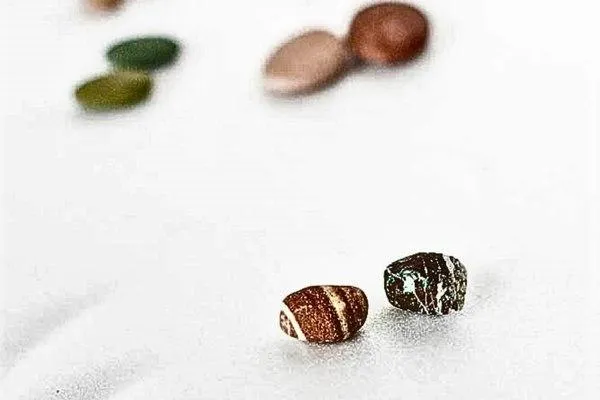
tiny pebbles from your walks on seaside vacation
earring posts
extra strong glue
cardboard, felt or fabric for packaging
Step 2
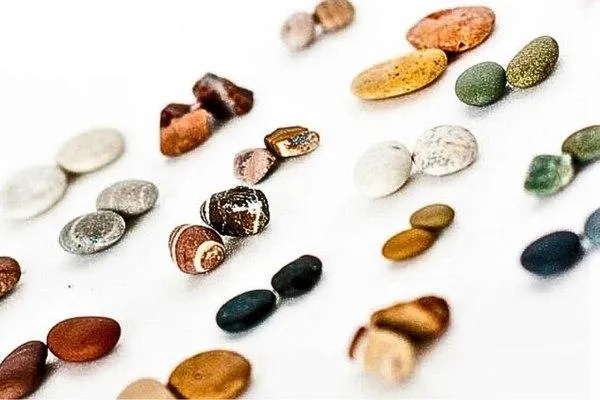
Start by finding pebbles that look nice together. They don’t need to be the same, but aim for similar shapes, sizes, and colors. This is where you can get creative and match pebbles by their unique “styles” – it’s all about what looks good to you!
Step 3
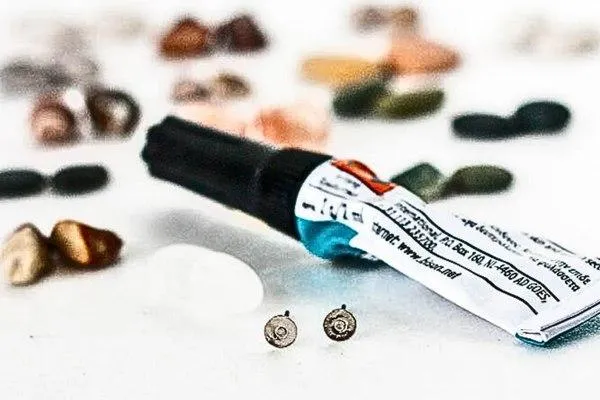
Make sure you have surgical steel earring posts and extra strong glue. E6000 is a great choice because it holds really well.
Step 4
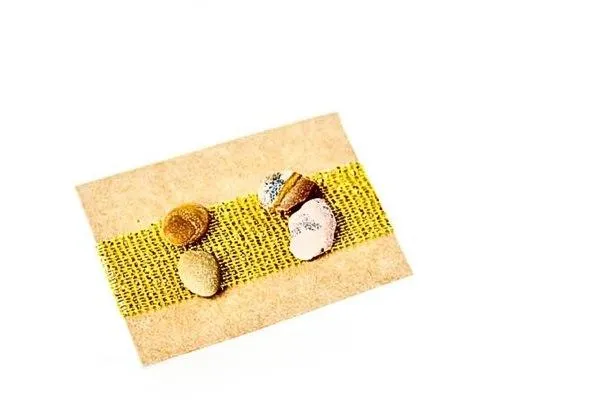
Pick out your first pair of pebbles and lay them flat side up. You’ll want to make sure the flat side is big enough for the earring post. This helps the glue stick better.
Step 5

Put a small dab of glue on an earring post and press it firmly onto a pebble. Aim to get the post right in the center.
Step 6
Do the same with all your chosen pebbles. Once they’re all glued, leave them to dry for a full 24 hours to make sure the glue really sets.
Step 7
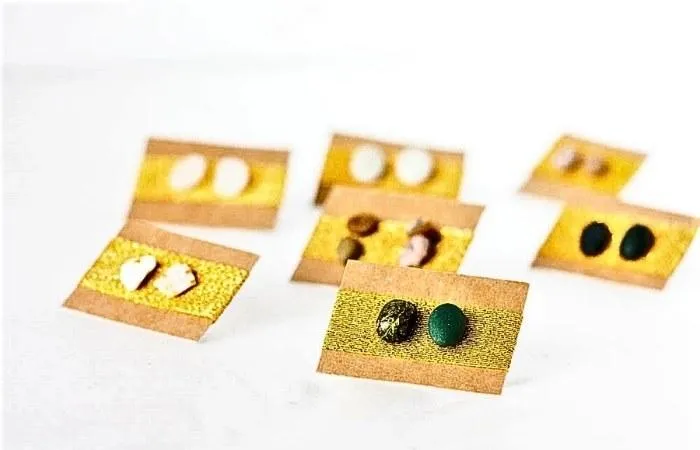
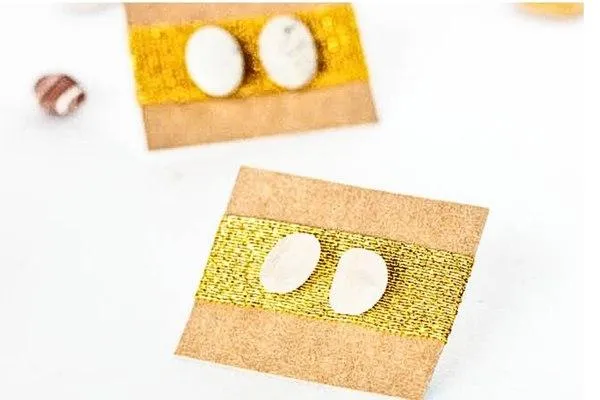
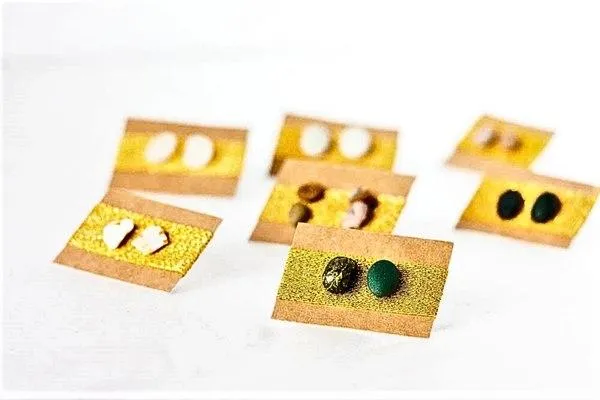
If you’re planning to gift these earrings, you can easily make them presentable. Cut out small pieces of cardboard and decorate them to match the style of the earrings. Adding a note about where the pebbles came from is a nice touch too.
Step 8
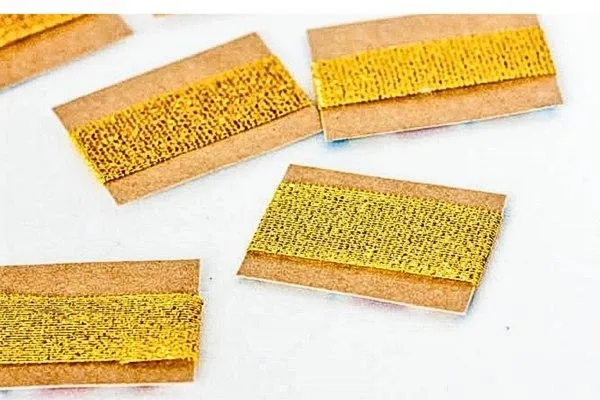
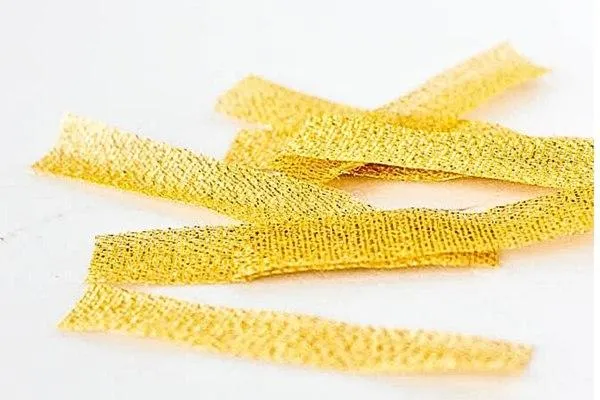
I like using a little gold ribbon to dress up my cardboard labels, but you can get as creative as you want with this step.
Step 9
Once the glue is completely dry, attach your new earrings to the decorated cardboard. This makes them easy to gift.
Step 10

You can even pin two small pairs together on one card. This lets you (or the lucky person you give them to) mix and match different pairs.
Step 11
If you're not sure if the raw look of rock earrings is for you, remember that polished, delicate pebbles can add a subtle, romantic vibe to any outfit.
Step 12
These pebble earrings are a fresh and unique addition to any wardrobe, perfect for remembering adventures by the sea.
More Craft Ideas
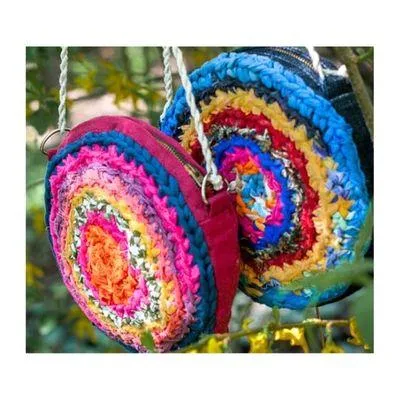
Kid Craft
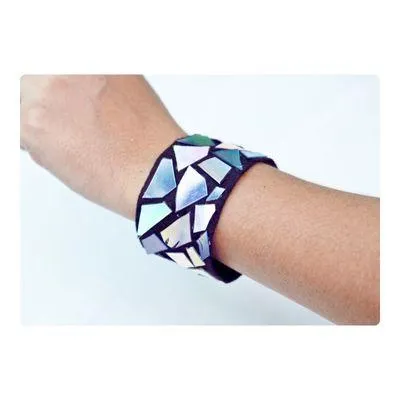
How To Make A DVD Bracelet
Kid Crafts For Every Child
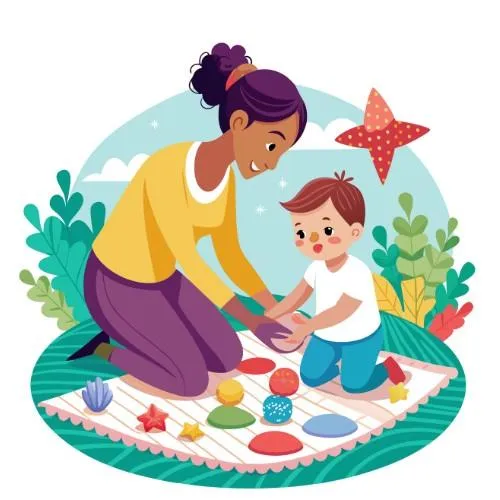
Toddler Crafts
Preschool Crafts
School Crafts

Teen Crafts
Kid Crafts For In and Outdoors

Indoor Crafts
Outdoor Crafts

Educational Crafts
Kid Crafts For Every Season
Spring Crafts

Summer Crafts

Fall Crafts

Winter Crafts
Kid Crafts For Every Holiday
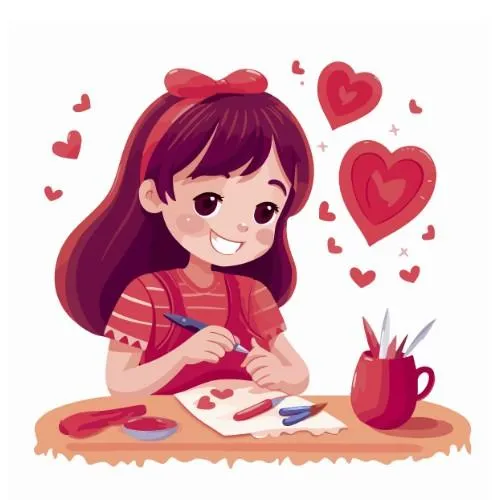
Valentine's Day Crafts

St Patrick's Day Crafts

Easter Crafts
Mother's Day Crafts

Father's Day Crafts

Fourth Of July Crafts
Halloween Crafts
Thanksgiving Crafts