How To Make A Paper Mache Seashell!
Craft time can be shell-tastic! Preschool crafts are a magical way to turn everyday materials into creative treasures! A Paper Mache Seashell is a fun and hands-on project that brings the ocean to life for little learners.
With just some paper, glue, and paint, preschoolers can shape and decorate their own realistic seashells—perfect for pretend beach play or a seaside-themed classroom display.
This craft not only boosts fine motor skills but also sparks curiosity about nature and textures. Whether you're teaching about the ocean or just looking for a messy, creative afternoon, this activity is sure to be a preschool favorite from start to finish.
Step 1
Gather the following material
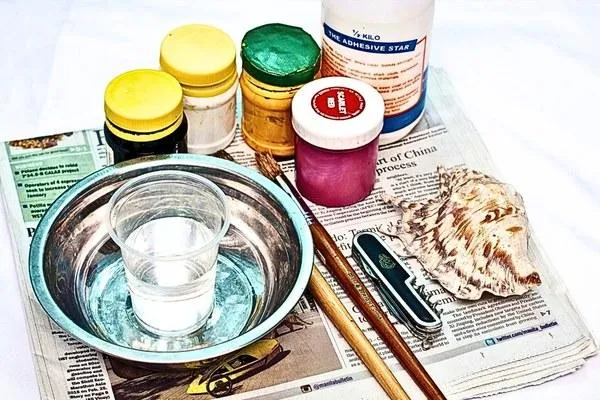
newspapers
white glue
shell model
swiss knife
water-based paints
brushes
a cup of water
short-pointed scissors
any kind of bowl
I have include a list of available craft products for your convenience:
Step 2
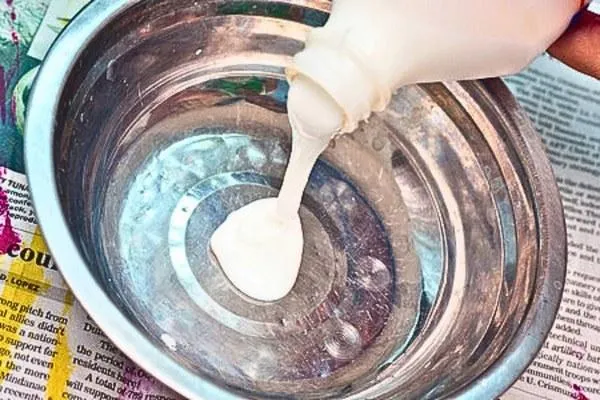
Add a generous amount of white glue to your bowl. You don’t need to measure perfectly, but make sure there’s enough to soak several strips of newspaper at once. Kids often enjoy this step because glue feels like a “real” crafting ingredient—messy, sticky, and fun.
Step 4
Spread a sheet of newspaper across your table. This step is quick, but it matters. Paper mache can get messy fast, and kids tend to relax more when they know it’s okay to drip, smear, and explore without worrying about the table.
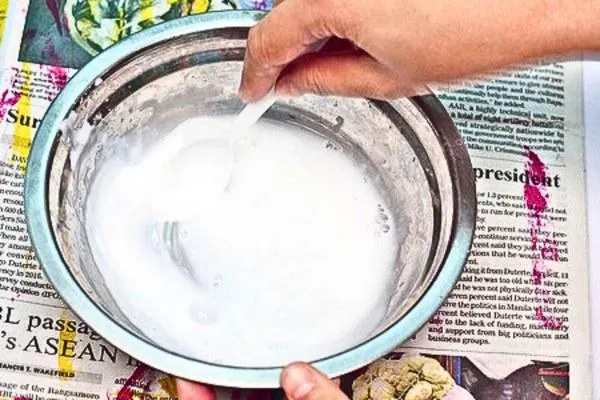
Stir the mixture thoroughly until it becomes smooth and uniform. Kids love watching the glue and water blend into a milky, slippery mixture. It’s oddly satisfying. A spoon works fine, but hands are even more fun—just be prepared for giggles and drips.
Step 5
Step 6
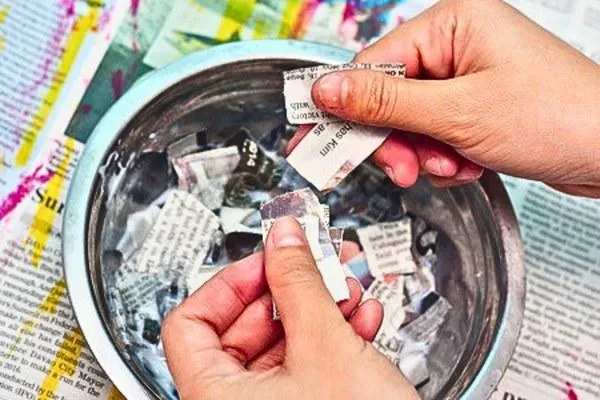
Cut the newspaper into several small strips. Short strips are easier for kids to handle and mold around curves. Dip each strip into the glue mixture, making sure it’s fully soaked.
Kids love this part—it’s sensory, squishy, and delightfully messy. Encourage them to squeeze off excess glue so the strips don’t slide around too much.
Step 7
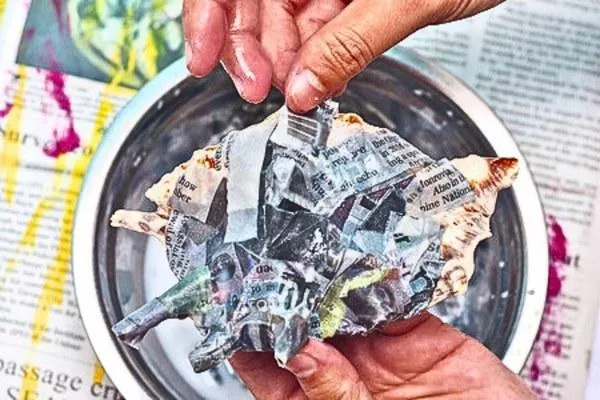
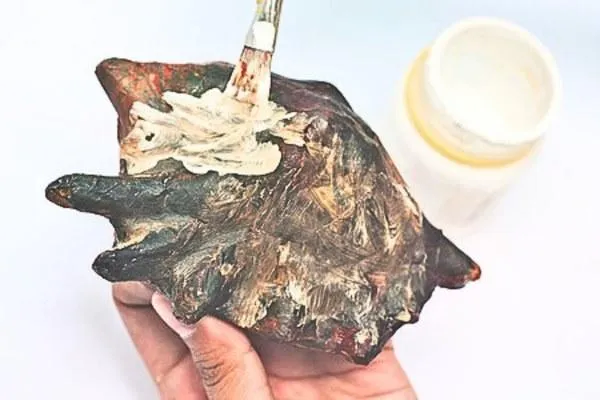
Place your shell model in front of you and start laying the wet strips across its surface.
Begin at the top and work your way down. Kids will quickly notice how the paper begins to take the shape of the shell, which feels a bit like magic.
Step 8
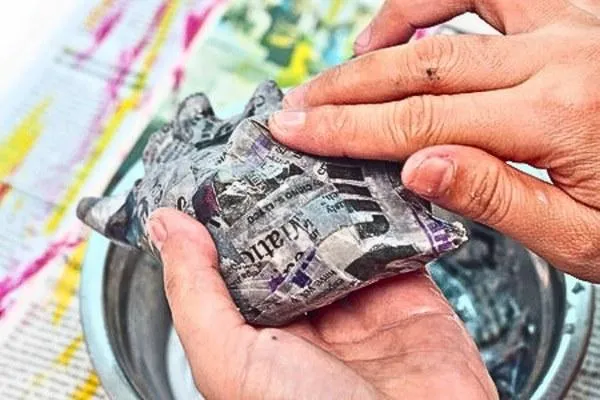
Continue layering strips until the entire top and sides of the shell are covered. This step takes patience, but it’s also where kids start to see the project come to life. Encourage them to overlap strips so the structure becomes strong and smooth.
Step 9
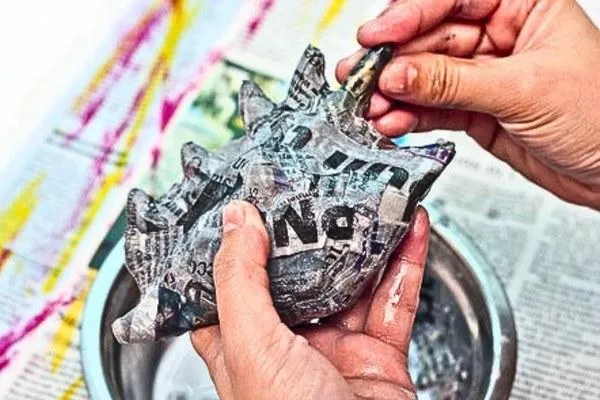
Shells often have ridges, spikes, or curves. Show your child how to gently press the paper into these details so the final shape looks realistic. Smooth out bumps with your fingers. This step teaches kids to slow down and observe carefully—an important skill in both art and life.
Step 10
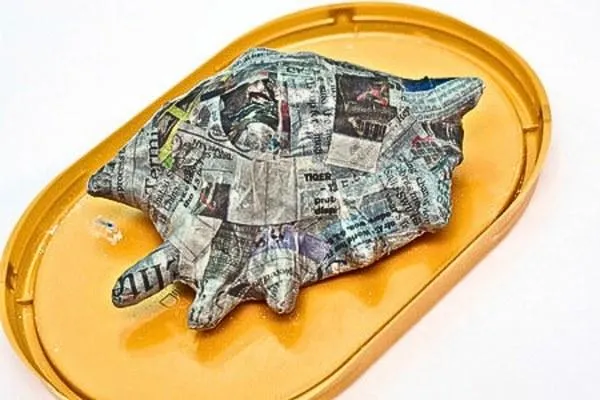
Set the shell aside to dry for one to two days. Sunlight works beautifully, but a fan can help speed things up. The key is to wait until the paper mache feels hard and stonelike. Kids may get impatient here, but it’s a great lesson in delayed gratification.
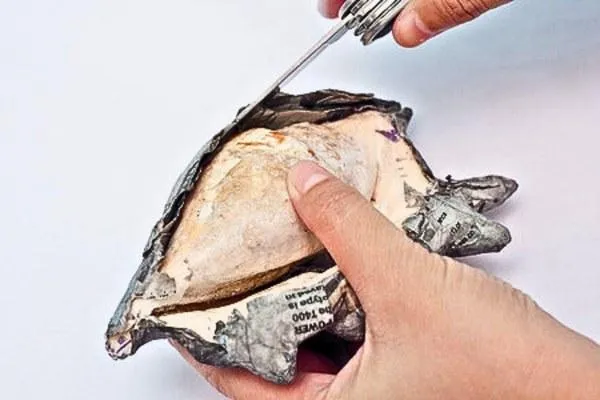
Carefully use the Swiss army knife to peel back the edges of the dry paper mache. Do this gently so you don't rip your shell.
Step 11
Step 12
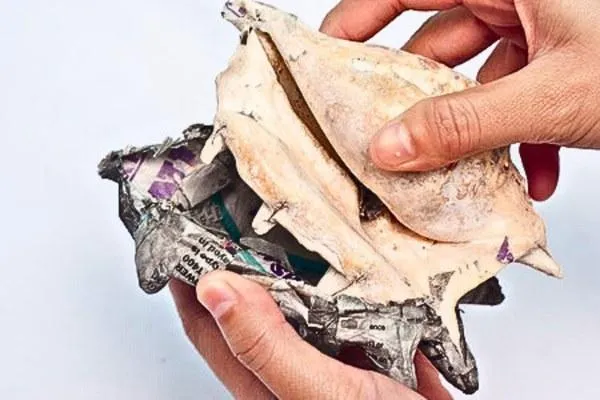
Once dry, carefully lift the edges of the paper mache using a Swiss knife. Adults should handle this step. Kids can watch and learn how the hardened shell begins to separate from the model underneath.
Step 13
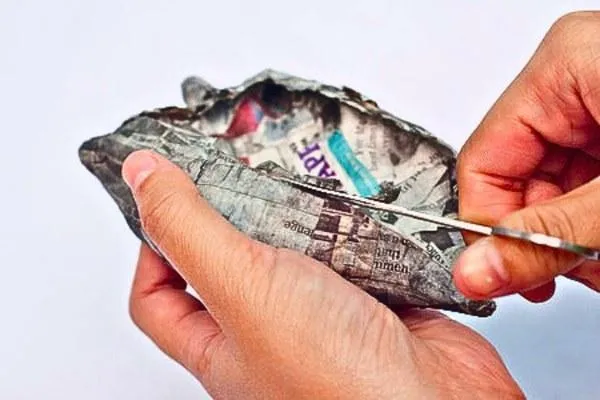
Use shortpointed scissors to clean up the edges. Remove any uneven or jagged pieces. Kids can help with this step if they’re comfortable using scissors safely.
Step 14
Paint the shell black
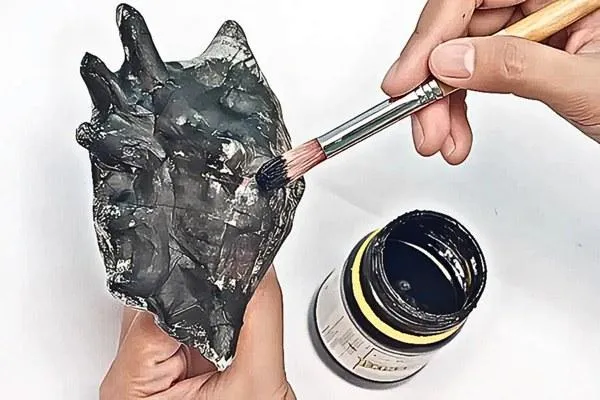
Apply a coat of black paint and let it dry for several hours. This base coat helps the final colors pop and gives the shell a more realistic, shadowed look.
Step 15
Add orange to the curves
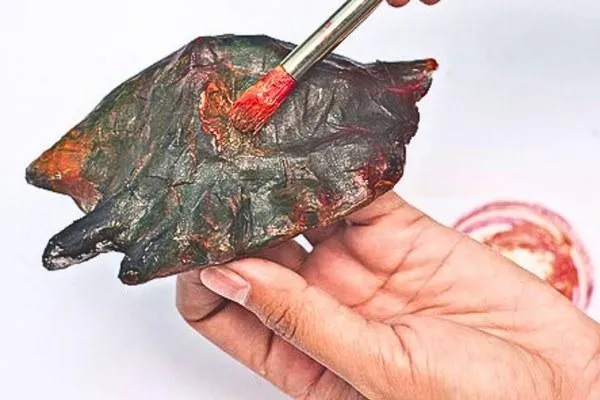
Apply a coat of black paint and let it dry for several hours. This base coat helps the final colors pop and gives the shell a more realistic, shadowed look.
Step 16
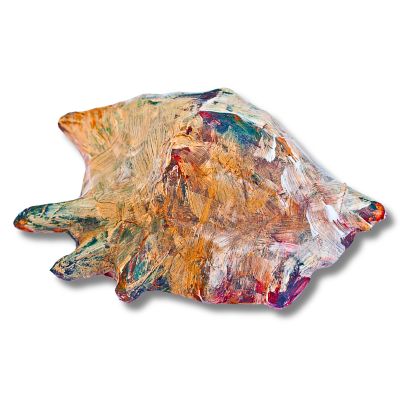
While the orange paint is still wet, lightly brush some white paint over it. This makes a cool brown color and adds depth to the shell.
Step 17

Give the paint a good 5 to 6 hours to dry. This might be hard because it's so exciting to see it finished, but it's worth the wait!
You did it! Your realistic seashell is ready to display. It's hard to believe you made it with just paper, glue, and paint, huh?
Tips for Your Paper Mache Seashell
For a sturdy shell, layer up that paper mache. The thicker it is, the less likely it is to break when you remove it from the shell model.
And if you want a shiny shell, try using acrylic or enamel paint for a glossy finish.
Remember, fully drying the paper mache is key to a successful seashell—patience pays off! Now, get ready to impress everyone with your handcrafted seashell.
Making a Paper Mache Seashell is a wonderful preschool craft that combines creativity, texture, and imagination. Kids will love shaping and painting their own seashell treasures, bringing a bit of the ocean indoors.
For more engaging activities, explore our preschool crafts designed to spark curiosity, joy, and hands-on learning fun!
More Craft Ideas
Kid Craft
How To Make A DVD Bracelet
Kid Crafts For Every Child
Toddler Crafts
Preschool Crafts
School Crafts

Teen Crafts
Kid Crafts For In and Outdoors

Indoor Crafts
Outdoor Crafts

Educational Crafts
Kid Crafts For Every Season
Spring Crafts

Summer Crafts

Fall Crafts

Winter Crafts
Kid Crafts For Every Holiday
Valentine's Day Crafts

St Patrick's Day Crafts

Easter Crafts
Mother's Day Crafts
Father's Day Crafts

Fourth Of July Crafts
Halloween Crafts
Thanksgiving Crafts