How To Make A Classy NYC Wallet

Indoor kid crafts are the perfect way to keep children engaged while sparking their creativity! A NYC Wallet is a fun and practical project that kids will be proud to make.
With just a few simple materials, your child can create a stylish wallet that feels both modern and useful. They’ll enjoy picking colors, folding pieces, and designing something they can actually use.
This activity builds confidence as kids see their project come to life. It’s a wonderful mix of play and learning in the Big Apple.
Step 1
Gather the following material:
I have include a list of available products for your convenience:
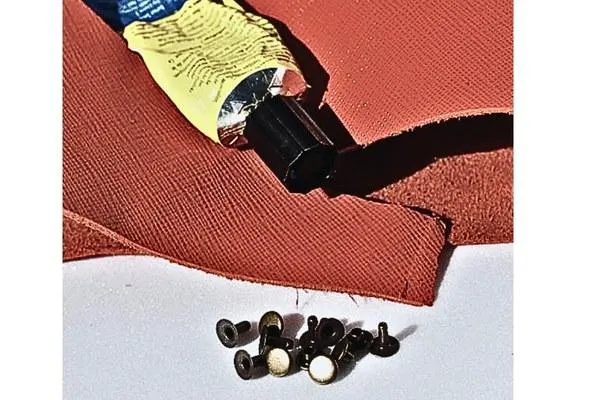
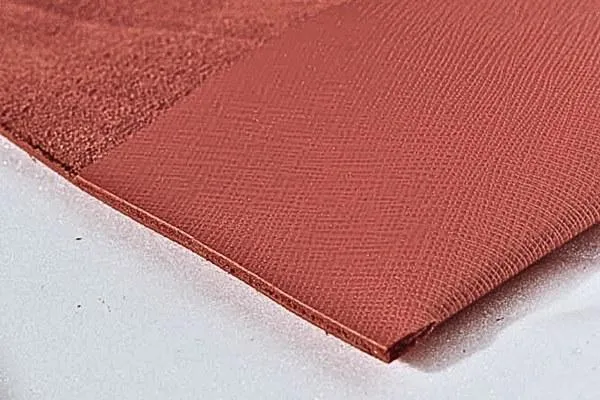
leather or other material of your choice
strong leather glue
small rivets
leather cutting tool
Step 2
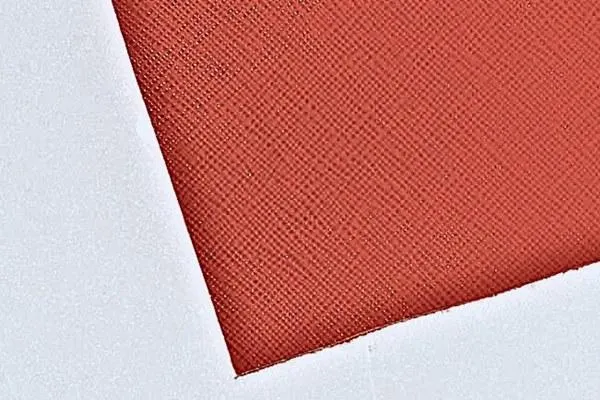
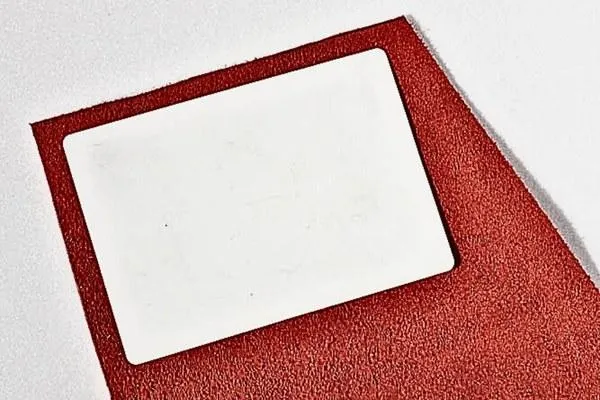
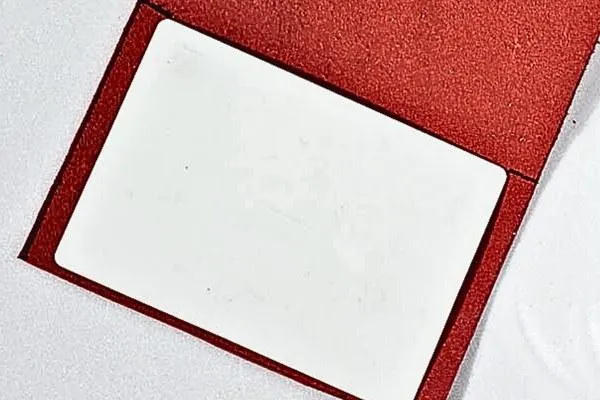
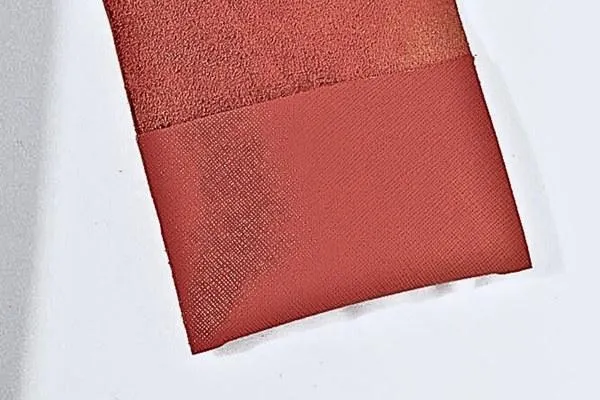
Start by cutting the edge of your leather piece at a square angle for a clean base. Place your largest ID on the material, leaving a ¼-inch allowance around all sides.
Cut a rectangle with this width (ID width + ½ inch for allowances) and ensure it's long enough to wrap around the ID 1.5 times—approximately three times the ID width. This will give you the right dimensions to hold your essentials securely.
Step 3
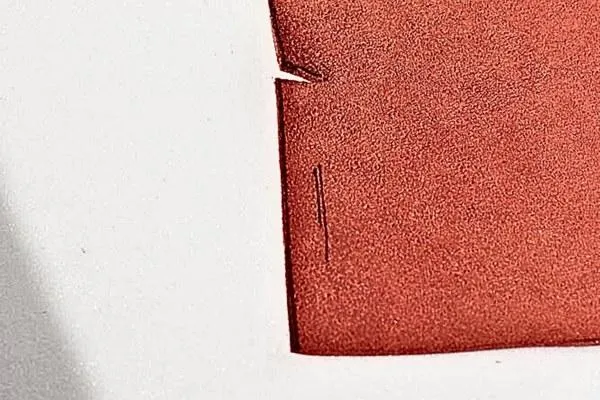
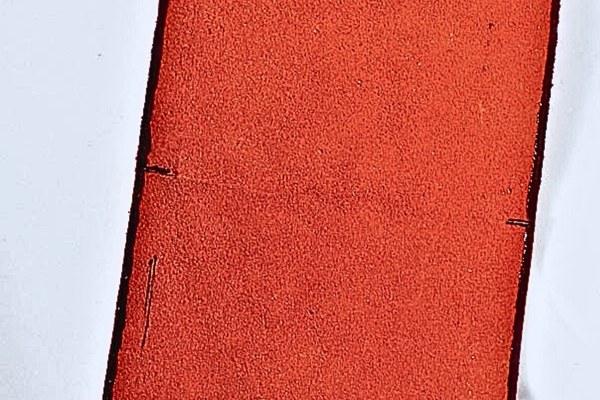
After cutting the leather, measure the ID against the piece again to confirm the fit. Ensure the bottom aligns with no extra allowance.
Next, make a small slit—around 1/4 inch—on each side at the bottom markings. These slits act as the guiding axis when folding the leather into the wallet shape.
Step 4
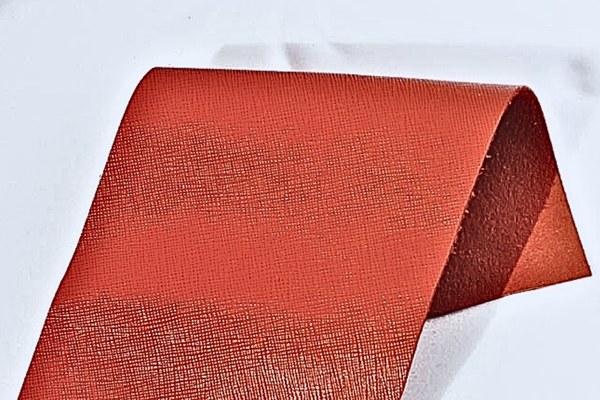
Apply a thin line of strong leather glue along both sides of the slits you created. Fold the leather piece along the slits, gluing the edges together. Use firm pressure to ensure the glue bonds well.
Once dry, your leather piece will begin taking the basic shape of a wallet, providing a snug and secure fit for your items.
Step 5
Cut a long strip of leather to act as a closure. Mark the middle section of the folded wallet on both sides.
Place the leather strip across the top of the wallet and secure it with rivets on both ends. Use a rivet mounting tool or a sturdy hammer to ensure the rivets are tightly fastened.
Step 6
Add a final rivet at the top of the wallet to secure the two folded layers firmly together.
This step provides extra durability to prevent the wallet from coming apart as you use it.
Step 7
Make small cutouts on each side of the wallet near the closure strip. These slits will act as holders to tuck the flap securely in place. The cutouts keep the wallet closed and prevent items from falling out.
Step 8
Insert your essentials, such as an ID, credit card, and some cash, to test the fit. Adjust the flap, ensuring it fits snugly under the closure strip. Once you're satisfied with the functionality and look, your minimalist wallet is ready to use!
Why Choose a DIY Minimalist Wallet?
This leather wallet combines style, functionality, and craftsmanship. Perfect for minimalists, it holds only the bare necessities while staying lightweight and durable.
Stylish NYC Leather Wallet is a rewarding project that lets teens craft something both trendy and practical. Kids will love the satisfaction of designing a wallet they can actually use or gift.
Keep the creativity flowing—explore more of our craft articles for fresh, exciting DIY inspiration!
More Craft Ideas

Kid Craft
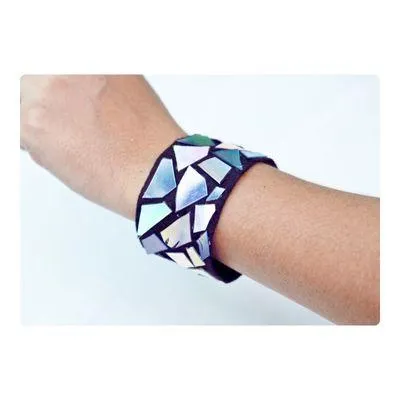
How To Make A DVD Bracelet
Kid Crafts For Every Child
Toddler Crafts

Preschool Crafts
School Crafts

Teen Crafts
Kid Crafts For In and Outdoors

Indoor Crafts
Outdoor Crafts

Educational Crafts
Kid Crafts For Every Season

Spring Crafts

Summer Crafts

Fall Crafts

Winter Crafts
Kid Crafts For Every Holiday

Valentine's Day Crafts

St Patrick's Day Crafts

Easter Crafts
Mother's Day Crafts

Father's Day Crafts

Fourth Of July Crafts

Halloween Crafts

Thanksgiving Crafts