
How To Make A
Fourth of July Party Bowl
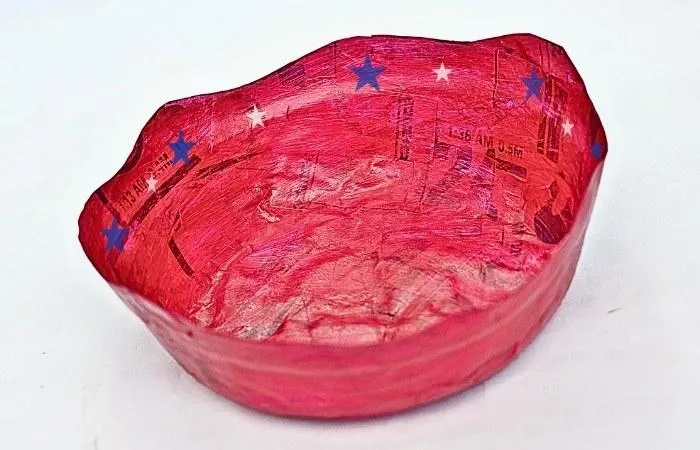
Fourth of July isn't just about fireworks and barbecues; it's a perfect time to unleash your creative spirit! Making a Fourth Of July Bowl is a fantastic craft that infuses your Independence Day celebrations with handmade charm.
Whether you're planning a picnic or hosting a backyard bash, these patriotic bowl covers are both functional and festive. They keep the bugs at bay while adding a splash of American pride to your table.
So, grab your red, white, and blue fabric, and let's dive into creating a piece that's as practical as it is patriotic!
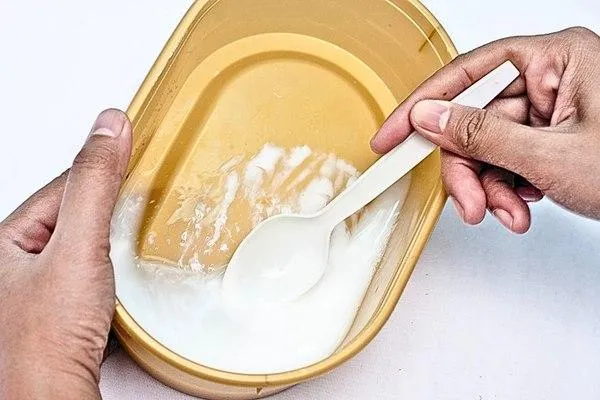
Step 1
Gather the following material:
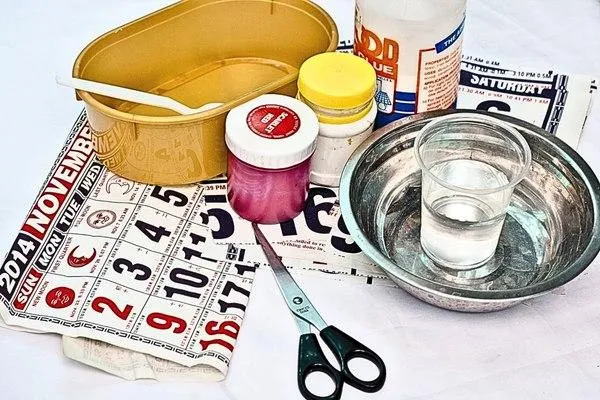
I have included a list of available craft supplies for your convenience.
Here's some stuff
If you click on any link, I will receive a small commission at no cost to you.
Step 2
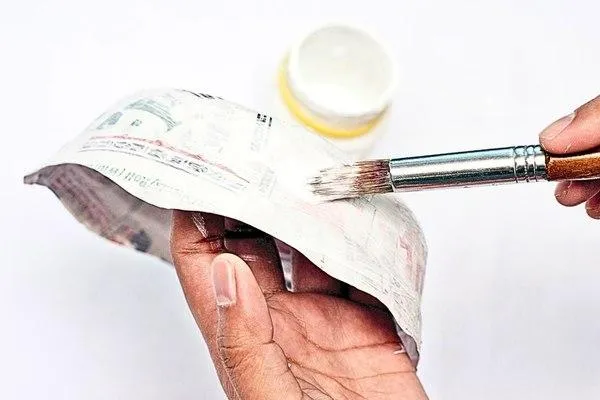
Take three sheets of newspaper and roll each one tightly into long tubes. The rolls should be as compact as possible to make the wreath stronger and easier to assemble later.
Use the flat surface of a table to help keep the rolls even and smooth as you work.
Step 3
Take one end of each rolled newspaper tube and secure it tightly with green duct tape. Wrapping the tape firmly prevents the rolls from unraveling while ensuring a sturdy base for the braided wreath structure.
Step 4
Braid the three newspaper rolls together, just like you would braid hair. Start at the taped end and work your way to the opposite end. Pull tightly as you braid to keep the wreath strong while maintaining an even texture throughout.
Step 5

Take your braided newspaper and curve it gently into a circular shape. Secure the ends together with green duct tape until the circle forms the base of your wreath. Make sure it’s tightly taped so the wreath stays intact while decorating.
Step 6
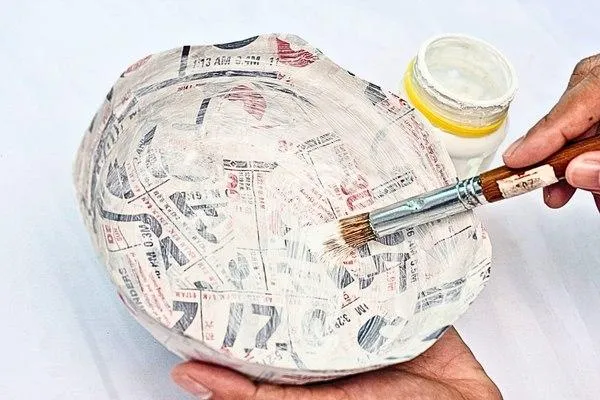
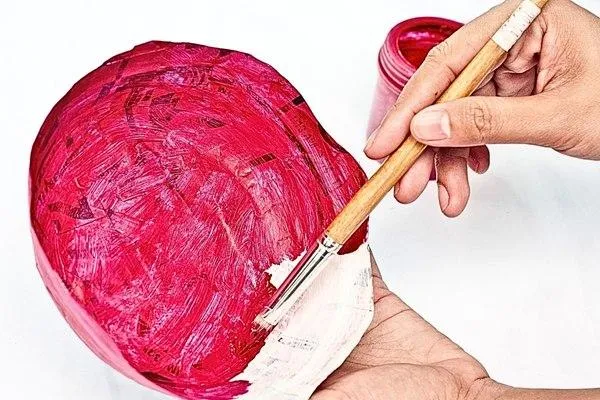
Using a paintbrush, apply green paint to cover the front, sides, and edges of your wreath circle. If you don’t have green paint, mix yellow and blue paint together to create your desired shade. This will give your wreath a vibrant and festive look.
Step 7
Using a paintbrush, apply green paint to cover the front, sides, and edges of your wreath circle. If you don’t have green paint, mix yellow and blue paint together to create your desired shade. This will give your wreath a vibrant and festive look.
Step 8
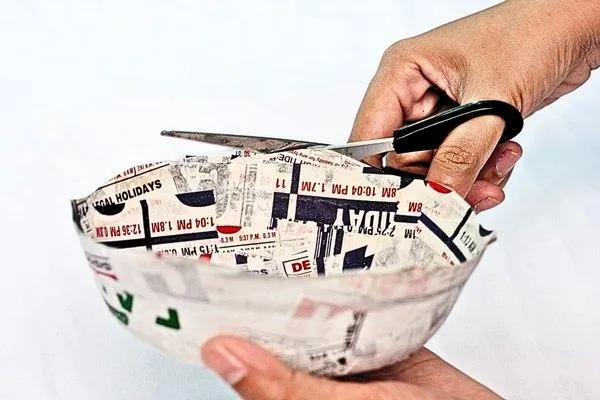
Cut two strips from newspaper—one should be 12 cm wide, and the other 9 cm wide. These strips will be used for creating decorative bows later. Try to keep the strips as neat as possible during cutting.
Step 9
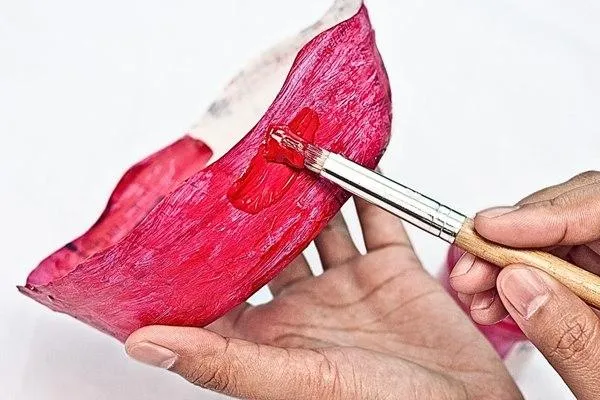
Paint both newspaper strips red using your paintbrush. Make sure to evenly coat each strip for a polished finish. Allow these painted strips to dry for several hours before proceeding further.
Step 10
Once the wreath body is dry, apply another layer of green paint over it for a richer color. Ensure the surface is fully covered, then let the second coat dry completely. This step adds depth and vibrancy to your wreath.
Step 11
Cut another strip of newspaper and roll it tightly into a cylindrical shape to form the candle body. Adjust the roll until it reaches a height of roughly 2 inches. To secure the roll, glue the edges with hot glue to prevent unraveling.
Step 12
Cut off any excess paper from the rolled candle to ensure the bottom edge is flat. This step makes it easier to attach the candle securely to the wreath later on.
Step 13
Using your paintbrush, coat the rolled candle with yellow paint. Cover the entire surface evenly, then let it dry. The bright yellow color will make the candle pop against the green wreath.
Step 14
Cut a small flame shape from the yellow sponge paper. Then cut a slightly bigger flame shape from the red sponge paper to create a layered effect. Glue the yellow flame on top of the red to finish the double-layered design.
Step 15
Cut a small piece of short ribbon and wrap it neatly around the candle’s body. Secure it using hot glue, Ensure the ribbon stays flat and smooth. Trim any excess ribbon for a clean finish.
Step 16
Glue the layered flame design on top of the candle. Be sure that the glue is applied evenly so the flame remains firmly in place after drying.
Step 22

Your DIY wreath is ready! Hang it on your front door, mantel, or any spot that needs a holiday touch.
Final Thoughts
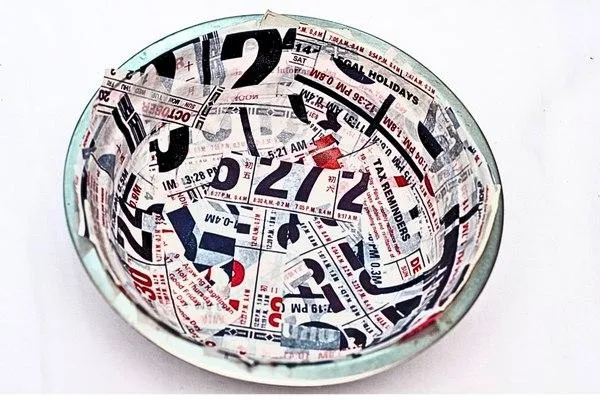
Celebrating July 4th is a special time filled with fun, fireworks, and patriotic crafts! One unique craft that kids can enjoy is creating a July 4th Celebration Bowl.
This DIY project combines art, creativity, and a bit of patience, resulting in a beautiful decorative bowl with its patriotic colors.
Making a July 4th Bowl Cover is a fun and festive activity that kids will love! It lets them get creative with colors and patterns while contributing to holiday prep.
Fun fact: The first Fourth of July celebration was held in 1777 with fireworks, and the tradition continues today!
For more crafty ways to celebrate Independence Day, check out our other articles and discover exciting projects perfect for the whole family!
More Craft Ideas
Kid Craft

How To Make A DVD Bracelet
Kid Crafts For Every Child
Toddler Crafts
Preschool Crafts
School Crafts

Teen Crafts
Kid Crafts For In and Outdoors

Indoor Crafts

Outdoor Crafts

Educational Crafts
Kid Crafts For Every Season

Spring Crafts

Summer Crafts

Fall Crafts

Winter Crafts
Kid Crafts For Every Holiday

Valentine's Day Crafts

St Patrick's Day Crafts

Easter Crafts
Mother's Day Crafts

Father's Day Crafts

Fourth Of July Crafts

Halloween Crafts

Thanksgiving Crafts