How To Make A Heart Band
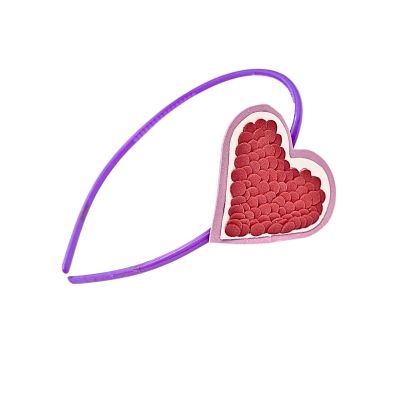
Making a Heartband for your toddler is a fun and simple project that creates a cute accessory they will love wearing.
This craft uses soft sponge paper, bright colors, and easy shapes, making it perfect for little ones who enjoy playful designs. While you will handle the cutting and hot glue, your toddler can help choose colors and place pieces.
The finished headband is lightweight, comfortable, and great for dress up, holidays, or everyday fun.
Step 1
Gather the following material
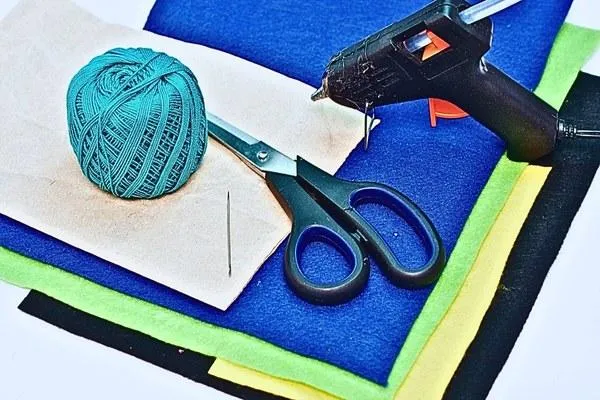
I have include a list of available craft products for your convenience:
pieces craft felt (yellow, blue, black and green)
crochet thread
big sewing needle
scissors
hot glue
pattern paper
pencil
Step 2
Cut a medium heart from white sponge
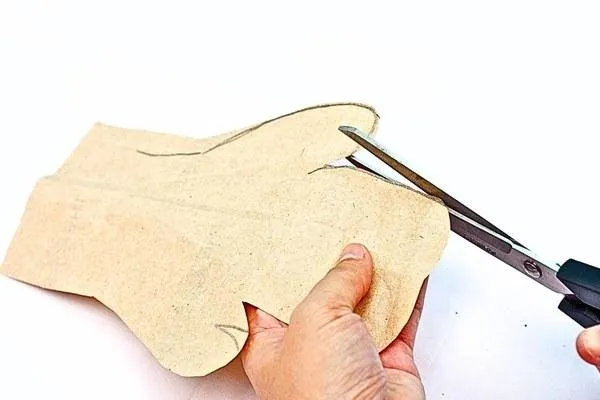
Start by sketching the bunny’s body on pattern paper.
The design should fit your entire hand. Use your thumb and pinky finger to represent the bunny’s arms. Your index, middle, and ring fingers will make up the body section.
Draw the bunny’s shape around these proportions, then cut out the paper pattern carefully. This will serve as your guide for cutting the felt pieces. Let your kids help trace their hands—it’s a fun way to personalize the project!
Step 3
Cut a medium heart from white sponge
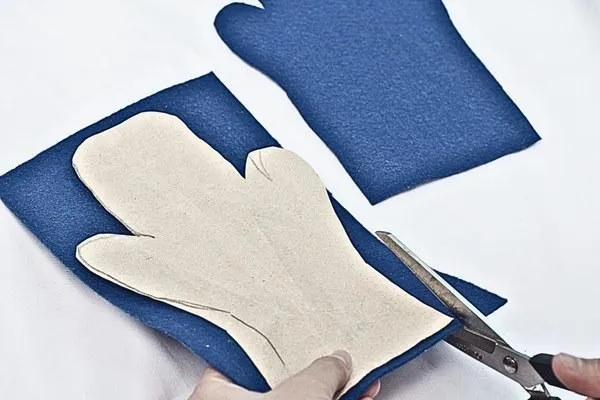
Place your paper bunny pattern onto the blue craft felt and carefully trace its outline.
Then, cut two identical bunny body pieces from the felt. These will be stitched together later to form the puppet.
Make sure the lines are neat for a refined final look. You can let your child hold the felt steady while you cut or let them practice using scissors under supervision.
Step 4
Punch out small red circles
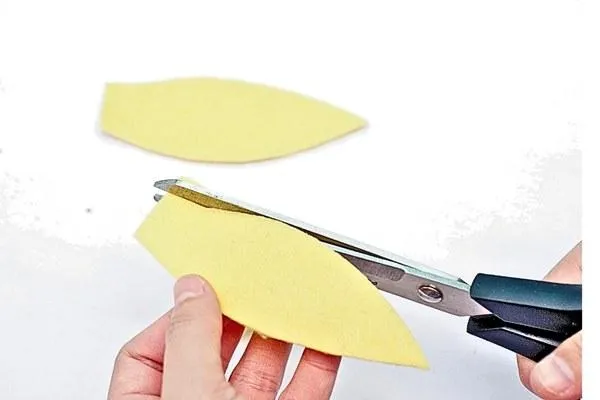
Using the yellow craft felt, cut out a pair of bunny ears.
The ears should be long and rounded to look like floppy bunny ears.
This step is a great chance to involve your little ones—they can choose the ear size and shape to make their bunny unique.
Step 5
Glue circles onto the heart
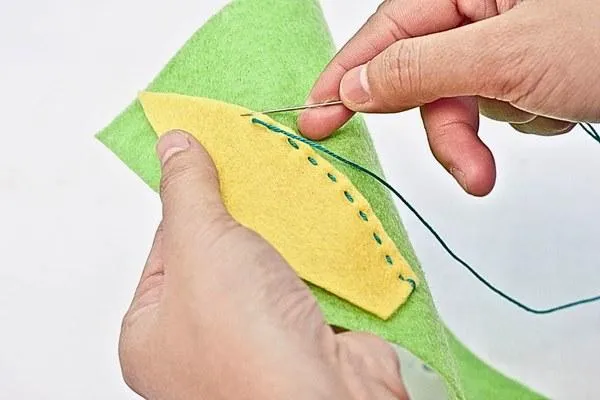
Attach the yellow bunny ears onto the green craft felt.
Align the ears neatly and sew them using a running stitch with crochet thread.
A single thread will keep the stitching simple and soft enough to add detail without being bulky. This action gives the bunny ears a charming layered effect.
Step 6
Attach the heart to the headband
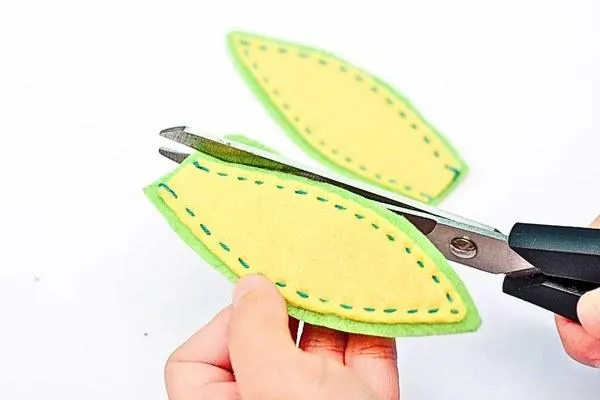
Carefully cut along the edges of the green felt around the bunny ears, leaving a small border of felt for a clean finish.
This step adds more definition to the ears and ensures they look polished. Share with your child how tiny details like this make the craft even more special.
Step 7
Try on the headband and adjust

Align both pieces of blue craft felt and sew them together using a running stitch.
Start sewing along the sides but leave the bottom part open—this makes space for your hand to fit inside the puppet.
Take your time to ensure the stitching is steady, as it will form the puppet’s structure. Work together with your child to gain confidence in sewing.
Step 8
Celebrate your finished heartband

When you reach the topmost part of the felt body, position the pair of bunny ears in between the front and back body pieces.
Sew the ears securely into place as you finish stitching the top of the bunny’s head. This step really brings your bunny design to life, and kids will love seeing their fluffy friend come together.
Why Kids Will Like It
Kids love this craft because it is colorful, soft, and something they can actually wear. The heart shape is easy for them to recognize, and the tiny red circles make the design feel extra special.
Toddlers enjoy helping with simple steps, and seeing the finished headband gives them a sense of excitement and accomplishment.
What Kids Will Learn
Shape recognition through hearts and circles
Creativity and design by choosing colors and placement
Fine motor awareness by helping place small pieces
More Craft Ideas
Kid Craft
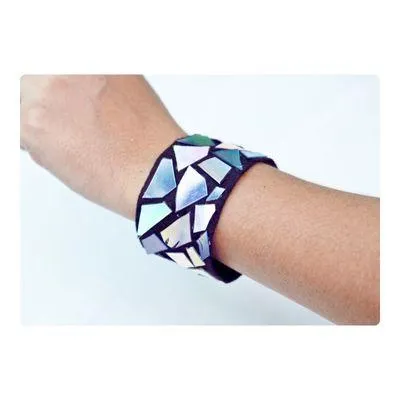
How To Make A DVD Bracelet
Kid Crafts For Every Child
Toddler Crafts
Preschool Crafts
School Crafts
Teen Crafts
Kid Crafts For In and Outdoors

Indoor Crafts
Outdoor Crafts

Educational Crafts
Kid Crafts For Every Season
Spring Crafts
Summer Crafts
Fall Crafts
Winter Crafts
Kid Crafts For Every Holiday
Valentine's Day Crafts
St Patrick's Day Crafts
Easter Crafts
Mother's Day Crafts
Father's Day Crafts

Fourth Of July Crafts
Halloween Crafts
Thanksgiving Crafts