How To Make A Spring Cascading Card
Spring is a wonderful time to create something colorful and fun, and that's exactly what we get with the Spring Wallet Craft!
This craft project is perfect for kids because it's like making their own little purse using simple materials.
On a sunny afternoon, your child can cut soft sponges into shapes and then turn them into a wallet she can actually use. She’ll love the hands-on experience, and you’ll love how it encourages independence. This spring craft is cheerful and makes for a wonderful project to enjoy together
Step 1
Gather the following material:
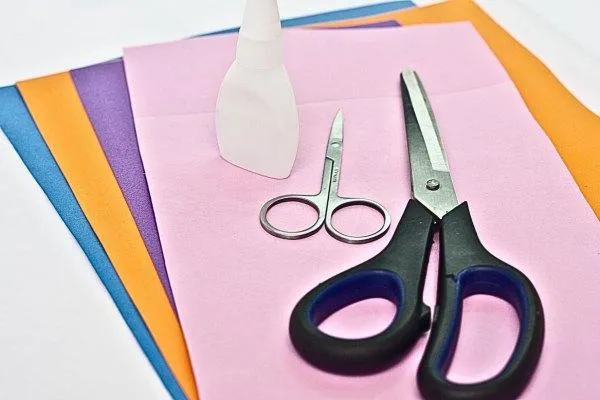
I have include a list of available products for your convenience:
4 colors of sponge paper
Concrete glue
Craft scissors
Scissors
Step 2
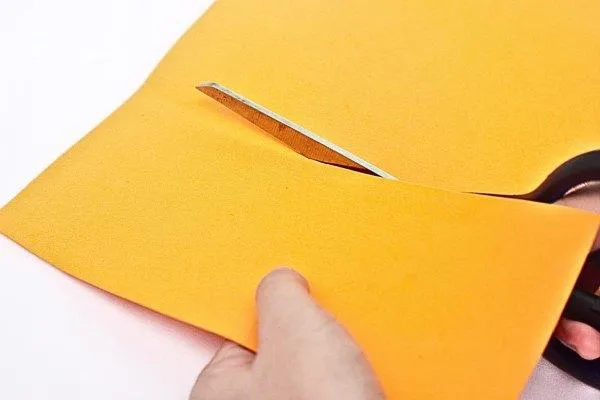
Begin by cutting a rectangle out of one color of sponge paper. This will be the body of your purse.
You can decide how big you want your purse to be, but make sure the width is at least 8 centimeters.
Step 3
Take that rectangle and fold it into three parts.
Imagine the purse in your mind: one section is the bottom, another is the back, and the third part flips over as the top.
Make the top flip part a bit narrower.
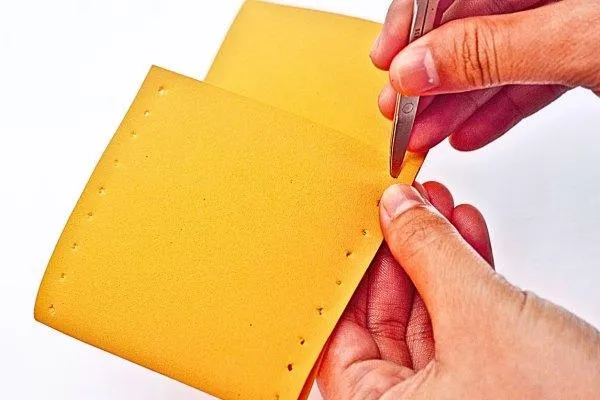
Step 4
Now, grab your craft scissors. You're going to pinch along the sides of the folded rectangle, but not on the flip part. This is where you'll sew the sides together. Do this carefully on both sides.!
Step 5
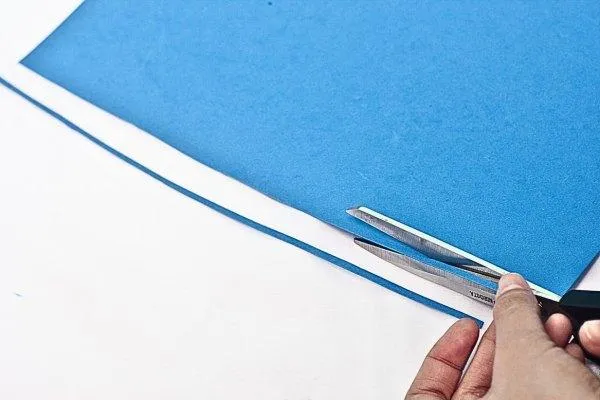
Cut two thin strips from the blue sponge paper. These strips are going to act like thread to stitch the sides of your purse.
Step 6
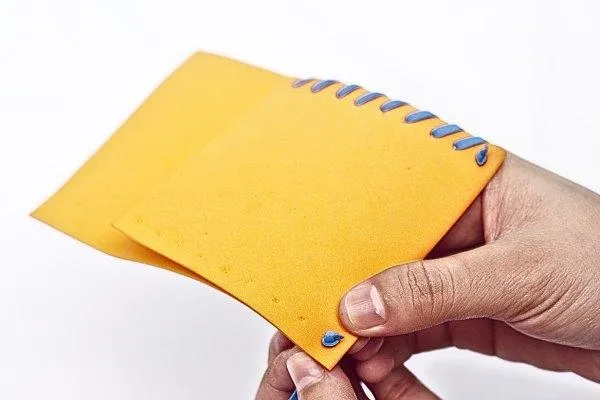
Using the thin blue strips, make overcast stitches along the sides where you pinched the holes. Remember to tie a knot at the start and finish so everything stays secure.
Step 7

Tighten up your stitching by tying a knot at the end. This will make sure the sides of your purse are closed up nicely.
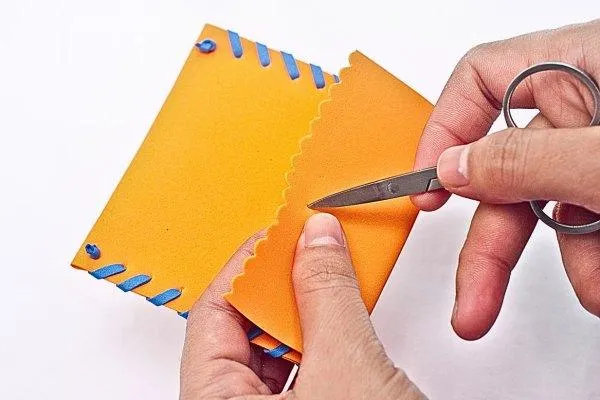
Step 8
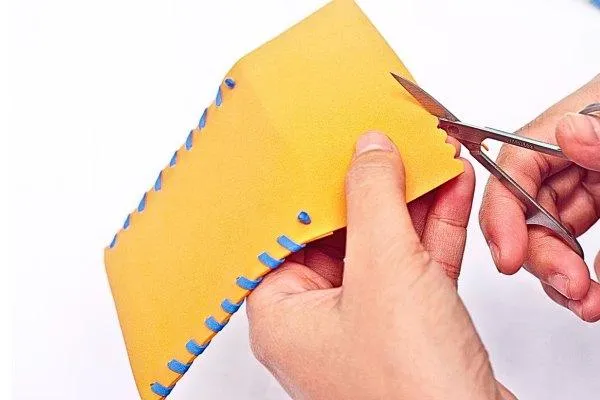
Use your craft scissors again to add some fun curvy designs on the flip part of your purse. Get creative with it!
Step 9
Punch two holes in the middle of the purse’s flip cover. These are for your tie lock which we're making next.
Step 10
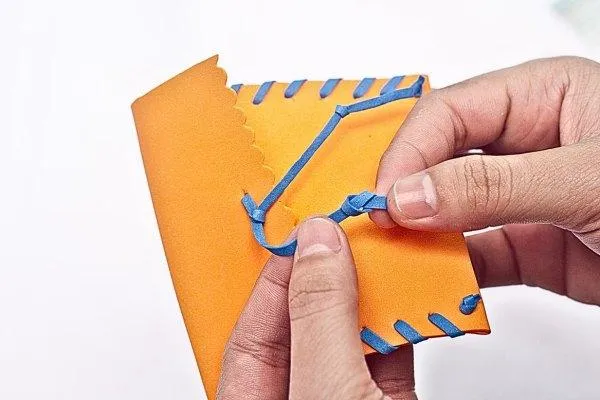
Cut another thin blue strip (just like before) and feed it through the holes you just made. Secure it with knots on both ends.
Step 11
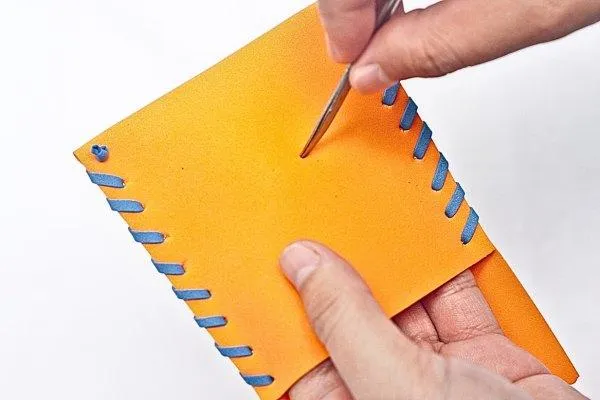
First, line up the flip cover nicely. Then, add two holes on the front part of your purse. This is where your purse will lock.
Step 12
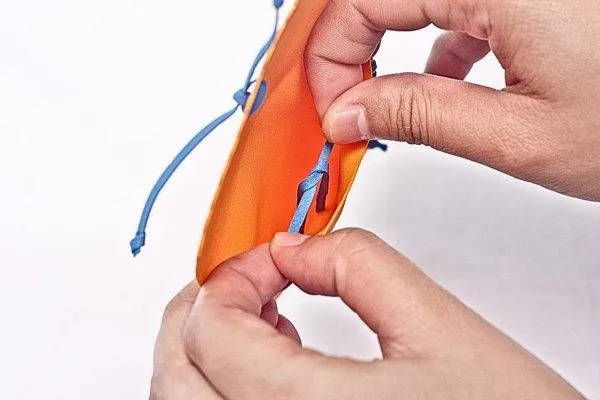
Take another thin strip of blue sponge paper and thread it through the holes you just made. Tie a knot inside the purse to keep it secure.
Step 13

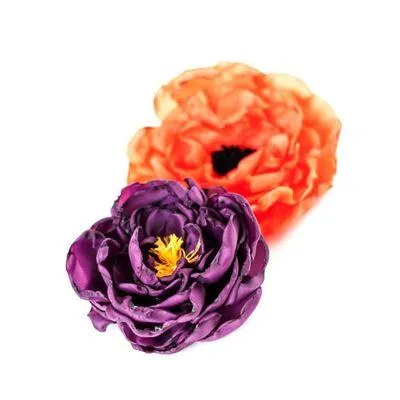
Cut out some flower shapes from a pink sponge paper. This is going to make your purse really pop!
Step 14
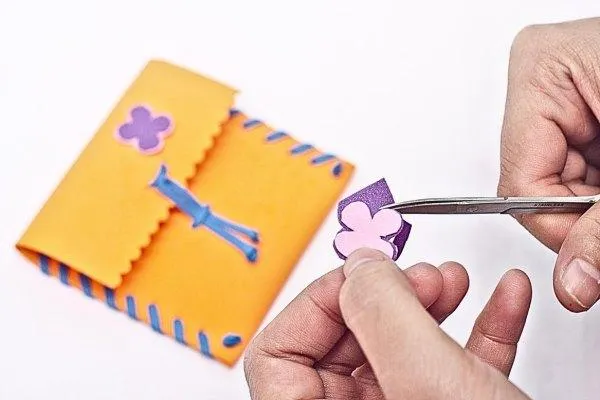
Glue the pink flower onto a darker piece of sponge paper, like purple. Cut around it, leaving a slight border for a cool shadow effect.
Step 15
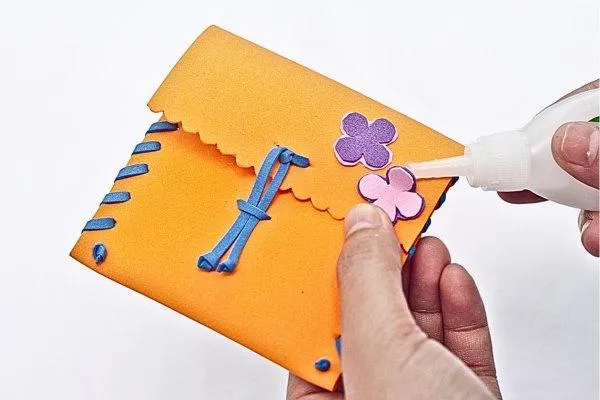
Now, glue your flower decorations onto the flap of your purse. This is where that concrete glue comes in handy.
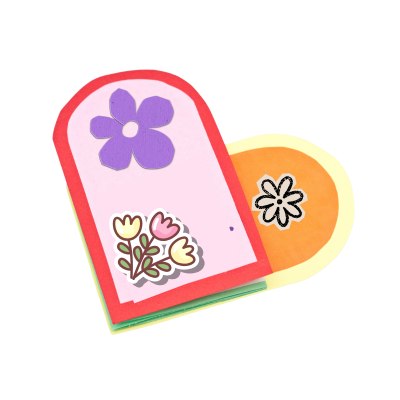
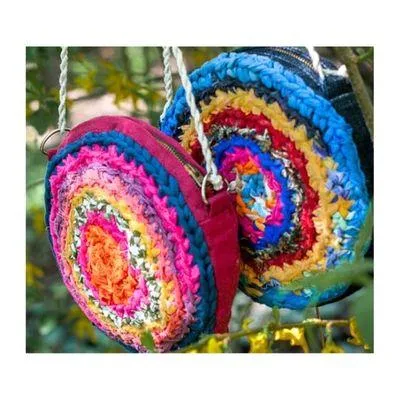
Step 16
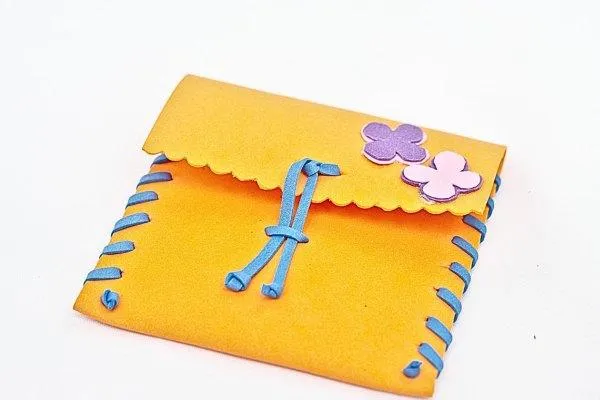
You've just made your very own sponge paper purse. It's bright, it's fun, and it's especially yours.
Remember:
This purse is perfect for holding small things like coins, but it's not made for heavy items. Feel free to play around with different colors and designs to make it uniquely yours. Just make sure your stitching is spaced well to keep your purse sturdy.
Happy crafting!
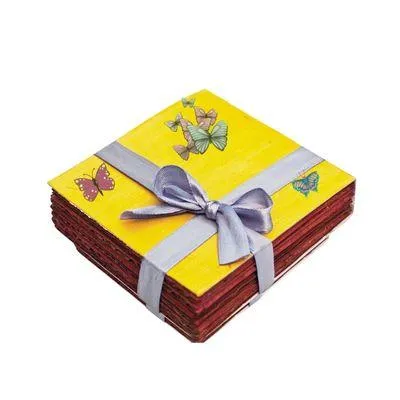
A Floral Sponge Wallet lets teens explore their crafty side and design something unique that they can actually use. It's a cool way to show off personal style and even better for giving as gifts. Don't stop here; dive into more articles to find more fun and creative crafts to try!
More Craft Ideas
Kid Craft
How To Make A DVD Bracelet
Kid Crafts For Every Child
Toddler Crafts
Preschool Crafts
School Crafts
Teen Crafts
Kid Crafts For In and Outdoors

Indoor Crafts
Outdoor Crafts

Educational Crafts
Kid Crafts For Every Season
Spring Crafts

Summer Crafts

Fall Crafts

Winter Crafts
Kid Crafts For Every Holiday
Valentine's Day Crafts
St Patrick's Day Crafts

Easter Crafts
Mother's Day Crafts
Father's Day Crafts

Fourth Of July Crafts
Halloween Crafts
Thanksgiving Crafts