How To Make A Balloon Tabletop Decor
Balloon Table Display crafts are a colorful, fun-filled way to turn any toddler gathering into something extra special! Whether you're planning a birthday party, a playdate, or just want a cheerful afternoon activity, this easy DIY project is perfect for little hands to help with.
Toddlers love balloons — and when you combine them with simple crafting, the giggles and smiles are guaranteed.
Step 1
Gather the following material

I have included a list of available products for your convenience:
several rubber sponges (assorted colors)
a small plastic cup (e.g. yogurt)
newspapers
small piece of styrofoam thin wires
small side cutting pliers
blue acrylic paint
paint brush
cotton
double-sided tape
hot glue
a pair of scissors
Step 2
Begin by covering the outside of the plastic cup with double-sided tape. This will help other materials stick to the cup and make the foundation of your decoration.
Step 3
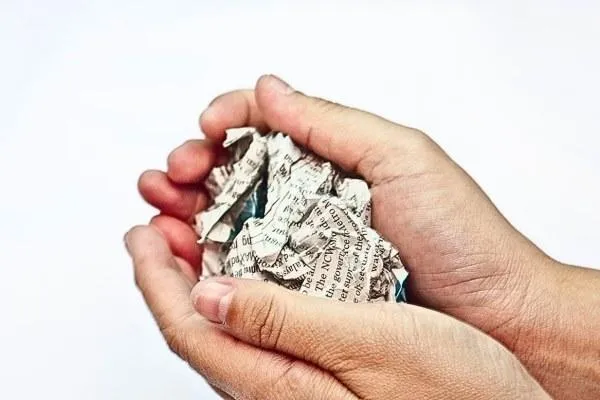
Take several pieces of newspaper and crumple them up. These crumpled pieces will add texture and help create an interesting look for the base of your decor.
Step 4
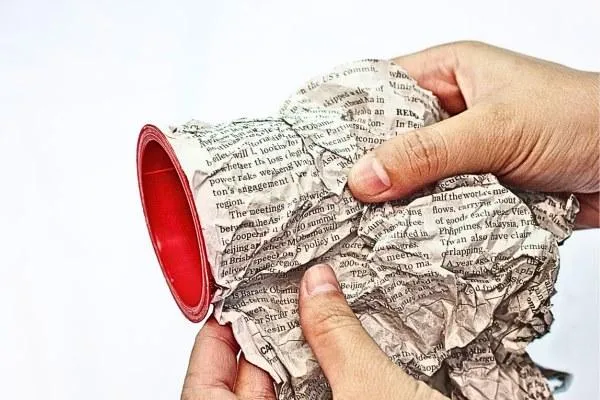
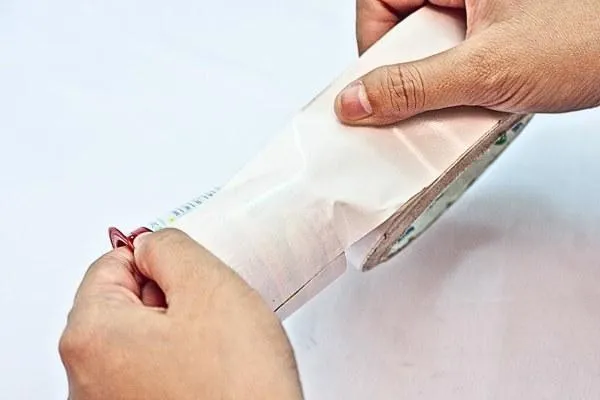
Wrap the crumpled newspaper around the taped cup. Ensure that you maintain the crumpled effect as it adds a nice aesthetic touch.
Step 5
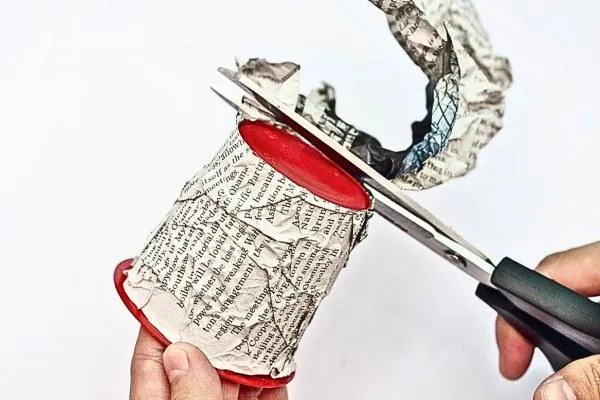
Trim off any excess newspaper from the edges and the bottom of the cup to keep things neat.
Step 6
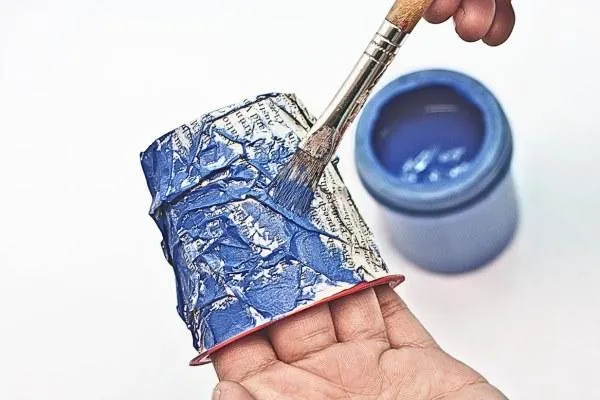
Paint the crumpled newspaper with blue acrylic paint to give it a vibrant touch. You can choose any color that matches the theme of your event.
Step 7
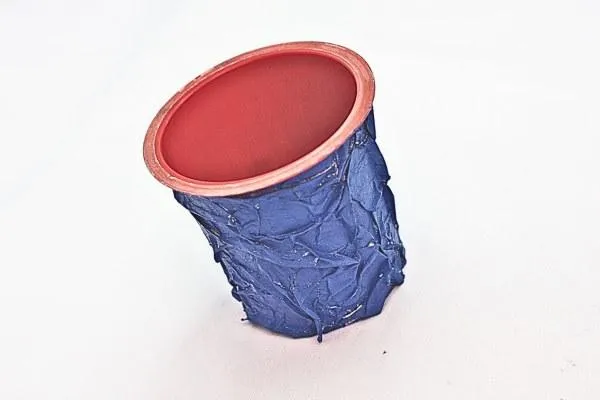
Allow the paint to dry completely, which might take about 30 minutes to an hour depending on the humidity.
Step 8
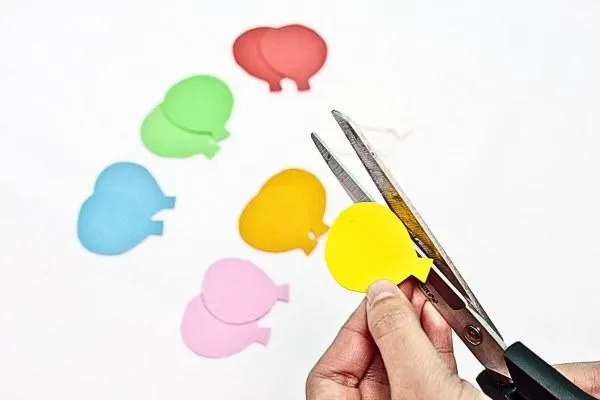
Cut several small balloon shapes from the colored rubber sponges. You’ll need about 5 to 6 pairs of these sponge balloons.
Step 9
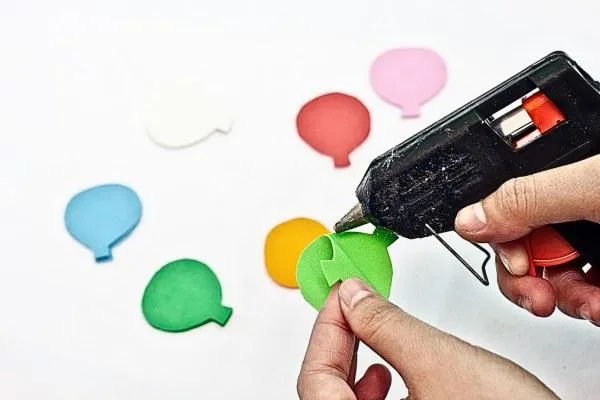
Take each pair of rubber sponge balloons and glue them together halfway up. This makes the balloons look fuller and more 3D.
Step 10
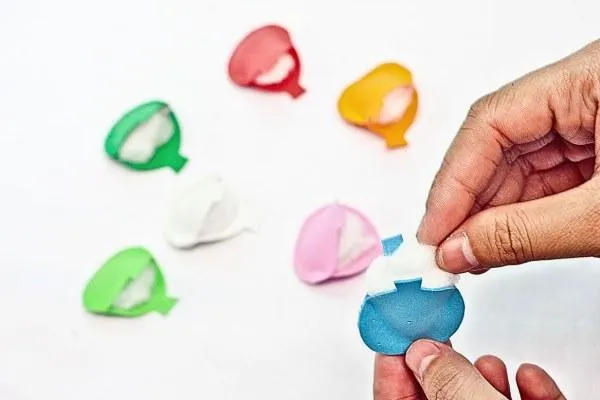
Stuff a good amount of cotton inside each glued balloon to keep it puffed up.
Step 11
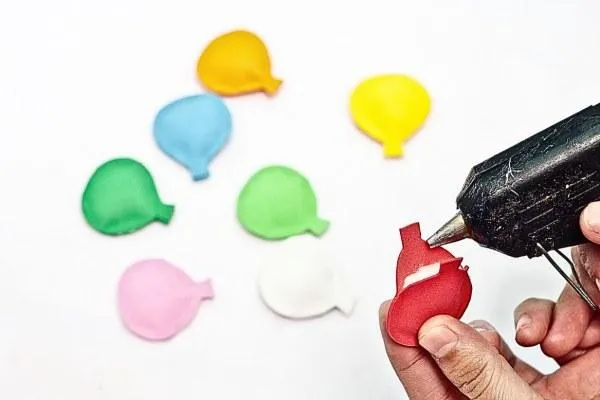
Seal the opening of each balloon sponge fully with hot glue to hold everything in place.
Step 12
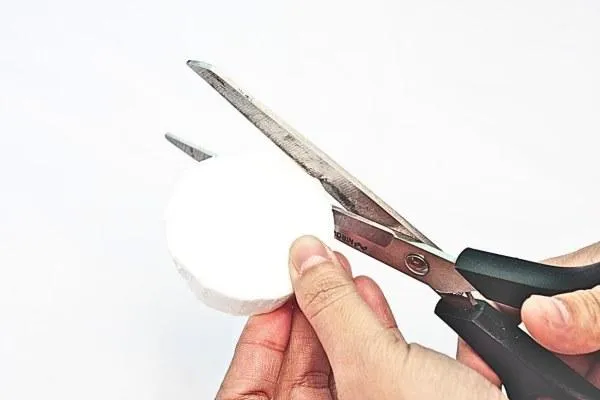
Cut a circle from the Styrofoam that will fit snugly into the mouth of the plastic cup.
Step 13
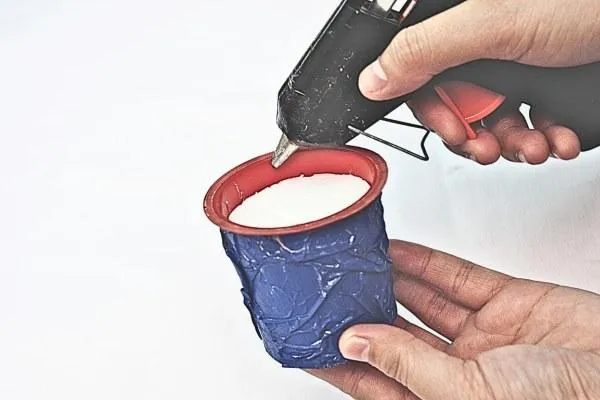
Insert and glue the Styrofoam circle inside the cup to make a firm base where the balloon wires will be anchored.
Step 15
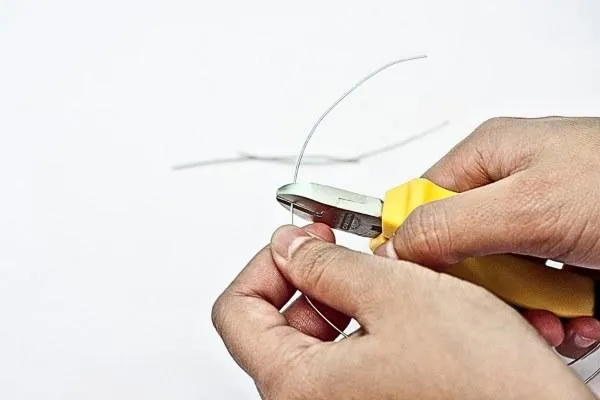
Cut random lengths of wire that will act as the strings holding up the balloons.
Step 16
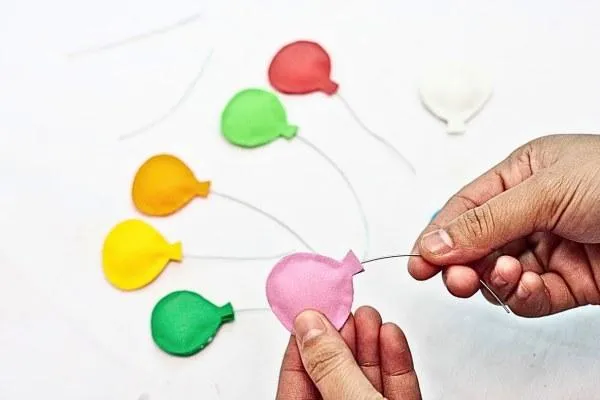
Secure one end of each wire into the bottom tip of a balloon sponge. Add a dab of hot glue for extra stability.
Step 17
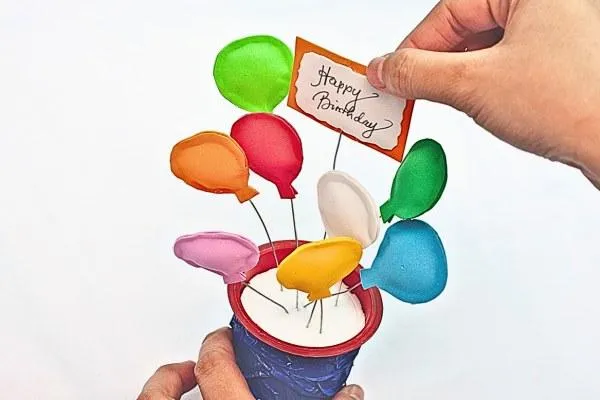
Arrange the wired balloons by inserting the other end of each wire into the Styrofoam. Play with different heights to mimic real floating balloons.
Step 18
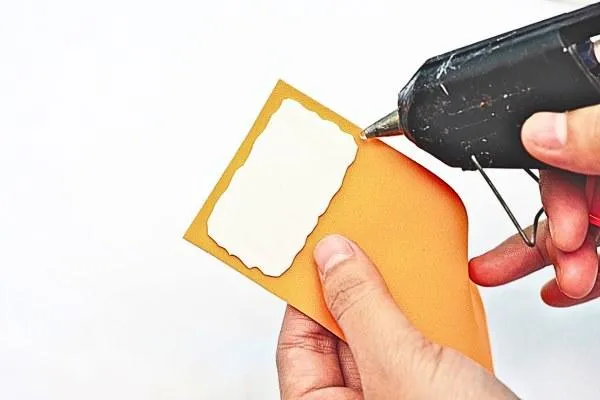
Create a message block by gluing a small white rectangle of rubber sponge onto a larger orange one.
Cut the orange sponge to shape it neatly around the white sponge.
Step 19
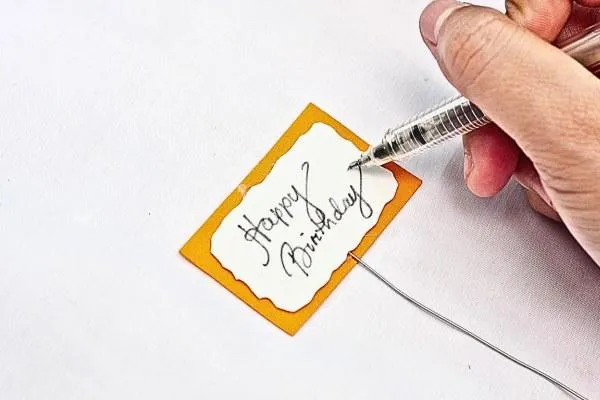
Write a sweet, simple message on the white sponge. Attach a wire to the bottom of this message block.
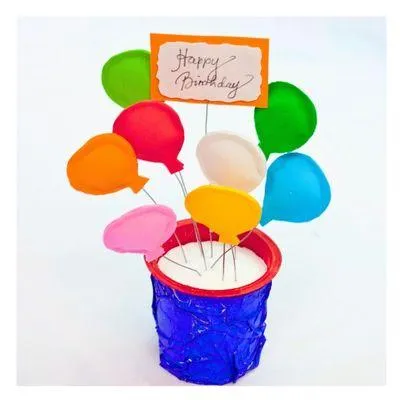
Step 20

Insert the message block among the balloons on the Styrofoam base. Position it centrally for maximum visibility.
Kids will love making a Balloon Table Top Décor—it’s colorful, playful, and perfect for little hands to explore. This toddler will add fun to any celebration.
Want more ideas? Check out our other toddler crafts for simple, exciting projects that inspire imagination every day!
More Craft Ideas
Kid Craft
How To Make A
DVD Bracelet
Kid Crafts For Every Child
Toddler
Crafts
Preschool Crafts
School
Crafts
Teen
Crafts
Kid Crafts For In and Outdoors

Indoor
Crafts
Outdoor
Crafts

Educational
Crafts
Kid Crafts For Every Season
Spring
Crafts
Summer
Crafts
Fall
Crafts
Winter
Crafts
Kid Crafts For Every Holiday
Valentine's Day Crafts
St Patrick's Day Crafts

Easter
Crafts
Mother's Day Crafts
Father's Day Crafts

Fourth Of July Crafts
Halloween
Crafts
Thanksgiving
Crafts